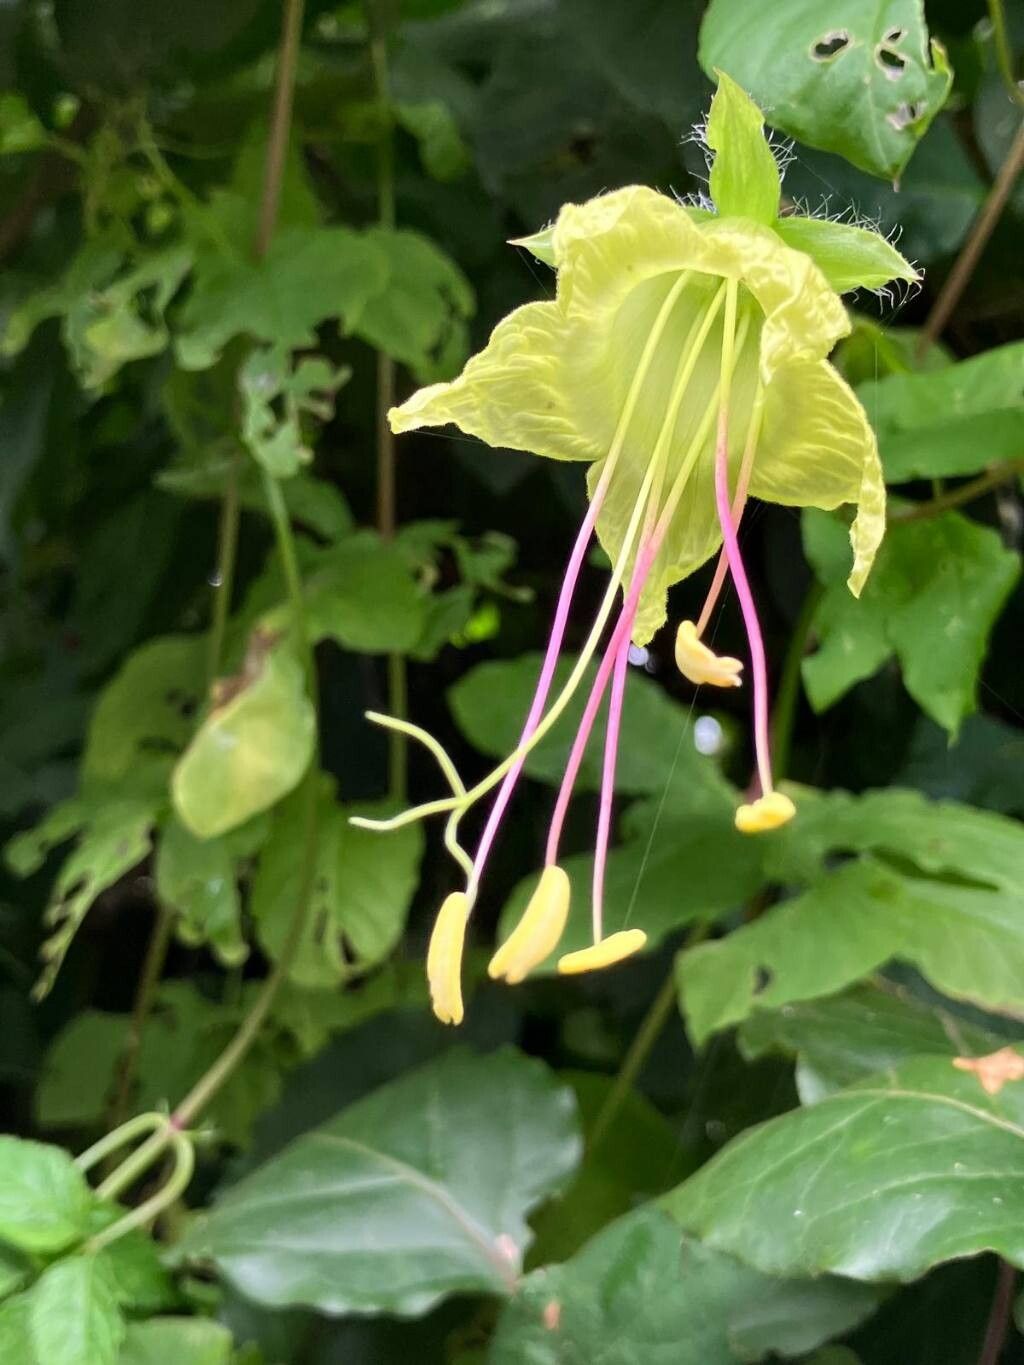
Ah, Cobaea pringlei! If you’re looking for a vine that truly makes a statement, you’ve found it. Those massive, bell-shaped flowers, often a creamy white or pale yellow, are simply breathtaking. And the way it twines and climbs, creating a lush green curtain, is magnificent. Propagating these beauties yourself is incredibly rewarding. It’s a bit like unlocking a secret handshake with nature, and while it might seem a tad intimidating at first, I promise, with a little guidance, you’ll be well on your way. It’s not the absolute easiest plant for a complete beginner, but it’s certainly achievable with patience.
The Best Time to Start
When it comes to striking gold with cuttings, mid-spring to early summer is your sweet spot. This is when your mature Cobaea pringlei vines are actively growing, putting out lots of fresh, vibrant stems. These young, vigorous shoots have the best chance of rooting quickly and successfully. Avoid trying to propagate from old, woody growth; you want those juicy, flexible stems.
Supplies You’ll Need
Gathering your supplies beforehand makes the whole process much smoother. Here’s what I always have on hand:
- Sharp, clean pruning shears or a sharp knife: Cleanliness is key to preventing disease.
- Rooting hormone powder or gel: This is a real game-changer to encourage root development.
- A well-draining potting mix: I like a blend of perlite and peat moss, or a dedicated seed-starting mix.
- Small pots or trays: With drainage holes, of course!
- A clear plastic bag or propagation dome: To create a humid environment.
- A spray bottle: For misting.
- Optional: A heat mat: This can significantly speed up rooting, especially if your home is on the cooler side.
Propagation Methods: Stem Cuttings
The most reliable way I’ve found to propagate Cobaea pringlei is through stem cuttings. It’s straightforward and yields great results.
- Select and Take Cuttings: Look for healthy, non-flowering stems. You want pieces that are about 4-6 inches long. Make your cut just below a leaf node (the point where a leaf attaches to the stem). This is where the magic happens for root formation. Remove the leaves from the bottom half of the cutting.
- Apply Rooting Hormone: Dip the cut end of the stem into your rooting hormone powder or gel. Tap off any excess.
- Plant the Cuttings: Gently insert the treated end of the cutting into your prepared potting mix. Make sure at least one leaf node is buried in the soil. Firm the soil gently around the stem.
- Create a Humid Environment: Water lightly to moisten the soil. Then, cover the pot with a clear plastic bag or place it under a propagation dome. This traps humidity, which is crucial for preventing the cuttings from drying out before they can form roots.
- Provide the Right Conditions: Place your cuttings in a bright spot, but out of direct sunlight. A little gentle bottom heat from a heat mat can really boost things along. Keep the soil consistently moist but not waterlogged.
The “Secret Sauce” (Pro Tips)
Here are a few little tricks I’ve learned over the years that can really make a difference:
- Don’t Overcrowd: Give your cuttings a little breathing room. If they’re too close, they can share pests or fungal diseases. Plus, it makes it easier to move them around.
- The “Wiggle Test”: After a few weeks, when you think roots have formed, give a cutting a very gentle tug. If you feel resistance, congratulations! Roots have taken hold. If it pulls out with no resistance, it hasn’t rooted yet.
- Mist Regularly, Especially Early On: Even with a cover, the initial days are critical. Mist your cuttings with water once or twice a day, especially if your home is dry, to keep the humidity levels high and prevent leaf wilting.
Aftercare & Troubleshooting
Once your cuttings show signs of rooting – perhaps new leaf growth or that welcome wiggle test resistance – it’s time to transition them.
- Gradual Acclimatization: Slowly begin to remove the plastic bag or propagation dome over a period of a week or so. This helps the new plant adjust to normal humidity levels.
- Potting Up: Once you’re confident in the root system, you can pot up your new Cobaea pringlei into slightly larger individual pots with a good quality potting mix.
- Signs of Trouble: The most common issues are rot and drying out. If the stem turns mushy and black at the soil line, that’s rot, usually from too much moisture and poor drainage. If the leaves wilt and look papery, it’s probably dried out. Don’t be discouraged if some don’t make it; it’s all part of the learning process!
So there you have it! Propagating Cobaea pringlei is a journey. Be patient with your little cuttings, give them the right care, and in time, you’ll be rewarded with your very own magnificent climbing vines. Enjoy watching them grow – it’s one of the most satisfying parts of gardening!
Resource:
https://identify.plantnet.org/k-world-flora/species/Cobaea%20pringlei%20(House)%20Standl./data