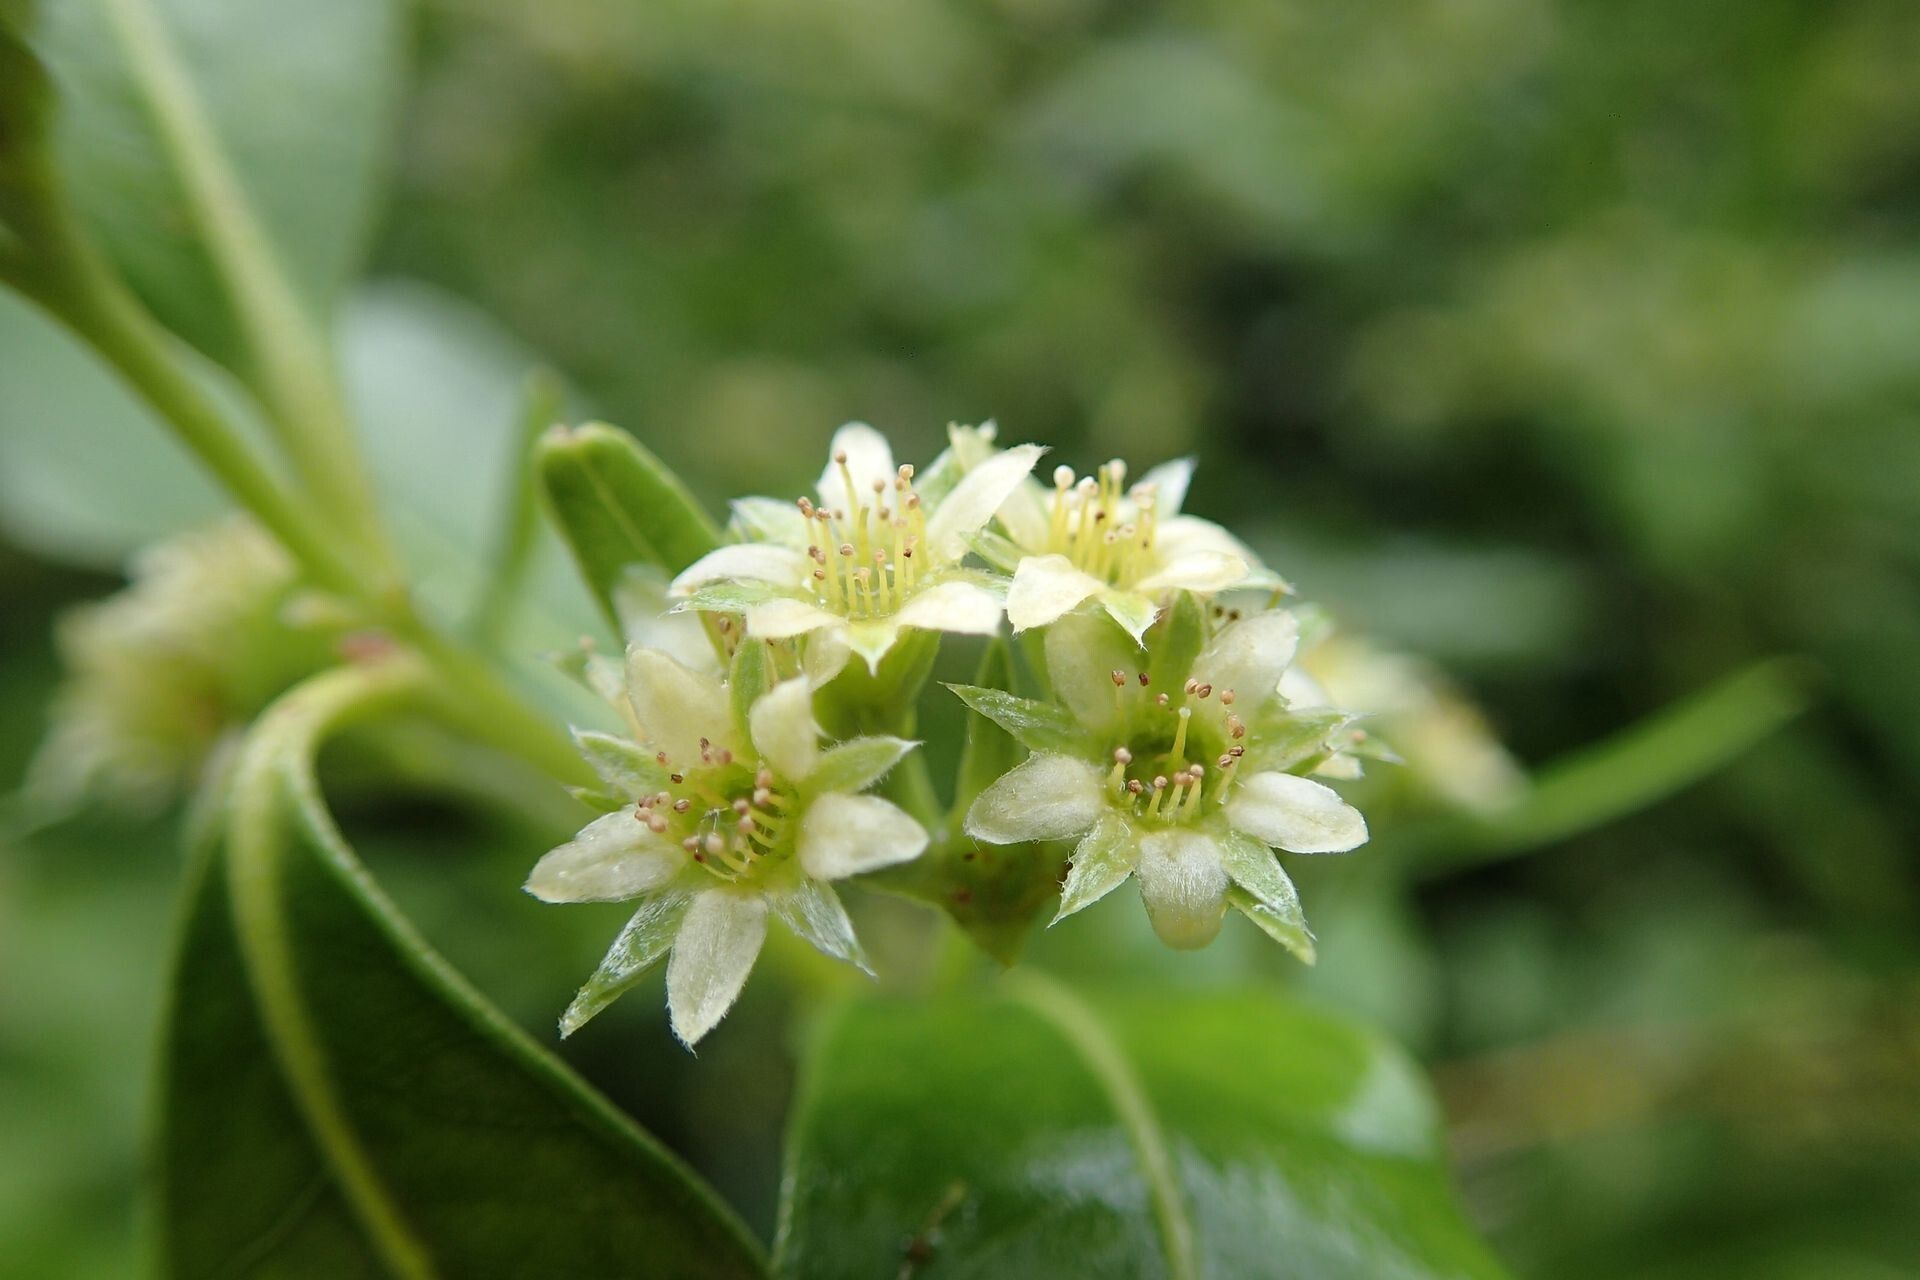
Hello, fellow plant lovers! Today, we’re diving into the wonderful world of Cloezia floribunda. If you’re drawn to its gorgeous, often fragrant blooms and lush foliage, you’re in for a treat. Propagating this beauty yourself is incredibly rewarding. You’ll have more plants to admire, share with friends, or tuck into new spots in your garden. For most gardeners, Cloezia is a moderately easy plant to propagate, especially if you follow a few key steps. It’s a wonderful project to build your confidence!
The Best Time to Start
The sweet spot for propagating Cloezia is during its active growing season. I find that late spring or early summer, as new growth is maturing but not yet woody, gives you the best chance of success. This is when the plant has plenty of energy stored up to focus on root development. Aim for stems that are firm but still a bit pliable, not stiff and old.
Supplies You’ll Need
Before we get our hands dirty, let’s gather our tools:
- Sharp pruning shears or a clean, sharp knife: For making clean cuts.
- Small pots or propagation trays: Clean ones are key!
- A well-draining potting mix: I like a blend of equal parts peat moss or coco coir and perlite. Some gardeners swear by a mix with a bit of sand mixed in, too.
- Rooting hormone (optional but recommended): A powder or gel helps immensely.
- Clear plastic bags or a propagation dome: To maintain humidity.
- Water: For watering and, if you choose, water propagation.
- Labels and a marker: To keep track of what you’ve propagated and when.
How to Propagate Cloezia: Stem Cuttings
This is my go-to method for Cloezia, and it usually yields fantastic results.
- Take Your Cuttings: With your clean shears or knife, select healthy stems from your mature Cloezia plant. Cut a section about 4-6 inches long, making the cut just below a leaf node (where a leaf attaches to the stem). Remove any flowers or flower buds from your cutting – they just drain the plant’s energy!
- Prepare the Cuttings: Gently strip off the lower leaves, leaving just two or three at the top. This prevents them from rotting when buried in the soil. If you’re using rooting hormone, dip the cut end into it, tapping off any excess.
- Plant Your Cuttings: Fill your small pots or trays with your prepared potting mix. Make a small hole in the center with your finger or a pencil. Insert the cut end of the stem into the hole, ensuring it’s firm in the soil. Gently firm the soil around the base.
- Create a Humid Environment: Water the soil thoroughly but gently. Then, cover the pot with a clear plastic bag or place it under a propagation dome. This traps moisture and creates the humid environment cuttings need to root. If using a bag, you can stick a few skewers into the pot to keep the bag from touching the leaves.
- Provide Warmth and Light: Place your pots in a bright location with indirect light. Avoid direct sun, which can scorch the delicate cuttings. Bottom heat from a seedling mat can significantly speed up root development, but it’s not strictly necessary if you have a warm spot.
The “Secret Sauce” (Pro Tips)
Here are a few things I’ve learned over the years that can make a big difference:
- Don’t let the leaves touch the water (if water propagating): If you’re experimenting with water propagation (placing cuttings in a jar of water), make sure no leaves are submerged. Only the stem should be in the water. Leaves rotting in the water will lead to rot in the cutting.
- The “Mother Knows Best” Rule: Always take cuttings from healthy, vigorous plants. A stressed or struggling plant won’t have the energy to produce strong cuttings.
- Patience is a Virtue: Don’t pull up your cuttings too soon to check for roots! It can take anywhere from 2 to 8 weeks for Cloezia cuttings to establish a good root system. You’ll know they’re ready when you see new leaf growth.
Aftercare & Troubleshooting
Once you see those promising new leaves, it’s time to transition your baby Cloezias!
Gradually introduce your rooted cuttings to less humidity. Open the plastic bag a little each day, or lift the lid of your propagation dome. Water them as the top inch of soil starts to dry out. Once they’re sturdy, you can transplant them into slightly larger pots with regular potting mix.
What if things go wrong? The most common issue you’ll face is rot. If a cutting turns black and mushy, it’s usually because it’s too wet and doesn’t have enough air circulation. Discard any rotted cuttings immediately to prevent it from spreading. If your cuttings just seem to be wilting and not rooting, they might need more humidity or warmth.
So there you have it! Propagating Cloezia floribunda is a truly satisfying process. Don’t get discouraged if your first few attempts aren’t perfect. Every garden experiment teaches us something new. Just be patient, enjoy the journey, and soon you’ll be surrounded by beautiful Cloezia plants! Happy gardening!
Resource:
https://identify.plantnet.org/k-world-flora/species/Cloezia%20floribunda%20Brongn.%20&%20Gris/data