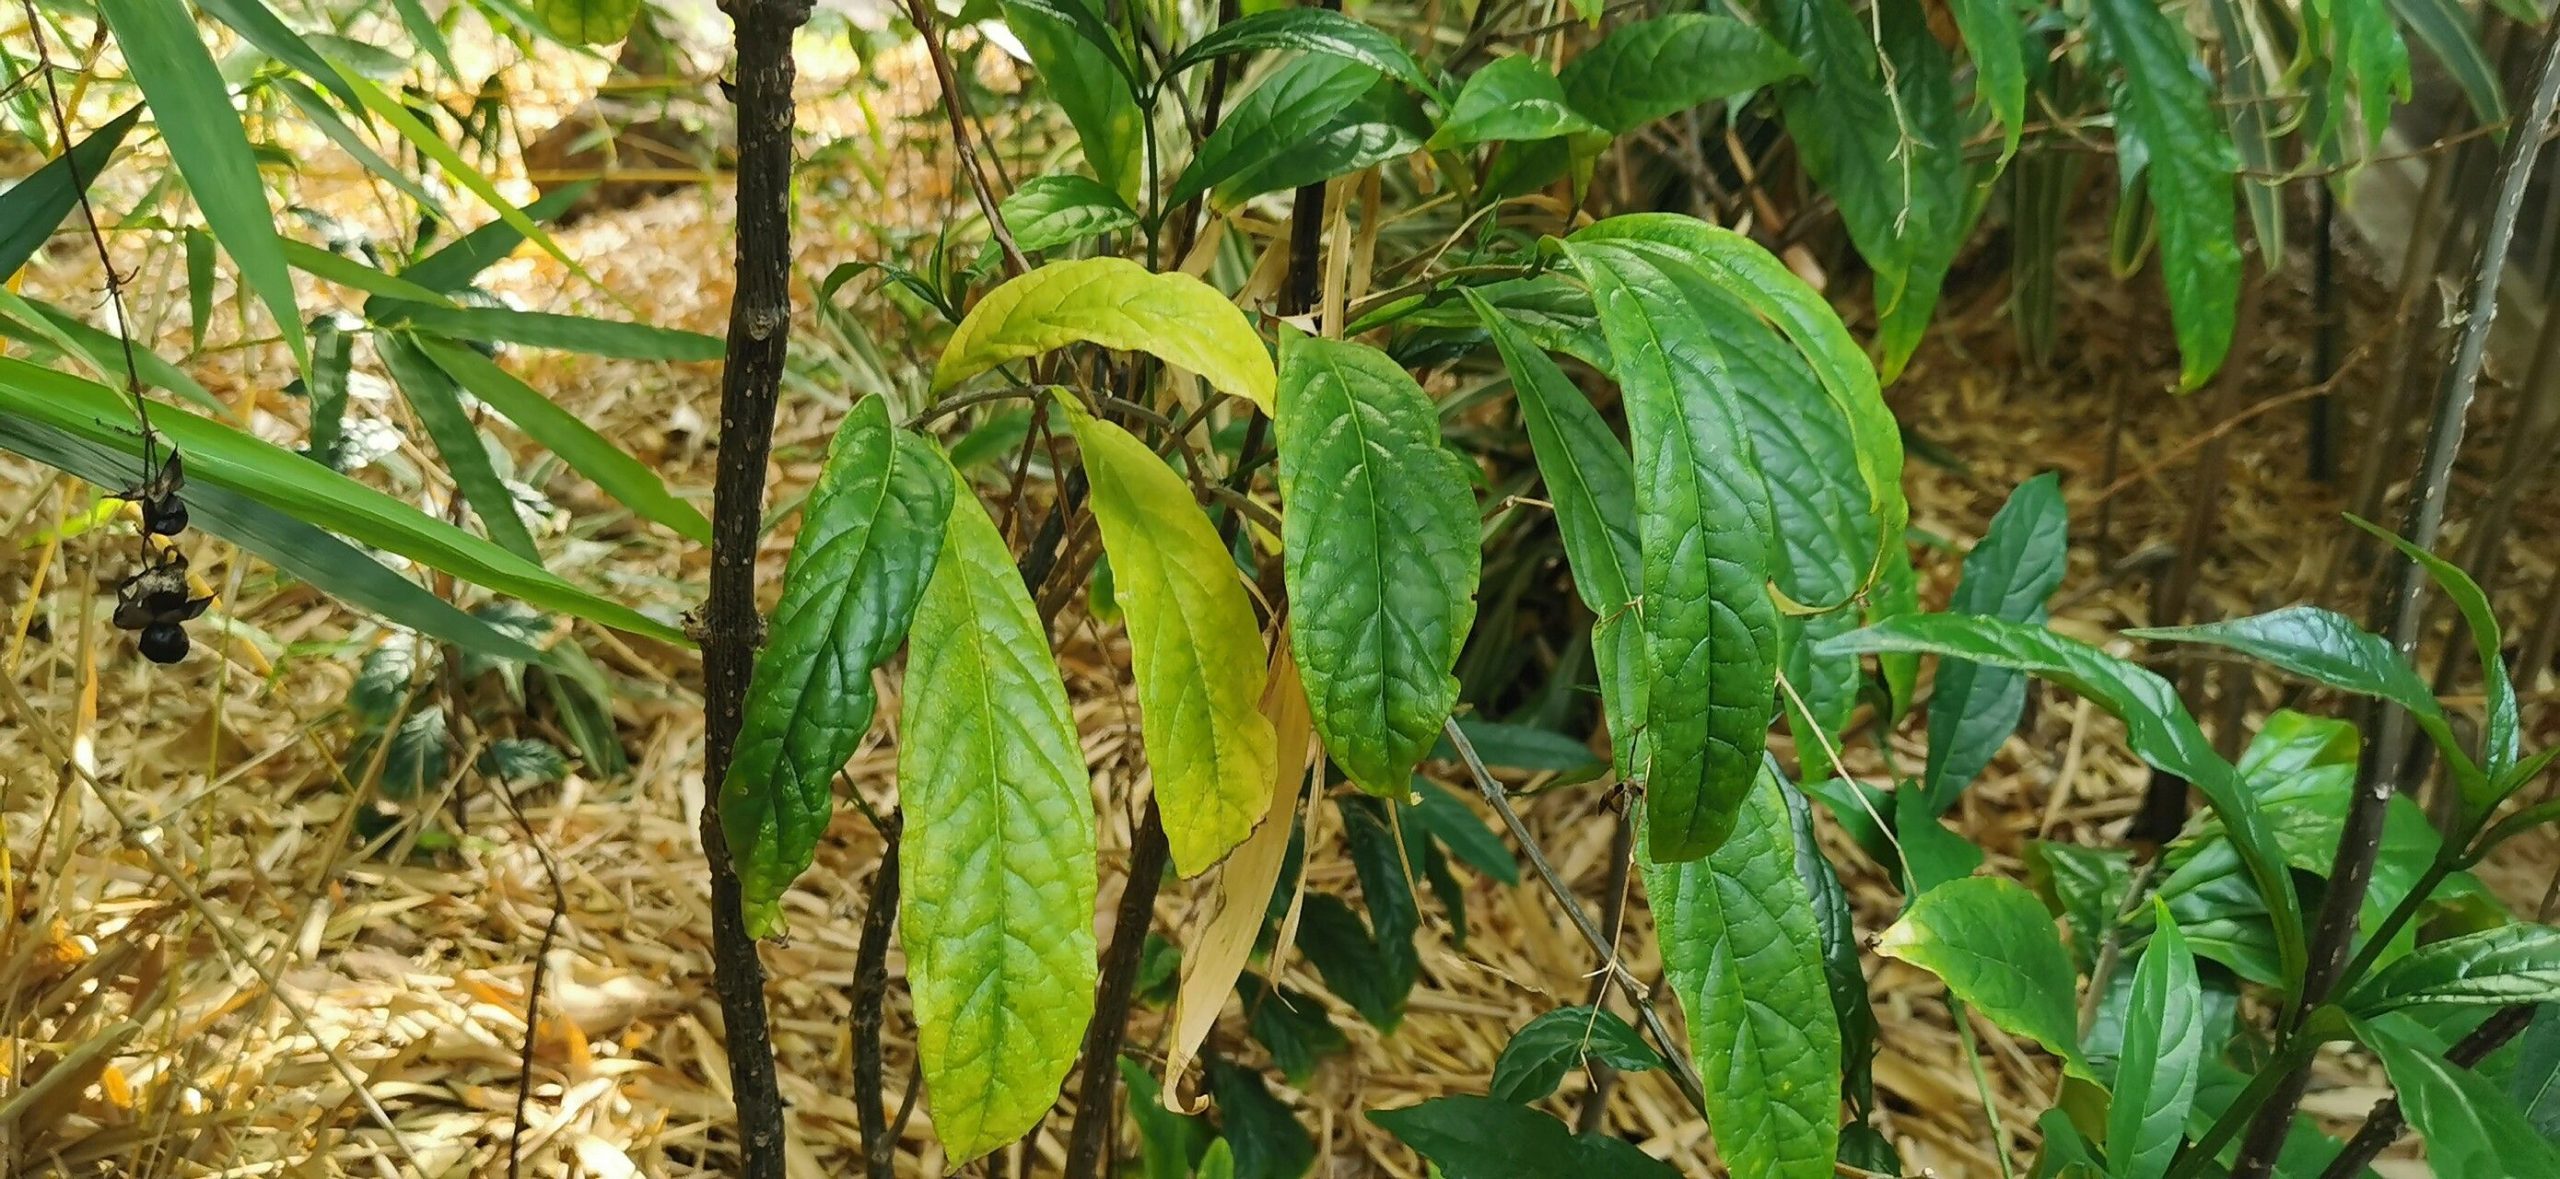
Oh, Clerodendrum nutans! What a gorgeous plant. Its delicate white flowers, dripping like tiny chandeliers, are just so captivating. Growing more of these beauties is incredibly satisfying, and honestly, it’s not as intimidating as you might think. I’ve found it to be quite rewarding, even for those just dipping their toes into the world of propagation.
The Best Time to Start
For Clerodendrum nutans, the sweet spot is definitely spring or early summer. This is when the plant is actively growing and has the most energy to put into developing new roots. You want to be taking cuttings from healthy, new growth that’s still a bit soft and pliable, not woody. Think of it as grabbing a young, energetic shoot.
Supplies You’ll Need
Gathering your supplies beforehand makes the whole process smoother. Here’s my little list:
- Clean, sharp pruning shears or a knife: For making clean cuts.
- Rooting hormone powder or gel: This can give your cuttings a helpful boost, though I find Clerodendrum nutans is pretty good at rooting without it sometimes.
- Well-draining potting mix: A good blend is about 50% peat moss or coco coir and 50% perlite or coarse sand.
- Small pots or seed trays: With drainage holes, of course!
- Plastic bags or a propagation dome: To create a humid environment.
- Water: For watering and for water propagation.
- A spray bottle: For misting.
Propagation Methods
I usually have the best luck with stem cuttings and a bit of water propagation for Clerodendrum nutans.
Stem Cuttings
- Take Your Cuttings: In spring or early summer, select healthy, non-flowering stems. Cut stems that are about 4-6 inches long. Make your cut just below a leaf node (where a leaf attaches to the stem).
- Prepare the Cuttings: Gently remove the lower leaves from the cutting, leaving just 2-3 leaves at the top. This prevents them from rotting in the soil.
- Apply Rooting Hormone: If you’re using it, dip the cut end into rooting hormone, tapping off any excess.
- Plant Your Cuttings: Fill your small pots with the well-draining potting mix. Make a hole in the center with your finger or a pencil. Insert the cutting into the hole, ensuring the leaf nodes that were below the soil line are covered. Gently firm the soil around the cutting.
- Water and Cover: Water thoroughly until you see water drain from the bottom. Then, cover the pot with a plastic bag or place it under a propagation dome to keep the humidity high. You can prop the bag up with chopsticks so it doesn’t touch the leaves.
Water Propagation
- Prepare the Cuttings: Follow steps 1 and 2 for stem cuttings above.
- Place in Water: Fill a clean jar or glass with room-temperature water. Place the cuttings in the water, making sure no leaves are submerged. The leaf nodes should be in the water.
- Find a Spot: Place the jar in a location with bright, indirect light. Change the water every few days to keep it fresh and prevent bacterial growth.
The “Secret Sauce” (Pro Tips)
Here are a few things I’ve learned over the years that seem to make a real difference:
- Bottom Heat is Your Friend: Clerodendrum nutans really loves a bit of warmth from below while it’s trying to root. A heated propagation mat can significantly speed up root development. It mimics the warmth of spring soil.
- Don’t Over-Water, But Keep it Moist: For cuttings in soil, the key is consistently moist, but not soggy, soil. It’s a delicate balance. If you’re unsure, it’s better to be slightly too dry and mist than to have waterlogged soil which can lead to rot. Check the soil moisture by gently pressing your finger into it.
- Patience with Leaf Nodes: Sometimes, you’ll see little white bumps or even tiny roots starting to emerge from the leaf nodes. This is a great sign! Keep an eye on these. If you’re doing water propagation, don’t be tempted to put the cutting in soil too early; let those roots get a good inch or two long.
Aftercare & Troubleshooting
Once you start seeing new leaf growth or feel resistance when gently tugging on the cutting from soil, it’s a good indicator that roots have formed!
- Acclimate Gradually: If you used a plastic bag, gradually start opening it up over a few days to let the new plant adjust to the lower humidity.
- Potting Up: Once the roots are well-established, you can pot up your new Clerodendrum nutans into a slightly larger pot with fresh, good-quality potting soil. Water it well.
- Watch for Rot: The most common issue is rot, which usually happens if the cuttings are too wet or the air circulation is poor. If you see a cutting turn black and mushy, unfortunately, it’s best to discard it and try again. It’s a learning curve, and sometimes a cutting just doesn’t make it.
So there you have it! Propagating Clerodendrum nutans is a wonderful way to share these gorgeous plants or simply expand your own collection. Just remember to be patient. Gardening is all about observing and learning. Enjoy the process, and before you know it, you’ll have a whole new batch of these enchanting beauties gracing your home!
Resource:
https://identify.plantnet.org/k-world-flora/species/Clerodendrum%20nutans%20Wall.%20ex%20Jack/data