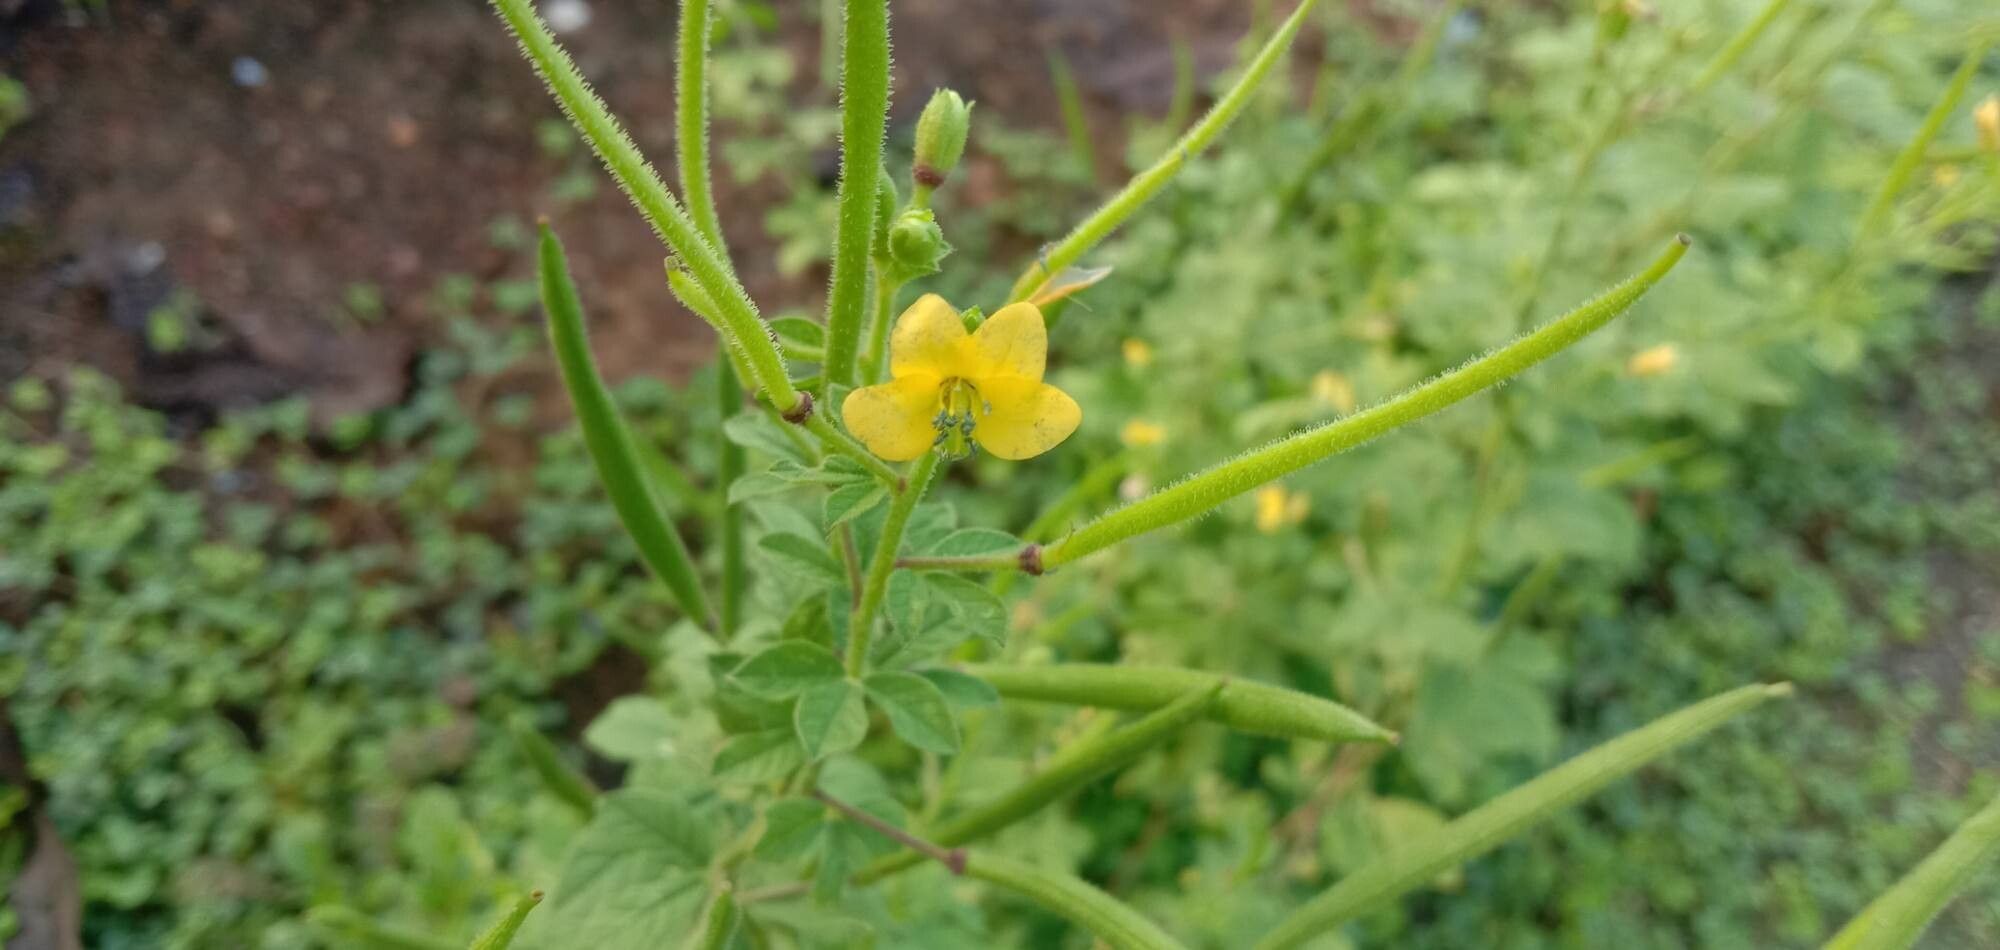
Well hello there, fellow garden enthusiasts! It’s so lovely to have you join me today. I’m thrilled to be diving into the wonderful world of Cleome viscosa propagation. If you’re like me, you adore these whimsical, often fragrant blooms that bring such a unique charm to any garden. They remind me of delicate dancers, shimmering in the breeze. And the best part? Growing them from scratch is a truly rewarding experience. Don’t worry if you’re new to this; Cleome, for the most part, is forgiving and a fantastic plant for beginners to get their propagation hands dirty with.
The Best Time to Start
For the highest success rate with Cleome viscosa, I find that late spring to early summer is your golden window. This is when the plant is actively growing and has plenty of energy to put into rooting. You want to be aiming for healthy, new growth, not old, woody stems. Think of it as capturing that vibrant, youthful energy.
Supplies You’ll Need
Here’s a little checklist to get you ready for action:
- Sterile potting mix: A light, well-draining blend is key. I like to mix equal parts perlite and peat moss, or you can buy a good quality seed-starting mix.
- Clean pots or trays: Small pots, cell trays, or even recycled yogurt cups with drainage holes will work.
- Sharp pruning shears or a clean knife: For making clean cuts.
- Optional: Rooting hormone: While not always strictly necessary for Cleome viscosa, it can give your cuttings a little boost.
- Optional: A spray bottle: For misting your cuttings.
- Optional: A heat mat: For providing gentle bottom warmth.
Propagation Methods
Now, let’s get down to business! For Cleome viscosa, I’ve found two methods work particularly well.
Stem Cuttings: Your Best Bet
This is my go-to for a reason. It’s reliable and yields multiple new plants.
- Take your cuttings: On a bright morning, select healthy, non-flowering stems from a mature Cleome viscosa. Look for stems that are about 4-6 inches long and have a few sets of leaves. Make a clean cut about ¼ inch below a leaf node (that little bump where a leaf attaches).
- Prepare the cuttings: Gently remove the lower leaves, leaving just two or three pairs at the top. If your cutting is particularly long, you can even cut off the very tip.
- Apply rooting hormone (optional): Dip the cut end into your rooting hormone, tapping off any excess. This encourages root development.
- Potting up: Fill your small pots with your sterile potting mix. Make a small hole with your finger or a pencil, gently insert the cut end of the stem, and firm the soil around it.
- Water and cover: Water the soil thoroughly but gently. You want it moist, not soggy. I like to cover the pots with a clear plastic bag or place them in a propagator to create a humid environment. This keeps the leaves from drying out before roots form.
Water Propagation: A Visual Treat
This method is so satisfying because you can literally watch the roots grow!
- Take your cuttings: Follow the same steps as above for selecting and preparing your stem cuttings.
- Place in water: Fill a clean jar or glass with fresh water. Place your prepared cuttings in the water, making sure that the leaves are not submerged. This is crucial to prevent rot.
- Find a good spot: Place the jar in a bright location, but out of direct, scorching sunlight.
- Change the water: Change the water every few days to keep it fresh and prevent bacterial growth. You’ll start to see tiny white roots emerge in a couple of weeks.
The “Secret Sauce”
Here are a few little tricks I’ve learned over the years that can make all the difference:
- The “air layer” trick: If you have a particularly long, leggy stem with leaves high up, you can try air layering. Make a small nick on the stem just below a leaf node, wrap it with moist sphagnum moss, and then cover that with plastic wrap. Roots will form right there, and you can then cut the stem below the new roots and plant it. It’s like magic!
- Bottom heat is your friend: Cleome viscosa roots much faster with a little gentle warmth from below. If you have a heat mat, placing your pots or trays on it can dramatically speed up the rooting process. It’s like giving them a cozy little foot bath.
- Don’t rush to pot up from water: When propagating in water, wait until the roots are at least an inch long and have a few little side roots starting to appear before you transplant them into soil. This gives them a better chance of surviving the transition.
Aftercare & Troubleshooting
Once your cuttings show signs of rooting – you’ll notice new leaf growth or feel a gentle tug when you carefully try to lift the cutting – it’s time for them to branch out.
- Gradual weaning: If you used a plastic bag cover, gradually remove it over a few days to help your new plants acclimatize to drier air.
- Watering: Water them whenever the top inch of soil feels dry. Avoid overwatering, as this is the most common culprit for rot.
- Light: Continue to provide bright, indirect light. As they get stronger, you can slowly introduce them to more direct sun.
- Troubleshooting: The most common problem you might encounter is rot. If your cuttings turn mushy or black, it’s usually a sign of too much moisture or poor air circulation. Discard any rotten cuttings and ensure your soil drains well. Yellowing leaves without root development can sometimes indicate insufficient light or water stress.
A Little Patience Goes a Long Way
There you have it! Propagating Cleome viscosa is a beautiful journey. Don’t get disheartened if your first few attempts aren’t perfect. Gardening is all about learning and observing. Each little seedling you nurture is a victory, and soon your garden will be awash with these delightful blooms, all thanks to your own green thumb. Enjoy the process, and happy growing!
Resource:
https://identify.plantnet.org/k-world-flora/species/Cleome%20viscosa%20L./data