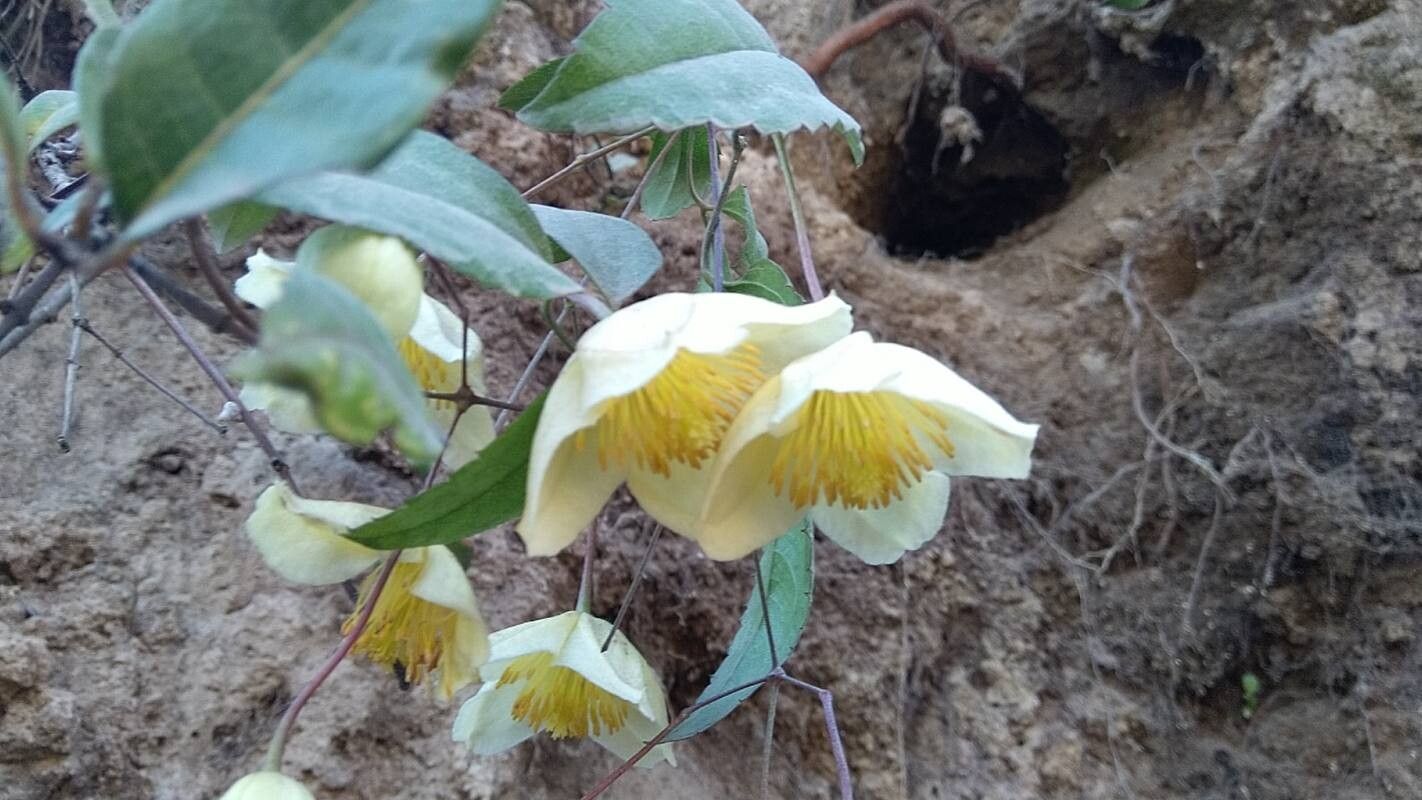
Oh, Clematis mauritiana! She’s a real beauty, isn’t she? Those delicate, star-shaped flowers and that lush foliage bring such a romantic touch to any garden. And the best part? Growing your own from cuttings or divisions is incredibly rewarding. You get to share these beauties with friends, fill more of your garden, or even start a little side hustle if you’re feeling ambitious! While Clematis can sometimes have a reputation for being a bit finicky, mauritiana is actually quite forgiving, especially if you get the timing right. I’d say it’s a fantastic plant to try your hand at propagating, even if you’re just getting your gardening boots muddy.
The Best Time to Start
For Clematis mauritiana, I’ve found the sweet spot for taking cuttings is late spring to early summer, right as the plant is actively growing but before it gets too hot and the stems become woody. You’re looking for what we horticulturists call “semi-hardwood” cuttings. That means the current year’s growth is starting to firm up a bit but hasn’t fully matured into hard wood. Gently bending a fresh stem will feel firm when you’re ready.
Supplies You’ll Need
Gathering your tools beforehand makes the whole process so much smoother. Here’s what I always have on hand:
- Sharp Pruning Shears or a Knife: Cleanliness is key to prevent disease.
- Rooting Hormone: This is a game-changer for encouraging root development. Look for one with IBA (indole-3-butyric acid), which works wonderfully for woody and semi-woody plants.
- Well-Draining Potting Mix: A blend of equal parts peat moss or coco coir, perlite, and coarse sand is my go-to. You can also buy specialized propagation mixes.
- Small Pots or Seedling Trays: Clean pots with drainage holes are a must.
- Plastic Bags or a Propagator: To create a humid environment.
- Watering Can with a Fine Rose: For gentle watering.
- Labels and a Marker: Don’t forget what you planted where!
Propagation Methods
Let’s get our hands dirty! Here are the methods I use most successfully for Clematis mauritiana.
Stem Cuttings (My Favorite!)
This is often the most efficient way to multiply your clematis plants.
- Take Your Cuttings: On a moist morning (after the dew has dried), select a healthy, non-flowering stem. Using your clean shears, cut a section of stem about 4-6 inches long. Make the bottom cut just below a leaf node. A leaf node is where a leaf emerges from the stem – this is where the magic of root formation happens.
- Prepare the Cuttings: Gently remove the leaves from the bottom half of the cutting. You can leave the top 2-4 leaves, but it’s good practice to lop off half of these remaining leaves to reduce water loss. Imagine they’re trying to breathe too much!
- Apply Rooting Hormone: Dip the cut end of the stem into your rooting hormone. Tap off any excess. You want a thin coating.
- Pot Them Up: Fill your clean pots with your prepared potting mix, leaving about an inch of space at the top. Make a hole in the center of the mix with a pencil or dowel. Carefully insert the cutting into the hole, ensuring the rooting hormone-coated end is nestled in. Gently firm the soil around the stem.
- Water and Cover: Water the pots gently until the soil is evenly moist. Then, place the pots into a plastic bag or propagator. You can prop up the bag with stakes so it doesn’t flatten the leaves. The goal is to create a mini-greenhouse effect, keeping the humidity high.
Water Propagation (Simpler, but Less Predictable)
Sometimes, you just want to see those roots appear magically! This method works for some clematis, and it’s worth a shot.
- Select and Prepare: Take a stem cutting as described above, but you don’t need to remove the lower leaves or apply rooting hormone.
- Place in Water: Put the cuttings in a clean glass or jar filled with fresh water. Make sure the leaf nodes are submerged in the water.
- Change Water Regularly: Change the water every couple of days to keep it fresh and prevent the growth of algae or bacteria.
- Watch for Roots: With luck, you’ll start to see tiny white roots emerging from the submerged nodes. Once these roots are about an inch long, you can then pot them up into your well-draining soil mix, just as you would a cutting that has already rooted.
The “Secret Sauce” (Pro Tips)
Here are a couple of things I’ve learned over the years that can really make a difference:
- Bottom Heat is Your Friend: While not strictly essential for mauritiana, if you have a seedling heat mat, placing your pots on it can significantly speed up root development. Clematis roots love a bit of warmth!
- Don’t Let Them Drown: When you’re tending to your water propagation, ensure the leaves themselves never touch the water. This is a surefire way to encourage rot, and we definitely don’t want that. Use a bit of cardboard or a strategically placed twig if needed in your jar.
- Be Patient with Water Cuttings: If you’re doing water propagation, sometimes the roots take a while to appear. Don’t get discouraged! As long as the leaves look reasonably healthy, keep changing that water.
Aftercare & Troubleshooting
Once you start seeing those beautiful little roots peeking out from the bottom of your pot (or if your water cuttings have developed a good root system), it’s time to give them a bit more space.
Gently transplant your rooted cuttings into slightly larger pots, using the same well-draining mix. Keep them in a bright location, but out of direct, scorching sun for the first week or two. Continue to keep the soil consistently moist but not waterlogged. You’ll know they’re happy when you see new leafy growth emerging.
The most common issue you’ll face is rot, which usually happens if the soil stays too wet or if your cuttings are kept in overly stagnant air (poor air circulation). If you see a cutting turning black and mushy, it’s likely rot. Don’t be too disheartened; it’s a learning process! Discard any rotten cuttings and try to improve the drainage or airflow for the remaining ones.
A Encouraging Closing
Propagating Clematis mauritiana is a journey, and like any good garden project, it’s one that rewards patience and a little bit of love. Enjoy the process of watching those tiny beginnings transform into your own stunning clematis plants. You’ve got this! Happy propagating!
Resource:
https://identify.plantnet.org/k-world-flora/species/Clematis%20mauritiana%20Lam./data