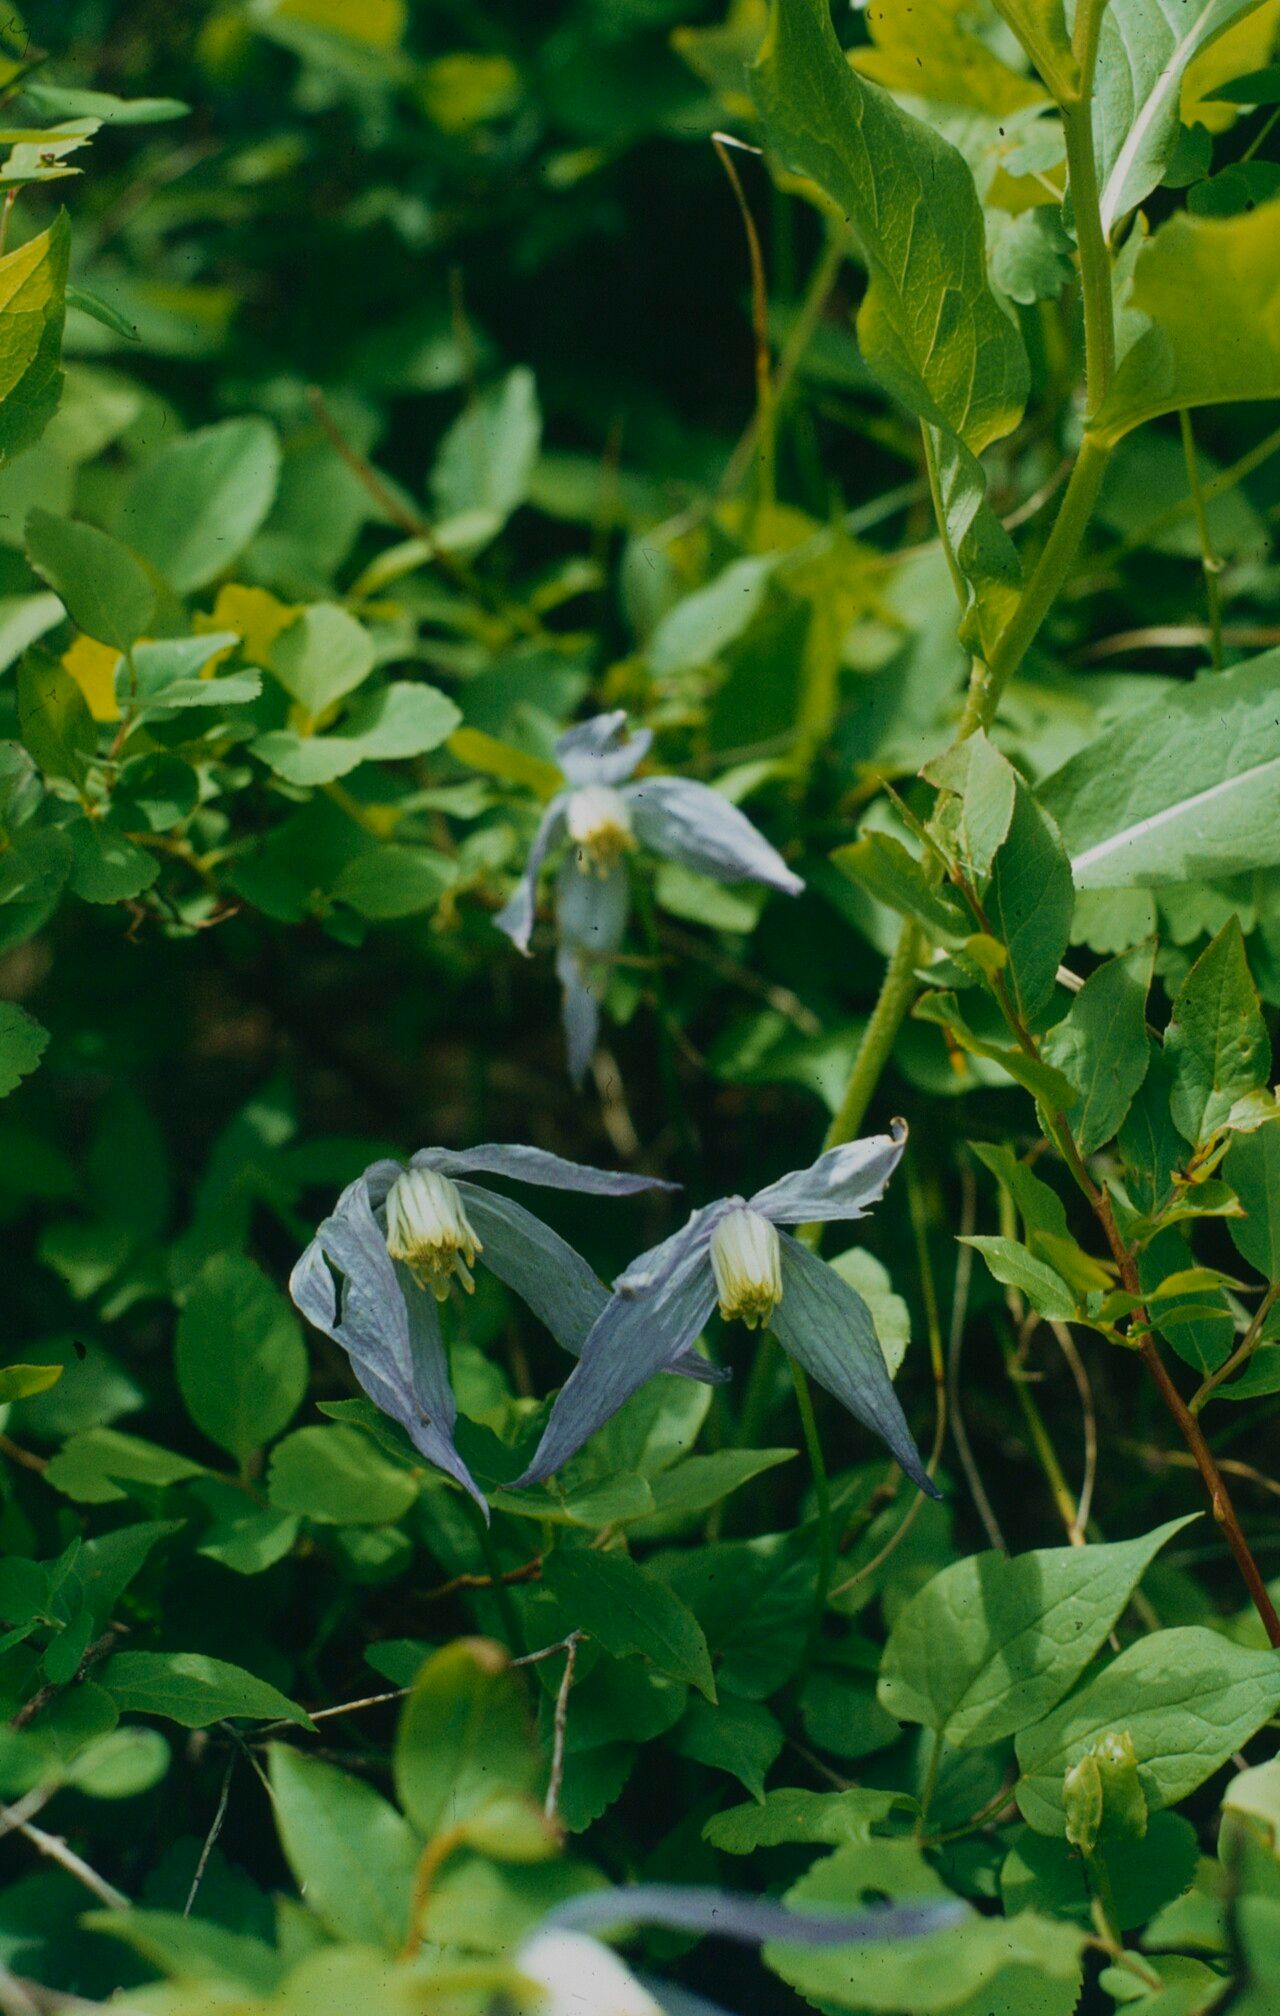
Oh, the allure of Clematis! Those magnificent blooms, like delicate jewels gracing our gardens. And Clematis columbiana, with its charming bell-shaped flowers, is truly a gem. If you’ve fallen for this beauty and dream of having more, you’re in for a treat. Propagating your own clematis is incredibly rewarding. It’s not the absolute easiest plant to start from scratch, especially for a very first-time propagator, but with a little care and patience, it’s absolutely achievable. Think of it as a delightful gardening project!
The Best Time to Start
For clematis, spring and early summer are your best friends. When you can take softwood cuttings is prime time. This means you’re looking for new, flexible growth that’s still soft and green, not woody. As the plant develops, you’ll find these perfect little shoots. That active growing phase is when they’re brimming with energy, making them eager to root.
Supplies You’ll Need
Before we dive in, let’s gather our tools. Having everything ready makes the process so much smoother.
- Sharp Pruning Shears or a Craft Knife: Cleanliness is key!
- Rooting Hormone Powder or Gel: This is a game-changer for encouraging strong root development. Ask for one specifically designed for softwood cuttings.
- A Well-Draining Potting Mix: I like a blend of equal parts perlite and seed-starting mix. It keeps things airy and prevents waterlogged roots.
- Small Pots or Trays: Clean containers are a must.
- Clear Plastic Bags or a Propagator Lid: This creates a humid environment, which is what these cuttings crave.
- Watering Can with a Fine Rose: Gentle watering is important.
- Optional: Bottom Heat Source: A heat mat can really speed things up.
Propagation Methods
We’ll focus on the most successful method for Clematis columbiana: stem cuttings.
-
Select Your Cuttings: Look for healthy, non-flowering stems. You want pieces that are about 4-6 inches long. Underneath a leaf node (where a leaf joins the stem), use your clean shears to make a straight cut. Above the top leaf node, make a slightly angled cut.
-
Prepare the Cuttings: Gently remove the lower leaves. You only want to leave one or two leaves at the very top. This minimizes water loss. If the remaining leaves are large, you can even cut them in half horizontally to further reduce transpiration.
-
Apply Rooting Hormone: Dip the cut end of each stem into your rooting hormone. Tap off any excess. The hormone helps to stimulate root formation.
-
Plant Your Cuttings: Fill your pots or trays with your prepared potting mix. Make a small hole in the center with your finger or a pencil. Gently insert the cutting into the hole, ensuring the leaf nodes are buried. Firm the soil gently around the base.
-
Create Humidity: Water the soil gently. Then, place a clear plastic bag over the pot, securing it with a rubber band around the rim, or place the pot inside a propagator with a lid. This mini-greenhouse effect traps moisture.
-
Placement is Key: Place your planted cuttings in a bright, indirect light location. Avoid direct sun, which can scorch them. If you’re using a bottom heat mat, set it to around 70-75°F (21-24°C).
The “Secret Sauce” (Pro Tips)
Here are a few things I’ve learned over the years that make a big difference:
- Keep the Leaves Out of the Water: When you water, make sure the foliage of your cuttings doesn’t sit in standing water. This is a fast track to rot. If you’re using a propagator, the condensation will just drip back down, providing gentle moisture.
- Don’t Disturb Too Soon: Resist the urge to tug on your cuttings to see if they’ve rooted. Give them at least four to six weeks. You’ll often see new growth appearing, which is a good sign that roots are forming beneath the surface.
- The Power of a “Heel”: Sometimes, taking a cutting that includes a sliver of the older, slightly woody stem attached (called a “heel”) can increase success rates, especially with slightly more mature growth. Just be sure to trim away any ragged woody bits.
Aftercare & Troubleshooting
Once you start seeing signs of roots—often new leaf growth at the top—it’s time to gradually acclimate your new clematis babies to normal conditions. Start by opening the plastic bag or propagator lid for a few hours each day, slowly increasing the time.
The most common issue you might encounter is rot. If a cutting looks black and mushy at the base, it’s likely rotted. This is usually due to too much moisture and not enough air circulation. Ensure your potting mix is well-draining and that you’re not overwatering. If you see signs of fungal issues, remove the affected cutting immediately. It’s a learning process, and sometimes nature just doesn’t cooperate! Don’t let a failed attempt discourage you.
A Warm Encouragement
Propagating clematis is such a satisfying journey. Each tiny new plant is a testament to your nurturing care. Be patient with yourself and your cuttings. Some will take beautifully, and some might be a bit stubborn, and that’s perfectly okay. The joy is in the trial, the learning, and the eventual delight of seeing your own clematis creations flourish. Happy gardening!
Resource: