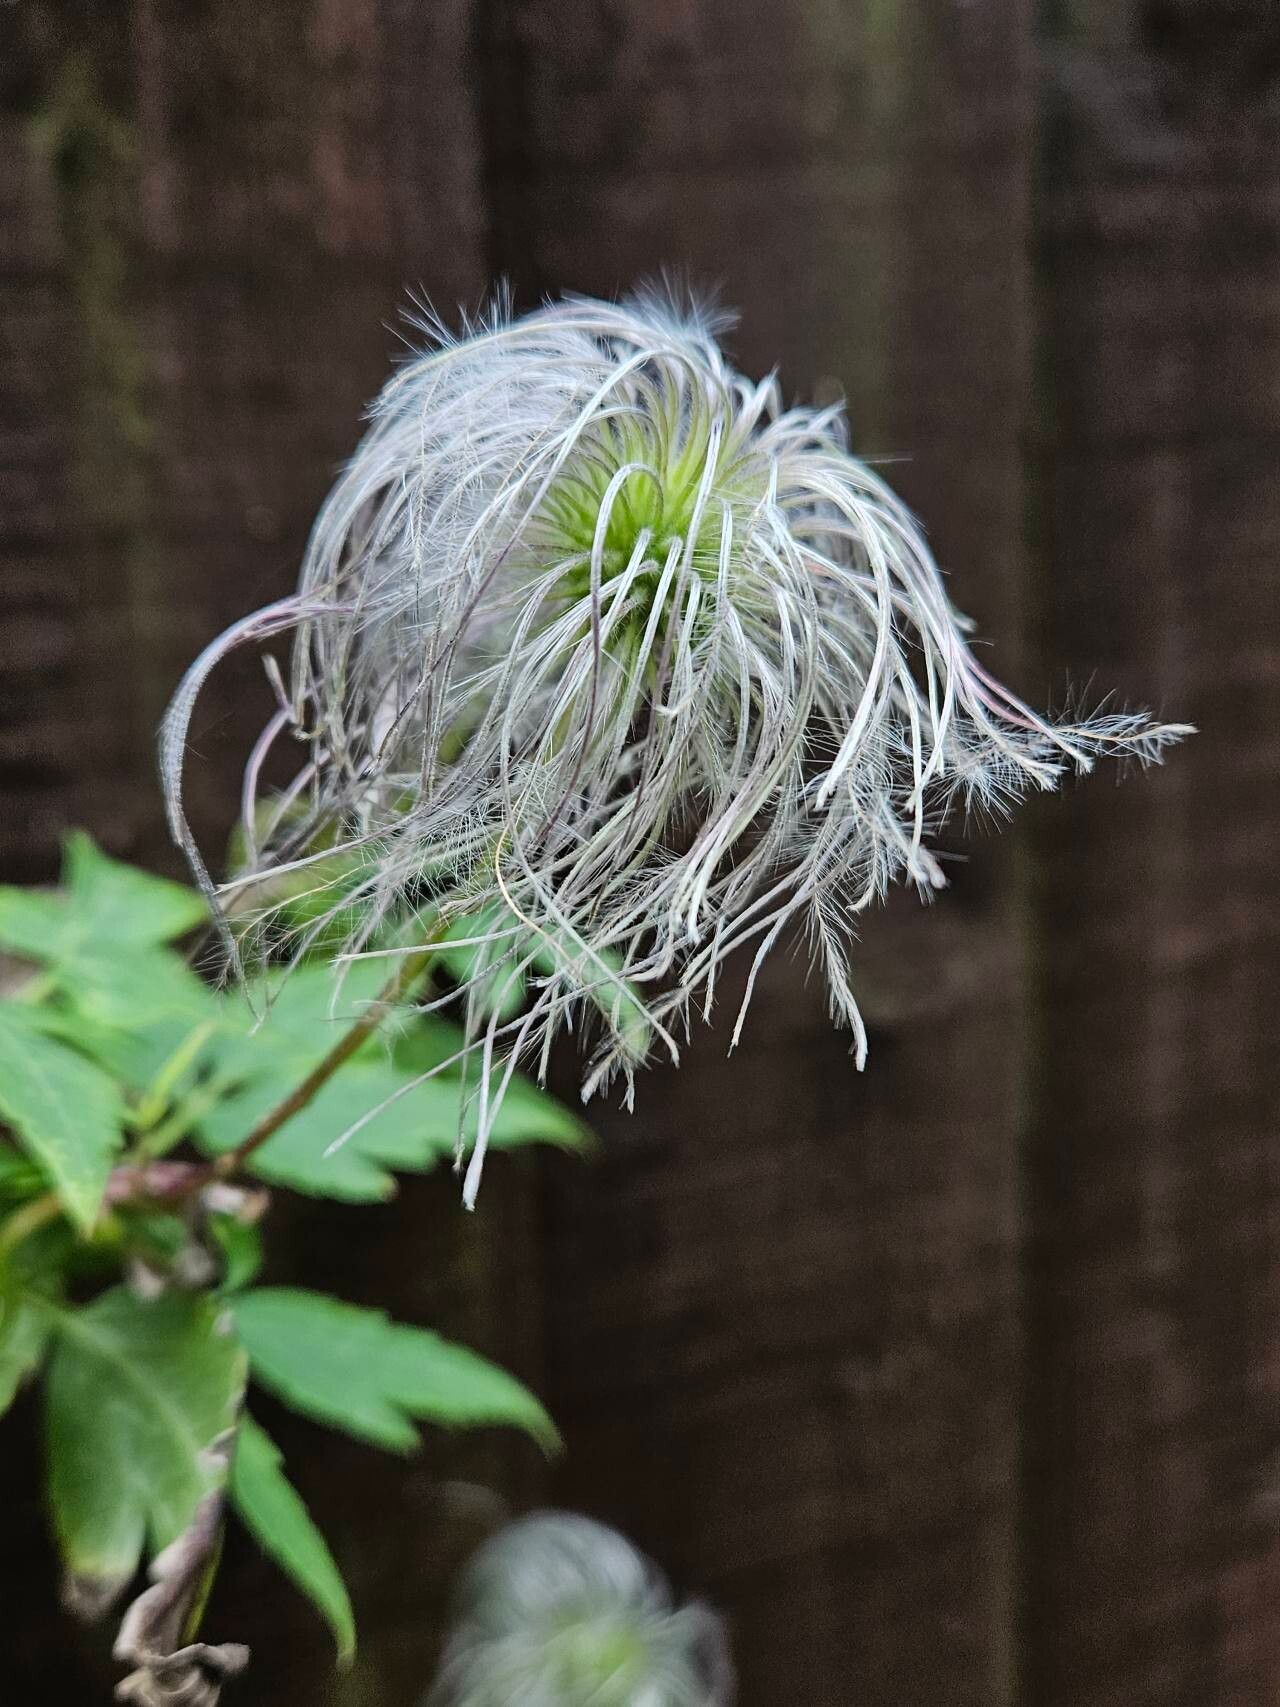
Ah, Clematis alpina! Those darling bell-shaped flowers in spring are simply enchanting, aren’t they? If you’ve got a specimen that’s truly stolen your heart, or if you’re just itching to expand your collection, propagating your own Clematis alpina is a wonderfully rewarding journey. Don’t let the thought intimidate you; while it can be a tad more hands-on than, say, a poinsettia cutting, with a little patience and the right approach, you’ll be well on your way. It’s certainly achievable for the eager beginner!
The Best Time to Start
For Clematis alpina, mid-summer is your golden window. We’re talking about the period when the new shoots have started to harden off a bit – they’re not floppy and green, but they’re not completely woody either. Think of it as a firm, yet flexible, pencil thickness. This is when they have the best chance of rooting successfully.
Supplies You’ll Need
Gathering your tools beforehand makes the whole process much smoother. Here’s what I usually have on hand:
- Sharp Pruning Shears or a Craft Knife: Cleanliness is key here to prevent disease.
- Rooting Hormone: A powder or gel will do nicely. It really gives your cuttings a helpful boost.
- Rooting Medium: I prefer a well-draining mix. A good combination of equal parts peat moss or coco coir and perlite or coarse sand works wonders. Avoid standard potting soil; it can be too heavy.
- Small Pots or Propagation Trays: With drainage holes, of course!
- Plastic Bags or a Humidity Dome: To create that crucial humid environment.
- Mister Bottle: For keeping things moist.
- Clean Water: For dunking cuttings.
- Labels: To remember what you’ve propagated and when!
Propagation Methods
The most common and consistently successful method for Clematis alpina is stem cuttings.
Stem Cuttings (Semi-Hardwood)
- Take Your Cuttings: On a fine summer day, use your clean shears to select healthy, non-flowering shoots. Cut pieces that are about 4-6 inches long. Look for a stem that bends slightly when you try to snap it – that’s your sweet spot. Try to include at least two sets of leaves.
- Prepare the Cuttings: Remove the lower leaves, leaving just one or two at the very top. If the top leaves are very large, you can cut them in half. This reduces water loss.
- Wound the Base: Gently scrape a thin layer of bark off the bottom inch or so of the stem, exposing the cambium layer. This helps the rooting hormone adhere and encourages root development.
- Apply Rooting Hormone: Dip the cut end into your rooting hormone, tapping off any excess. It’s like giving them a special drink to kickstart their rooting journey.
- Plant Your Cuttings: Make a hole in your prepared rooting medium with a pencil or your finger, then insert the cutting. Firm the medium gently around the base to ensure good contact. Don’t plant too many in one pot; give them a little space.
- Water and Cover: Water the cuttings thoroughly but gently. Then, cover the pot with a plastic bag or place it inside a humidity dome. Make sure the leaves don’t touch the plastic if possible; this can lead to rot. Place the pots in a bright spot, but out of direct, harsh sunlight.
The “Secret Sauce” (Pro Tips)
Here are a few little tricks I’ve picked up over the years that make a difference:
- Bottom Heat is Your Friend: If you can, place your pots on a gentle heated propagator mat. This little bit of warmth from below is a real game-changer for encouraging root formation. It mimics ideal soil temperatures.
- Don’t Overwater, but Don’t Let Them Dry Out: This is a delicate balance. The rooting medium should be consistently moist, like a wrung-out sponge, not soggy. Check it regularly, and mist the leaves if they look a bit thirsty.
- Take Cuttings in the Morning: After a dew-kissed night, the plant is at its most hydrated. Taking cuttings then means they start off with plenty of moisture, giving them a better head start.
Aftercare & Troubleshooting
Once you start to see signs of new leaf growth, that’s a good indicator that roots are forming! You’ll want to gradually acclimatize your cuttings to lower humidity by opening the bag or dome a little each day for about a week.
The biggest challenge you might face is rot. If a cutting turns mushy and black, it’s usually a sign of too much moisture and not enough air circulation. Sadly, that one is usually a goner. Discard any rotted cuttings immediately. Other signs of failure include the cutting simply shriveling up and dying; this can happen if they dry out too much or if the rooting hormone wasn’t effective.
Once those roots are established and you see good top growth, you can gently transplant them into their own small pots with a good quality potting mix. Keep them in a sheltered spot for their first year, protecting them from harsh weather.
A Little Patience, A Big Reward
Growing your own Clematis alpina from cuttings is a journey that requires a bit of faith and a lot of observation. Don’t get discouraged if not every cutting takes. Enjoy the process of nurturing these new lives, and celebrate each success, no matter how small. Soon you’ll have a whole new generation of these gorgeous vines to admire! Happy gardening!
Resource:
https://identify.plantnet.org/k-world-flora/species/Clematis%20alpina%20(L.)%20Mill./data