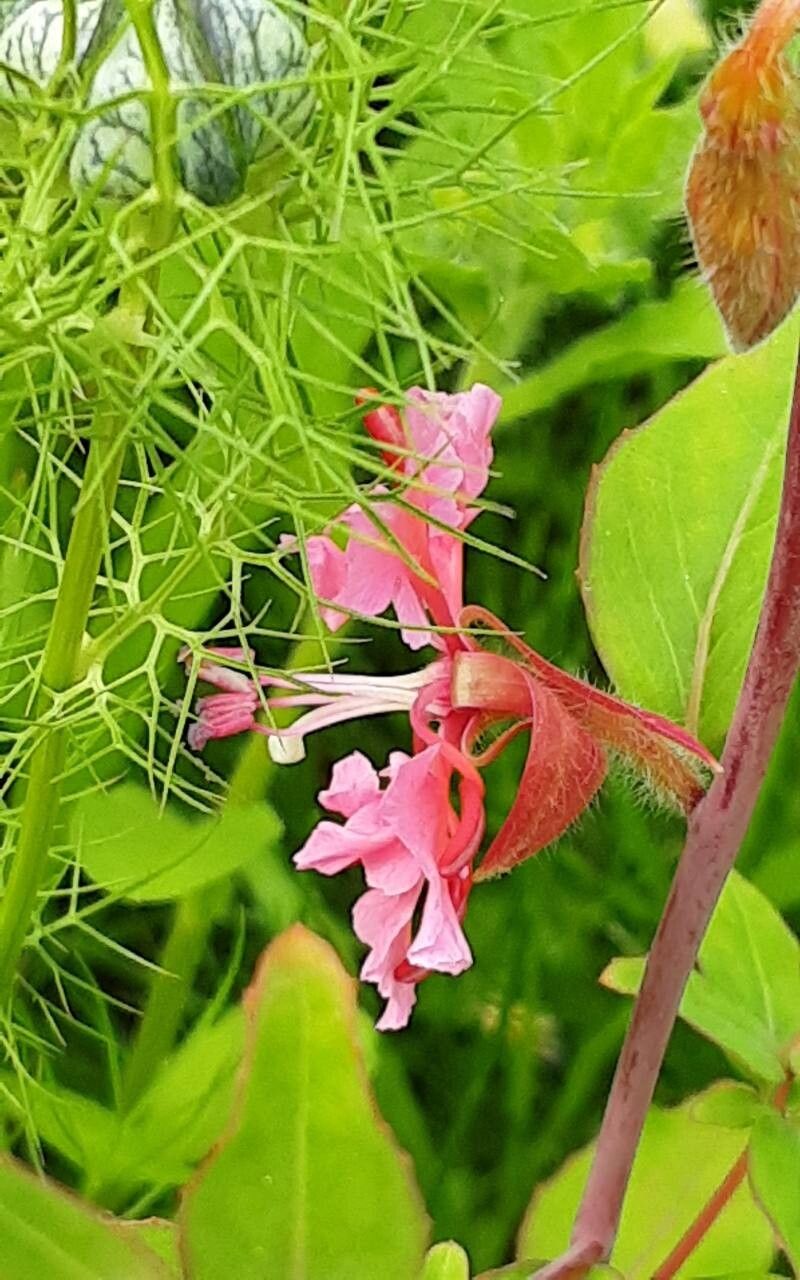
Oh, Clarkia unguiculata! You know, the common name “Elegant Clarkia” really does it justice. These beauties, with their delicate, often fringed petals in shades of pink, lavender, and white, add such a splash of whimsical charm to the garden. They have this ethereal quality that just makes me smile every time I see them.
And the best part? You can easily bring that charm back, year after year! Propagating them is a truly rewarding experience. For beginners, I’d say Clarkia unguiculata is wonderfully forgiving. You’ll likely have a great deal of success with this one, which is always a lovely confidence booster when you’re starting out.
When to Get Your Hands Dirty
The absolute best time to propagate Clarkia unguiculata is early spring, just as the last frost has passed and the soil is warming up. You can also collect seeds from dried seed pods in the late summer or fall, and sow them directly outdoors. For cuttings, while they are most successful in spring, you can often get away with taking them in early to mid-summer as well, as long as you provide consistent moisture.
What You’ll Need to Gather
Before we jump in, let’s make sure you have everything handy. It’s always easier when the supplies are ready to go!
- Well-draining potting mix: A simple mix of equal parts peat moss or coco coir and perlite or coarse sand works wonders. I like to add a bit of compost too.
- Small pots or trays: Yogurt containers with drainage holes work just fine in a pinch!
- Sharp pruning shears or a clean knife: For making nice, clean cuts.
- Rooting hormone (optional but helpful): This can give your cuttings a little extra boost. I usually opt for a powder.
- Plastic bags or a propagator lid: To create a humid environment.
- Watering can with a fine rose: For gentle watering.
- Labels or plant markers: So you don’t forget what you planted where!
Let’s Get Propagating!
Now for the fun part! Clarkia unguiculata is quite amenable to propagation from stem cuttings. It’s my go-to method for these lovely flowers.
- Taking the Cuttings: In the spring or early summer, look for healthy, non-flowering stems. You want to select stems that are not too woody but also not overly soft and new. Aim for cuttings that are about 4-6 inches long. Using your sharp pruning shears or knife, make a clean cut just below a leaf node – that’s where the leaves attach to the stem.
- Preparing the Cuttings: Gently remove the lower leaves from the cutting. You want to leave a few leaves at the top to help with photosynthesis, but clear the stem part that will be buried. If you’re using rooting hormone, dip the cut end into the powder, tapping off any excess.
- Planting the Cuttings: Fill your small pots or trays with your well-draining potting mix. Make a small hole in the center of the mix with your finger or a pencil. Carefully insert the cut end of the Clarkia cutting into the hole, ensuring that at least one leaf node is below the soil surface. Gently firm the soil around the cutting.
- Creating a Humid Environment: Water the cuttings gently. Then, cover the pots with a plastic bag or place them in a propagator with a lid. This creates a mini-greenhouse effect, keeping the humidity high, which is crucial for cuttings to root. Place the pots in a bright location out of direct, scorching sunlight.
- Water Propagation (An Alternative): While cuttings in soil are my preference, you can try water propagation with Clarkia. Take your cuttings as described above, remove the lower leaves, and place them in a jar of clean water. Make sure no leaves are submerged in the water, as this can lead to rot. Change the water every few days. Once you see good root development (about an inch long), you can carefully transplant them into pots with soil.
The “Secret Sauce” – My Insider Tips
Here are a couple of little tricks I’ve learned over the years that really make a difference:
- Think “Bottom Heat”: If you have a heated propagator or can place your pots on a heat mat, applying gentle bottom heat can significantly speed up the rooting process. It mimics the warmth of spring soil and gives those roots a real nudge.
- Don’t Overwater, But Don’t Let Them Dry Out: This is a fine balance! Cuttings need moisture, but soggy soil is a one-way ticket to rot. Water when the top layer of soil feels dry to the touch. If you notice your cuttings wilting, it’s a sign they need a drink, but check if the soil is truly dry first. Sometimes wilting is just from shock.
- Patience is a Virtue (and a Necessity!): Seriously, this is the biggest “secret.” Don’t be discouraged if you don’t see roots appear overnight. It can take several weeks for Clarkia cuttings to establish a good root system. Keep them moist and in that bright, indirect light, and trust the process.
Nurturing Your New Seedlings
Once you start seeing new growth on your cuttings – a clear sign that roots have formed – it’s time for a little extra care.
- Gradual Acclimation: If you’ve been using a plastic bag or lid, slowly start to remove it over a few days. Start by opening it for a few hours a day, gradually increasing the time until the bag is completely off. This helps the new plant adjust to ambient humidity.
- Feeding (Lightly!): Once your new plants are well-established and have several sets of leaves, you can start feeding them with a diluted liquid fertilizer once every two to three weeks. Use something balanced, like a general-purpose houseplant food.
- Transplanting: When your new Clarkia plants are a few inches tall and starting to look a little crowded in their pots, it’s time to transplant them into larger pots or directly into the garden. Be very gentle with the root ball.
Troubleshooting: The most common issue you’ll face is rot. This usually happens because of overwatering or poor drainage. If you see a cutting turn yellow, then brown and mushy, it’s likely rot. Unfortunately, there’s not much you can do to save a rotten cutting, but it’s a good learning experience! Just try again, ensuring better drainage and a lighter hand with the watering can.
So there you have it! Propagating Clarkia unguiculata is a delightful way to expand your garden and share these lovely blooms. Be patient, enjoy the small victories (a new leaf! a tiny root!), and soon you’ll be surrounded by even more of their elegant charm. Happy gardening!
Resource:
https://identify.plantnet.org/k-world-flora/species/Clarkia%20unguiculata%20Lindl./data