Growing More of That California Sunshine: Propagating Clarkia tembloriensis
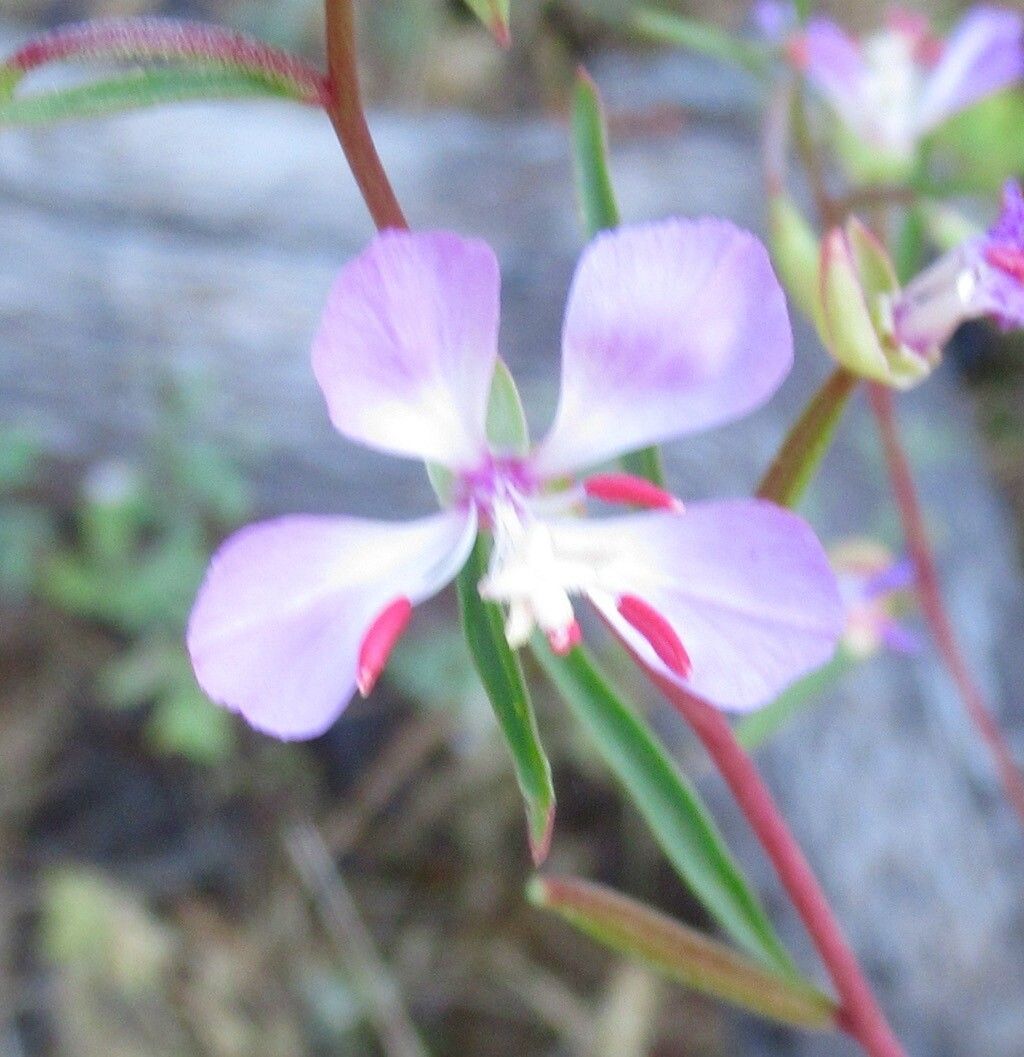
There’s something truly special about Clarkia tembloriensis, isn’t there? Those delicate, cup-shaped blooms in shades of pink, lavender, and white, dancing on slender stems—they just bring a piece of California’s wild spirit right into our gardens. If you, like me, have fallen head over heels for this native beauty, you’ll be delighted to know that propagating it is a wonderfully rewarding endeavor. And the good news? It’s quite approachable, even for those who are just starting out on their gardening journey. Getting more of these cheerful flowers to brighten your space is absolutely achievable.
The Best Time to Start
For the highest success rate with Clarkia tembloriensis, I’ve found that early spring is the sweet spot. This is when the parent plants are actively growing and full of vigor after the cooler months. Starting propagation around March or April, just as the days begin to lengthen and warm up, gives your new plants the longest possible growing season to establish themselves. You want to take cuttings from healthy, non-flowering stems of your established plants.
Supplies You’ll Need
Gathering your tools beforehand makes the whole process smoother. Here’s what I always have on hand:
- Sharp pruning shears or a clean, sharp knife: For taking precise cuttings.
- A good quality potting mix: I prefer a well-draining mix, often a blend of peat moss or coco coir with perlite or coarse sand. A mix formulated for succulents or cacti works well too.
- Small pots or seed trays: Clean pots are crucial to prevent disease.
- Rooting hormone (optional but recommended): This can significantly boost your success rate. A powder or gel-based hormone works just fine.
- A mister or spray bottle: For keeping cuttings hydrated.
- Plastic bags or a propagation dome: To create a humid environment.
- Gravel or pebbles: For drainage at the bottom of pots, though not strictly necessary if your soil mix is excellent.
Propagation Methods
Clarkia tembloriensis is quite amenable to propagation from stem cuttings. It’s my go-to method for multiplying these beauties.
- Taking the Cuttings: On a bright morning, select a healthy, vigorous stem from your mature plant. Look for a stem that is about 4-6 inches long and hasn’t started to flower yet. Using your sharp shears or knife, make a clean cut just below a leaf node (where a leaf attaches to the stem). This point is where roots are most likely to form.
- Preparing the Cuttings: Gently remove the lower leaves from your cutting. You want to expose at least two leaf nodes, as this is where the roots will emerge. If there are any flower buds, carefully pinch them off to encourage the plant to focus its energy on root development.
- Applying Rooting Hormone (Optional): Dip the cut end of the stem into your preferred rooting hormone, tapping off any excess. This creates a protective layer that encourages root formation.
- Planting the Cuttings: Fill your clean pots or trays with your prepared potting mix. Make a small pre-made hole in the soil with a pencil or your finger. Insert the cutting into the hole, ensuring that at least one or two leaf nodes are buried beneath the soil surface. Gently firm the soil around the base of the cutting.
- Creating Humidity: Water the soil lightly until it’s evenly moist but not waterlogged. Then, cover each pot with a clear plastic bag, securing it with a rubber band or by resting it on stakes to keep it from touching the leaves. Alternatively, you can use a propagation dome. Place the pots in a bright location, but out of direct, harsh sunlight.
The “Secret Sauce” (Pro Tips)
After years of coaxing reluctant plants to grow, I’ve picked up a few tricks that make a difference.
- Bottom Heat is Your Friend: While not absolutely essential for Clarkia tembloriensis, a little gentle bottom heat can really speed up root development. A seedling heat mat placed underneath your pots can create those cozy conditions for roots to form more quickly. Just remember to keep it on the lower setting.
- Don’t Drown Them: This is a common mistake with cuttings. While they need moisture to survive, sitting in soggy soil is a recipe for rot. It’s better to err on the side of slightly dry than too wet. Check the soil moisture regularly by gently poking your finger into it. If the top inch feels dry, it’s time to water.
- Air Circulation Matters: Even though we’re creating a humid environment with the plastic bag or dome, it’s a good idea to “air out” your cuttings for a few minutes each day. This helps prevent fungal issues and allows for a bit of fresh air exchange.
Aftercare & Troubleshooting
Once your cuttings have developed a good root system – usually indicated by new leaf growth and resistance when you gently tug on the stem – it’s time for them to spread their wings. Carefully remove the plastic bag or propagator. Continue to keep the soil consistently moist, but again, avoid overwatering. As they grow stronger, you can gradually acclimate them to slightly drier conditions, mimicking their natural habitat.
The most common sign of failure is wilting and browning stems, often followed by a mushy base. This is usually a sign of rot due to too much moisture or poor drainage. If you see this, remove the affected cutting immediately to prevent it from spreading. Sometimes, cuttings simply fail to root. Don’t be discouraged! It happens to all of us.
A Little Patience Goes a Long Way
Propagating Clarkia tembloriensis is a beautiful way to connect with your garden and expand your collection of these delightful wildflowers. Be patient, observe your cuttings, and celebrate every bit of new growth. Before you know it, you’ll have an abundance of California sunshine to share. Happy growing!
Resource:
https://identify.plantnet.org/k-world-flora/species/Clarkia%20tembloriensis%20Vasek/data