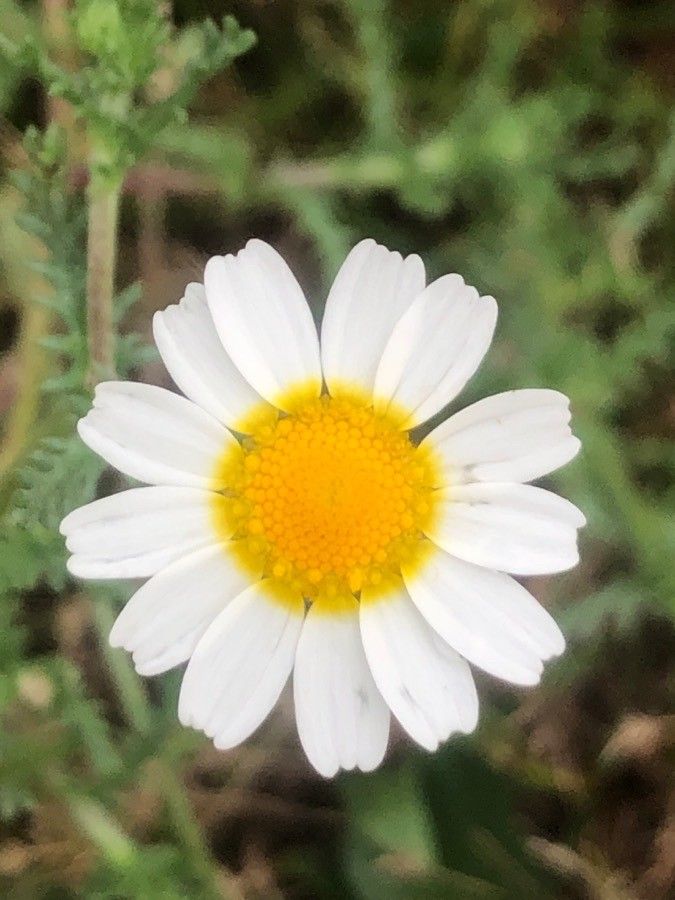
Oh, hello there! Pull up a chair and let’s talk about one of my absolute favorite plants to bring into existence: Cladanthus mixtus. If you’re looking for a burst of sunshine and a wonderfully fragrant addition to your garden, you’ve found it. This little charmer, with its delicate daisy-like flowers and lovely aroma, is a real joy to grow. And the best part? Propagating it is surprisingly accessible, even if you’re just dipping your toes into the world of plant multiplication.
The Best Time to Start
For Cladanthus mixtus, the sweet spot for propagation is definitely late spring to early summer. This is when the plant is in an active growth phase. Starting from cuttings or seeds during this time means they’ll have plenty of daylight and warmth to establish themselves before the cooler weather arrives. Think of it as giving them the best possible head start!
Supplies You’ll Need
Gathering your tools before you begin makes the whole process so much smoother. Here’s what I usually have on hand:
- Sharp pruning shears or a clean, sharp knife: For making clean cuts.
- Rooting hormone powder or gel: This isn’t strictly essential, but it really does give cuttings a boost.
- A well-draining potting mix: I like a blend of peat moss or coco coir, perlite, and a bit of compost. You want something that won’t stay soggy.
- Small pots or seed trays: Clean ones are crucial to prevent disease.
- A watering can or spray bottle: For gentle watering.
- Plastic bags or a propagator: To create a humid environment for cuttings.
- Labels and a marker: To keep track of what you’ve planted!
Propagation Methods
Cladanthus mixtus is quite cooperative when it comes to propagation. I find stem cuttings to be the most reliable and rewarding method.
Stem Cuttings: Bringing New Life to Your Favorites
-
Take Your Cuttings: In late spring or early summer, select healthy, non-flowering stems. Look for stems that are about 4-6 inches long. Using your clean shears or knife, make a clean cut just below a leaf node (the point where leaves grow from the stem). Remove the lower leaves from the cutting, leaving just a few at the top.
-
Apply Rooting Hormone (Optional but Recommended): Dip the cut end of the stem into your rooting hormone. Tap off any excess. This step helps to encourage root development.
-
Plant Your Cuttings: Fill your small pots or trays with your moistened, well-draining potting mix. Gently make a hole in the soil with a pencil or your finger. Insert the cut end of the stem into the hole and firm the soil gently around it. You can fit several cuttings into one pot, just give them a little space.
-
Create a Humid Environment: Water the soil gently from the top. Then, cover the pot or tray with a plastic bag, or place it inside a propagator. Make sure the plastic doesn’t touch the leaves of the cuttings. You want to create a mini-greenhouse effect. You can secure the bag with a rubber band around the pot.
-
Place and Wait: Put your pots in a bright spot, but out of direct sunlight. Keep the soil consistently moist but not waterlogged. You might want to open the bag for a few minutes each day to allow for air circulation and prevent mold.
Water Propagation (A Simpler Option)
While I personally prefer soil, water propagation can also work for Cladanthus mixtus.
-
Prepare Your Cuttings: Follow the same steps as above for taking cuttings, but skip the rooting hormone.
-
Place in Water: Fill a clean jar or glass with fresh water. Strip off the bottom leaves, ensuring no leaves will be submerged in the water. Submerged leaves tend to rot, which can malheureusement kill your cutting.
-
Find a Good Spot: Place the jar in a bright, indirect light location.
-
Change Water Regularly: Change the water every few days to keep it fresh and oxygenated. You’ll start to see tiny roots emerge from the nodes.
-
Transplant When Ready: Once the roots are about an inch long, you can carefully transplant them into your well-draining potting mix. Treat them as you would a soil-started cutting.
The “Secret Sauce”
Here are a couple of tricks I’ve learned over the years that can make a big difference:
- Bottom Heat is Your Friend: If you have access to a heated propagator mat, placing your pots on it can significantly speed up root development. The gentle warmth encourages the plant to put its energy into growing roots. It’s like a cozy spa day for your cuttings!
- Don’t Be Afraid to Prune Again: Once your cuttings have rooted and are starting to grow, snip off the very tip of the main stem. This might seem counterintuitive, but it encourages the plant to branch out, leading to a bushier, more robust plant.
Aftercare & Troubleshooting
Once you start to see new growth on your cuttings – a sure sign of successful rooting! – it’s time to adjust your care.
- Gradual Acclimation: Slowly introduce your new plants to normal conditions. Gradually increase their exposure to direct sunlight and reduce the humidity by opening the plastic bag more often, eventually removing it entirely.
- Regular Watering: Continue to water your new plants when the top inch of soil feels dry. They’ll be establishing their root systems, so consistent moisture is key.
- Signs of Trouble: The most common issue you might encounter is rot, which usually appears as mushy, discolored stems. This is most often caused by overwatering or poor drainage. If you see this, discard the affected cutting and reassess your watering habits and soil mix for the remaining ones. Another sign of stress might be wilting, which could be due to under-watering or shock from being moved.
A Little Patience Goes a Long Way
Propagating plants is such a rewarding way to expand your garden and share the joy of growing. Don’t get discouraged if not every cutting takes – it’s all part of the learning process! With a little patience and these tips, you’ll be well on your way to enjoying your own Cladanthus mixtus clones. Happy gardening!
Resource:
https://identify.plantnet.org/k-world-flora/species/Cladanthus%20mixtus%20(L.)%20Chevall./data