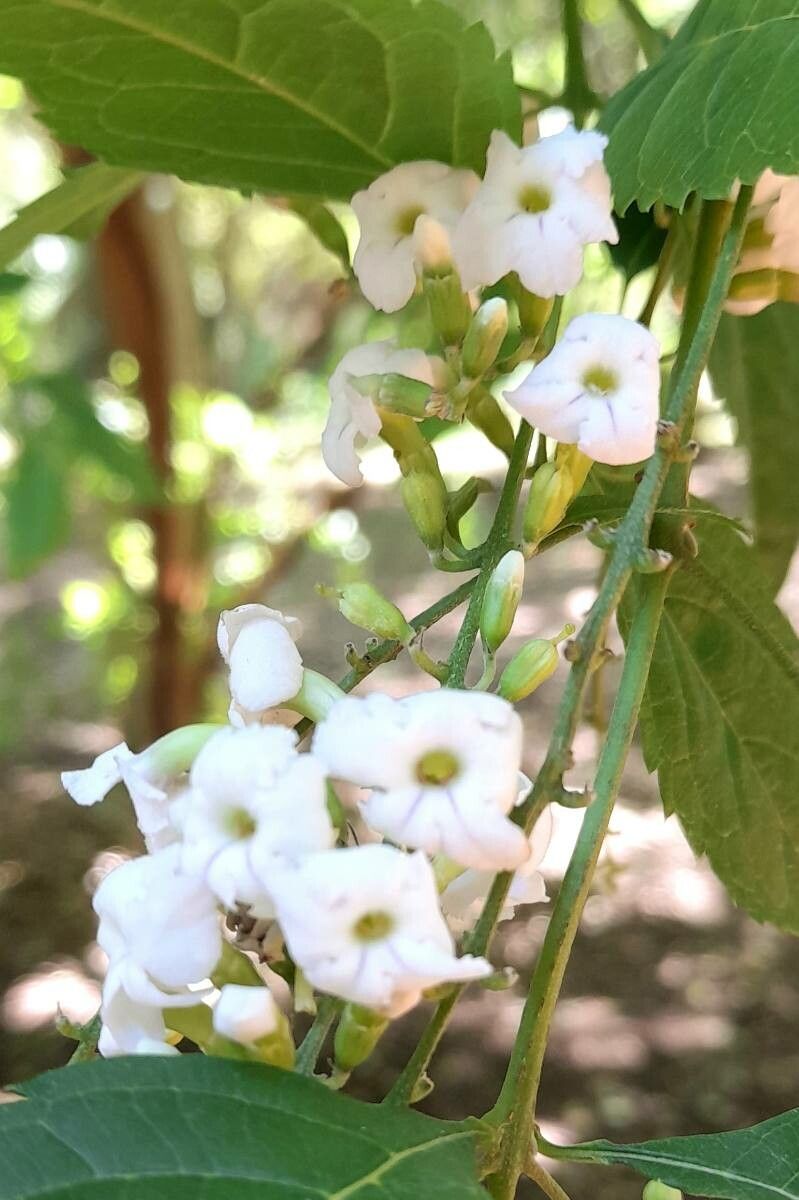
Hello there, fellow garden enthusiasts! Today, I want to talk about a plant that has truly captured my heart over the years: Citharexylum joergensenii, or as many of us affectionately call it, the fiddlewood. If you’ve ever seen its delicate, bell-shaped blossoms cascading down, you know the magic it brings to a garden. And the best part? Sharing that magic by propagating it yourself is incredibly rewarding.
Now, you might be wondering if this is a plant for the absolute beginner. I’d say it’s a moderately easy plant to propagate. With a little patience and a few of my tried-and-true methods, you’ll be well on your way to a whole new collection of fiddlewoods!
The Best Time to Start
For the highest success rate with Citharexylum joergensenii, I’ve found that late spring to early summer is absolutely prime time. This is when the plant is in its active growth phase, meaning it’s full of vigor and ready to produce new shoots. You want to take your cuttings from healthy, non-flowering, semi-hardwood stems. Think stems that are firm but still have a bit of flexibility – not the brand-new, bright green, floppy growth, and definitely not the tough, woody older growth.
Supplies You’ll Need
Gathering your tools beforehand makes the whole process so much smoother. Here’s what I always have on hand:
- Sharp Pruning Shears or a Craft Knife: For clean cuts.
- Rooting Hormone (Powder or Gel): This is a helpful boost, especially for some plants.
- Small Pots or Seedling Trays: With drainage holes, of course!
- Well-Draining Potting Mix: I like a blend of 50% perlite and 50% peat moss or coco coir. This ensures good aeration and prevents soggy roots.
- Clear Plastic Bags or a Propagation Dome: To create a humid microclimate.
- Watering Can or Spray Bottle: For gentle watering.
- Optional: A Heat Mat: For bottom warmth, though not always strictly necessary for Citharexylum joergensenii.
Propagation Methods
Let’s get our hands dirty! The most reliable method for Citharexylum joergensenii is through stem cuttings.
Stem Cuttings
- Select Your Cuttings: As I mentioned, look for those semi-hardwood stems. Aim for cuttings that are about 4-6 inches long.
- Make the Cut: Using your sharp shears or knife, make a clean cut just below a leaf node (the point where a leaf attaches to the stem). This node is where roots are most likely to form.
- Prepare the Cutting: Gently remove any leaves from the bottom half of the cutting. It’s usually best to leave just 2-3 leaves at the top. If the top leaves are very large, you can even halve them to reduce water loss.
- Apply Rooting Hormone: Dip the cut end of the stem into your rooting hormone, making sure to coat the entire lower inch. Tap off any excess. This step isn’t always essential, but it can give your cuttings a competitive edge.
- Planting: Make a small hole in your prepared potting mix with a pencil or your finger. Insert the cutting, ensuring at least one leaf node is buried beneath the soil surface. Gently firm the soil around the cutting.
- Create Humidity: Water the soil lightly. Then, cover the pot with a clear plastic bag or propagation dome. This traps moisture and keeps the humidity high, which is crucial for cuttings to root. Make sure the leaves do not touch the plastic, as this can encourage rot. You might need to prop up the bag with stakes.
- Placement: Place the pot in a bright spot with indirect light. Avoid direct sun, which can scorch the tender cuttings.
Water Propagation (Less Common, but worth a try!)
While stem cuttings in soil are my go-to, you can try water propagation.
- Prepare the Cutting: Follow steps 1-3 from the stem cuttings method.
- Place in Water: Submerge the lower portion of the cutting (where the leaves were removed) in a clean jar or glass of water.
- Avoid Leaf Drowning: Make absolutely sure that no leaves are submerged in the water. They will rot quickly and can spoil the whole batch.
- Change Water Regularly: Change the water every few days to keep it fresh and prevent bacterial growth.
- Placement: Keep the jar in bright, indirect light. Once you see tiny roots forming, you can carefully transplant them into your well-draining potting mix. Handle these baby roots with extreme care.
The “Secret Sauce” (Pro Tips)
Here are a few little tricks I’ve picked up over the years that make a difference:
- Bottom Heat is Your Friend: While not always essential, placing your pots on a gentle heat mat can significantly speed up rooting. It mimics the warmth of the soil in summer and encourages root development from below. About 70-75°F is ideal.
- The “Wiggle Test” (and Patience!): Don’t tug on your cuttings too soon! The best way to check for roots is to gently wiggle the cutting. If you feel resistance, roots are forming. If it’s loose and wobbly, it hasn’t rooted yet. Be patient! It can take anywhere from 4-8 weeks, sometimes longer.
- Cleanliness is Key: Always use clean pots and tools. This minimizes the risk of fungal or bacterial diseases that can, sadly, kill your precious cuttings before they even have a chance. A quick wash with soap and water is usually sufficient.
Aftercare & Troubleshooting
Once your cuttings have developed a good root system (you’ll see active growth and feel resistance when you gently tug), it’s time for their next step. Carefully transplant them into their own small pots with your regular potting mix. Continue to keep them in bright, indirect light, and water them when the top inch of soil feels dry.
The most common troublemaker is rot. If your cutting turns mushy, black, or just falls apart, it’s likely rot. This is usually caused by too much moisture and not enough air circulation. Prevention is better than cure: ensure excellent drainage, don’t overwater, and use that plastic bag loosely to allow for some airflow. If you see any signs of rot on a cutting, remove it immediately to protect the others. Another sign of failure is if the cutting just keeps wilting and never shows signs of rooting – this can happen if it’s too old or too young, or if conditions aren’t quite right.
A Gentle Encouragement
Propagating plants is a beautiful dance with nature. There will be successes, and there will be a few learning moments – that’s part of the joy! Don’t get discouraged if a batch doesn’t take. Each attempt teaches you something new about your plants and their needs. So, gather your supplies, embrace the process, and get ready to share the lovely charm of Citharexylum joergensenii with more corners of your garden, and perhaps even with fellow plant-loving friends. Happy propagating!
Resource: