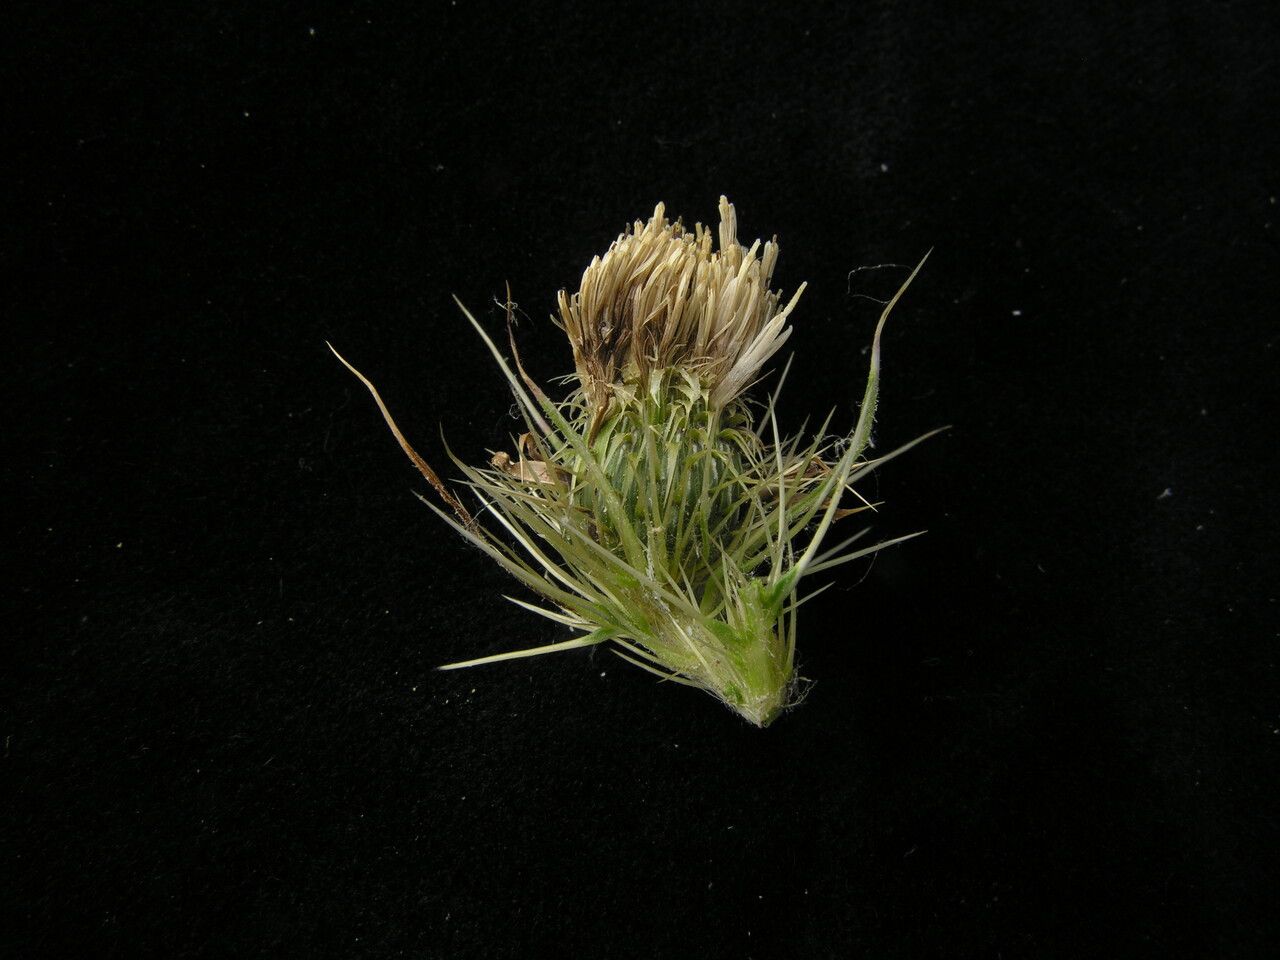
Oh, hello there! So glad you’ve stopped by. I’m absolutely thrilled to talk about Cirsium falconeri, or as I affectionately call them, the “Falkner’s Thistle.” If you’re looking for a plant that brings a touch of wild, untamed beauty to your garden, then this is it. Their striking, intricate blooms are a magnet for pollinators, and truthfully, I find watching them sway in the breeze incredibly peaceful.
Propagating Cirsium falconeri might sound a little daunting, especially if you’re just dipping your toes into the world of plant propagation. I’ll be honest, they aren’t the easiest plant for absolute beginners, but with a little patience and these tips, I promise you, you’ll be rewarded with a whole new family of these beauties. It’s such a satisfying feeling to nurture a new life from a tiny piece of the parent plant.
The Best Time to Start
For Cirsium falconeri, the time to get your propagation on is late spring to early summer, just as the plant is in its active growing phase. You want to capture that surge of energy. The warmer temperatures and longer daylight hours provide the perfect environment for new cuttings or divisions to establish themselves. Trying to propagate too early or too late in the season can really slow things down.
Supplies You’ll Need
Gathering your tools beforehand makes the whole process so much smoother! Here’s what I always have on hand:
- Sharp, clean pruning shears or a knife: Essential for making clean cuts that heal well.
- Rooting hormone powder (optional but recommended): Helps cuttings develop roots faster. Look for one with a fungicide.
- Well-draining potting mix: A mix of peat moss, perlite, and a bit of compost works beautifully. You want it to drain freely to prevent rot.
- Small pots or seedling trays: Clean ones are key to avoiding disease.
- A spray bottle: For keeping things gently moist.
- Clear plastic bags or a propagator lid: To create a humid environment for cuttings.
- Labels and a marker: Trust me, you’ll thank yourself later for labeling everything!
Propagation Methods
There are a couple of tried-and-true ways to get more Cirsium falconeri plants. I find division to be the most straightforward for this particular thistle.
Division:
- Choose your moment: Wait until the plant has finished flowering, usually in the late fall or very early spring before new growth really gets going.
- Gently excavate: Carefully dig around the base of the mature plant. The goal is to lift the entire root ball out of the ground with minimal damage.
- Inspect the roots: Once you have the plant out, gently brush away excess soil. You’re looking for distinct clumps or offsets that have their own roots and stems.
- The “divide” part: Using your hands or a clean trowel, gently pull the clumps apart. If they’re stubborn, a sharp knife can help, but try to keep each division with a good portion of its root system. Don’t worry if some roots break; just try to preserve as much as possible.
- Replant immediately: Pot up your divisions into their new homes using your well-draining potting mix. Water them in well.
While division is my go-to, you can try stem cuttings, though they can be a bit more finicky.
Stem Cuttings:
- Take your cuttings: In late spring or early summer, select healthy, non-flowering stems. Cut a piece about 4-6 inches long, just below a leaf node. Remove the lower leaves.
- Dip in hormone: If using rooting hormone, lightly dip the cut end into the powder.
- Plant them: Stick the cuttings about an inch deep into your pre-moistened, well-draining potting mix.
- Create humidity: Cover the pots with a clear plastic bag or propagator lid to create a mini-greenhouse effect. Make sure the leaves don’t touch the sides of the bag if possible.
- Find a warm spot: Place the pots in a bright location, but out of direct, harsh sunlight.
The “Secret Sauce” (Pro Tips)
Here are a few things I’ve learned over the years that make a difference:
- Don’t drown your cuttings! Even though they need moisture, soggy conditions are a fast track to rot. Make sure your mix is consistently moist, not wet.
- Bottom heat is your friend (for cuttings). If you’re struggling with stem cuttings, a seedling heat mat placed underneath the pots can significantly speed up root formation. It mimics those lovely spring soil temperatures.
- Be patient with divisions. Sometimes, divisions look a little sad and droopy for the first week or two. That’s normal! They’re just settling in and reassessing their next move. Give them time and consistent moisture.
Aftercare & Troubleshooting
Once your divisions are replanted or your cuttings have developed roots (you might see new leaf growth or feel a gentle tug when you carefully test a cutting), it’s time for gentle care.
Keep the soil consistently moist but never waterlogged. As they grow stronger, you can gradually introduce them to more light and, eventually, transplant them into their permanent garden spots.
The most common issue you’ll face is rot. If you see stems turning black and mushy, or roots becoming slimy, it’s usually a sign of too much moisture and not enough air circulation. If you catch it early, you can try to salvage unaffected parts of the plant, but prevention is truly key. For divisions, if they don’t seem to be taking, ensure they’re not drying out completely.
A Encouraging Closing
So there you have it! Propagating Cirsium falconeri is a wonderful way to get more of these gorgeous plants for your garden or to share with fellow plant enthusiasts. Don’t get discouraged if your first attempt isn’t perfect. Every gardener learns through trial and error, and the joy of watching something you nurtured grow is truly special. Be patient, enjoy the process, and happy gardening!
Resource:
https://identify.plantnet.org/k-world-flora/species/Cirsium%20falconeri%20(Hook.f.)%20Petr./data