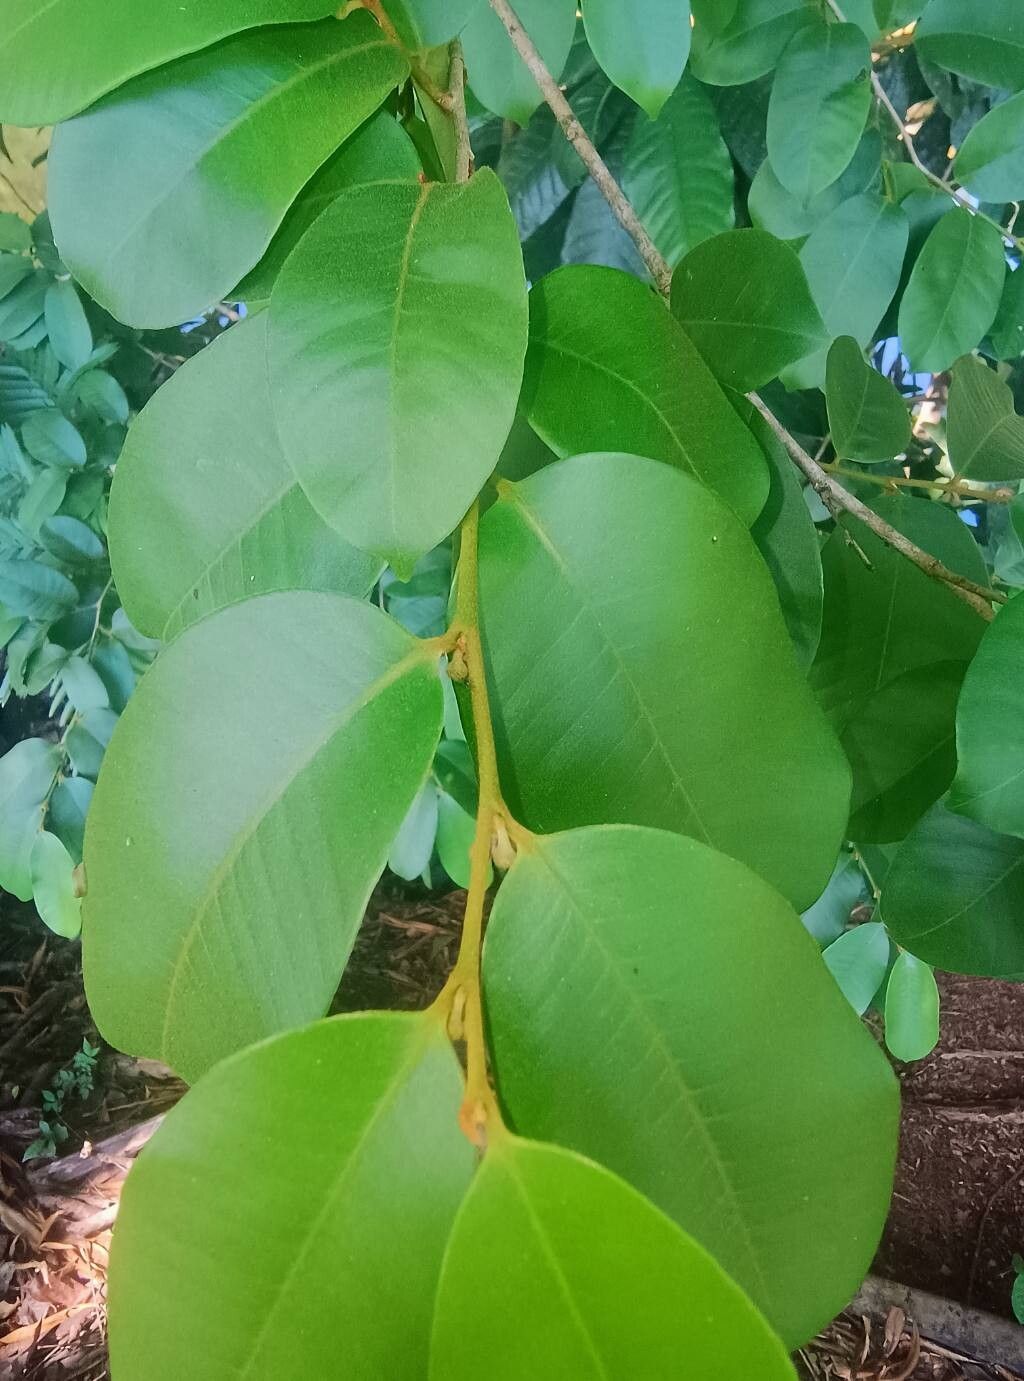
Hello, fellow gardeners! Today, I want to talk about a plant that truly brightens any corner and brings a touch of the tropics right into our homes or gardens: Chrysophyllum hirsutum. Most folks know it as Star Apple, or sometimes Cainito, and its glossy leaves and, if you’re lucky, delicious fruit, make it a real showstopper. If you’re looking for a bit of a project that yields beautiful results, propagating your own Star Apple is incredibly rewarding. Now, for beginners, I’d say it’s not the absolute easiest plant to get started with, but with a little patience and these tips, you’ll be well on your way.
The Best Time to Start
For Star Apples, the sweet spot for propagation is late spring to early summer. This is when the plant is actively growing and has plenty of energy to put into new growth and root development. You’re looking for young, healthy shoots that aren’t too woody but have had a chance to mature a bit. Think of stems that are semi-hardwood – they’ll bend without snapping easily.
Supplies You’ll Need
Getting your supplies ready makes the whole process much smoother. Here’s what I usually have on hand:
- Sharp Pruning Shears or a Clean Knife: For taking your cuttings cleanly.
- Potting Mix: A well-draining mix is crucial. I like to use a blend of peat moss, perlite, and a little sand. Some gardeners also swear by a specific seed-starting mix.
- Rooting Hormone: This is a big help, especially for trickier propagation. I prefer a powder or gel form.
- Small Pots or Seed Starting Trays: With drainage holes, of course!
- Plastic Bags or a Clear Dome: To create a humid environment.
- Watering Can with a Fine Rose: For gentle watering.
- Gloves: Always a good idea for keeping hands clean.
Propagation Methods
While you can try other methods, I find stem cuttings to be the most successful and straightforward for Chrysophyllum hirsutum.
- Take Your Cuttings: Choose healthy, non-flowering stems. Look for branches that are about pencil-thick and 6-8 inches long. Make a clean cut just below a leaf node (where a leaf attaches to the stem). Remove any leaves from the bottom two-thirds of the cutting. You can leave a few leaves at the top, but trim them in half if they are very large to reduce water loss.
- Apply Rooting Hormone: Dip the cut end of the stem into your rooting hormone, tapping off any excess. Make sure the cut end and the lower portion of the stem are coated.
- Plant Your Cuttings: Fill your pots or trays with your prepared potting mix. Make a hole in the center with your finger or a pencil. Gently insert the cutting into the hole, ensuring the rooting hormone is covered. Firm the soil around the stem.
- Water Gently: Water the soil well until it’s evenly moist but not waterlogged.
- Create Humidity: Cover the pot or tray with a plastic bag or a clear dome. This is key to keeping the cuttings from drying out before they can root. Make sure the leaves don’t touch the plastic if possible; if they do, trim them a little more.
- Find a Warm Spot: Place your cuttings in a warm, bright location that doesn’t get direct, harsh sunlight. A good spot is often a windowsill that gets bright, indirect light.
The “Secret Sauce”
Now, for a few tricks I’ve picked up over the years that really make a difference:
- Bottom Heat is Your Friend: If you can, place your pots on a heat mat designed for seedlings. This gentle warmth encourages root development from below and can dramatically speed up the process. It mimics the conditions a plant would experience in its natural, warm environment.
- Don’t Overwater (or Underwater!): This is a delicate balance. The soil should feel consistently moist, like a wrung-out sponge, but never soggy. If the surface starts to look dry, give it a gentle drink. If you see water pooling, you’ve gone too far. Misting the leaves occasionally can be helpful, but don’t soak them.
- Be Patient with the Rooting Hormone: While rooting hormone is great, don’t be tempted to use too much. A light coating is all that’s needed. Too much can actually inhibit rooting.
Aftercare & Troubleshooting
Once you start seeing signs of new growth – tiny leaves emerging from the top – that’s a good indicator that roots are forming! You can gently tug on the cutting. If there’s resistance, you’ll know roots have started to take hold.
At this point, you can gradually acclimate them to lower humidity by opening the plastic bag or dome for a few hours each day. Eventually, you can remove it completely. Continue to water them when the top inch of soil feels dry.
The biggest enemy is rot. If you see your cuttings turning mushy and black, it’s usually a sign of too much moisture and not enough air circulation. Unfortunately, if rot sets in, it’s very difficult to save the cutting. Prevention (good drainage, not overwatering) is truly the best cure here.
A Little Patience Goes a Long Way
Propagating Chrysophyllum hirsutum is a journey. Some cuttings might take off quickly, while others may take their sweet time. Don’t get discouraged if your first attempt isn’t a smashing success. Each plant is a learning experience. Celebrate the little victories, enjoy the process of nurturing something new, and soon enough, you’ll have your very own Star Apple to admire! Happy gardening!
Resource:
https://identify.plantnet.org/k-world-flora/species/Chrysophyllum%20hirsutum%20Cronquist/data