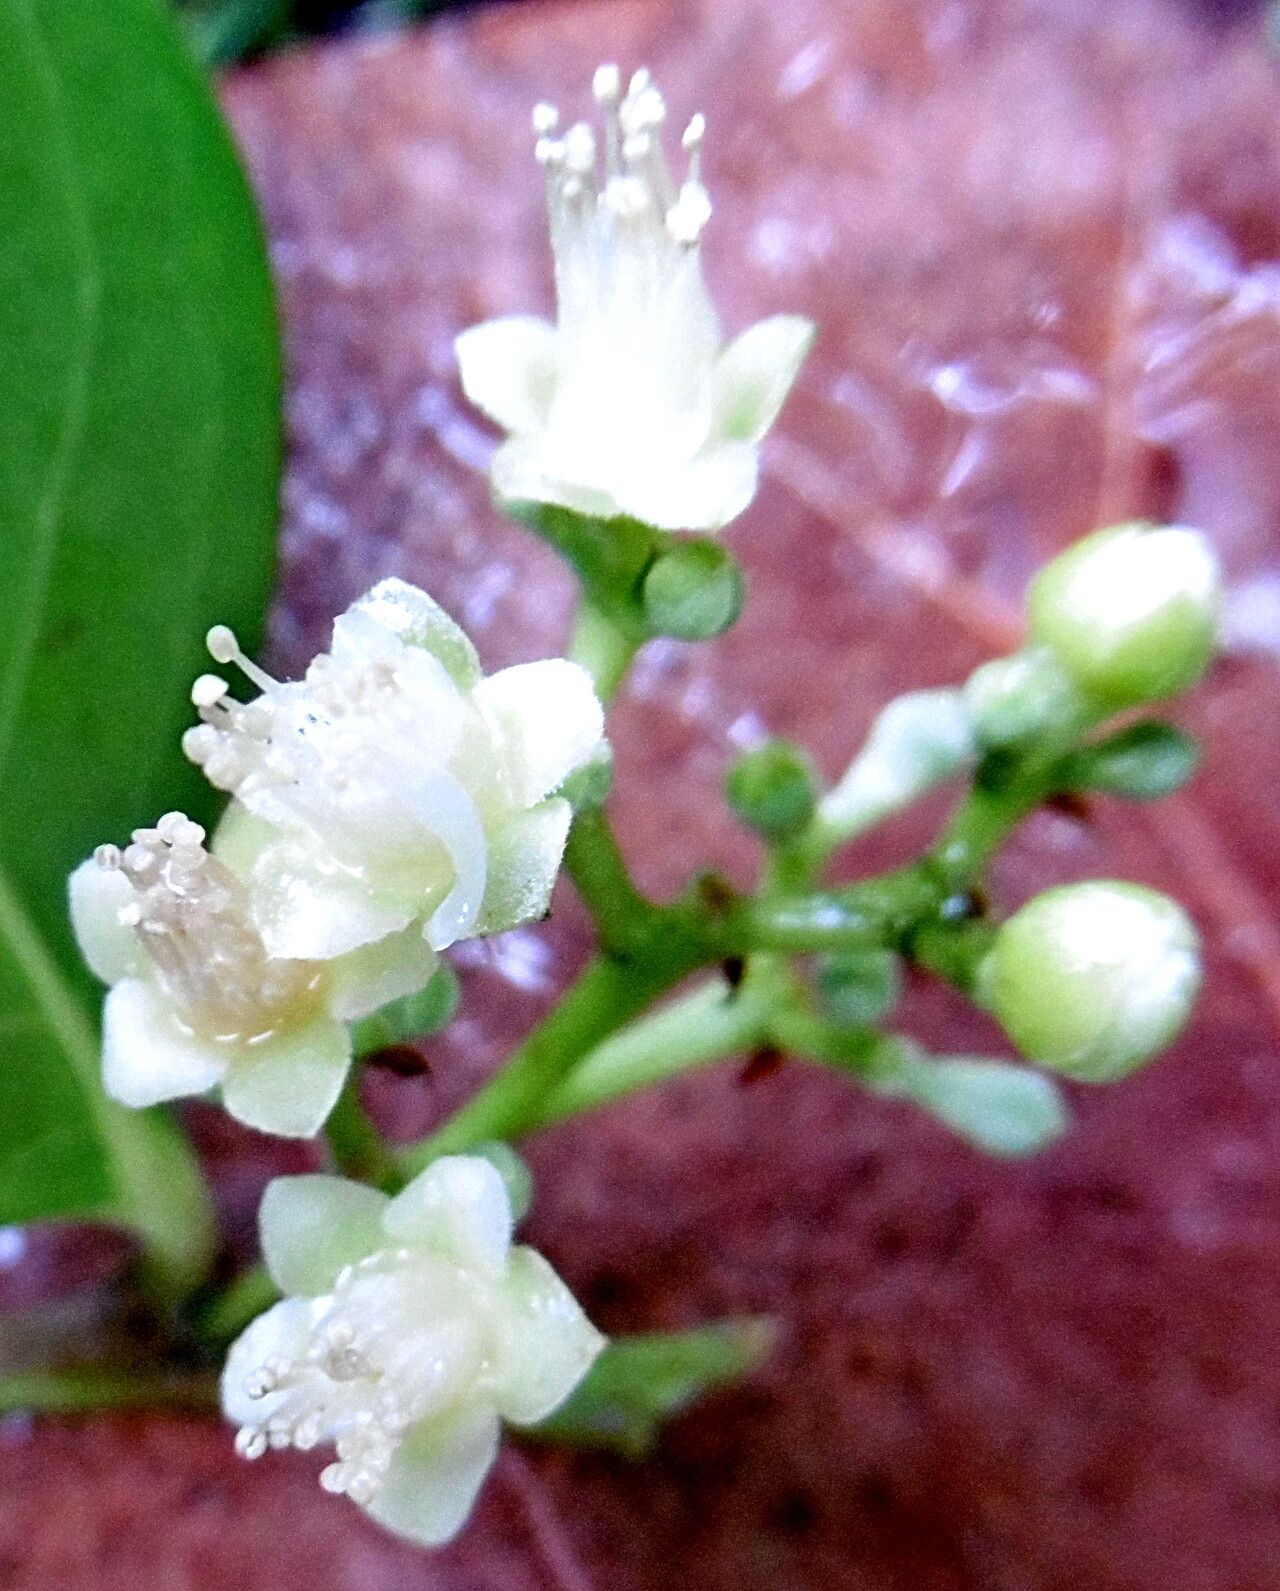
Oh, hello there! Come on in, grab a mug. Let’s chat about Chrysobalanus icaco, or as many of us affectionately call it, the cocoplum. If you’ve ever seen these lovely shrubs with their glossy leaves and those intriguing, plum-like fruits, you know exactly why they’re so appealing. They bring a touch of the tropics, a bit of history, and a whole lot of charm to the garden. And the best part? You can easily fill your garden with them by propagating your own! Don’t let the fancy name scare you – propagating cocoplum is a really satisfying project, even for those of you who are just getting your green thumbs wet.
The Best Time to Start
For the highest success rate, I always recommend taking stem cuttings during the late spring or early summer. This is when the plant is actively growing, and those new shoots have the energy they need to root. You’ll be looking for stems that are semi-hardwood – they’re not brand new and floppy, but not so old and woody that they’re stiff. Think of it like a pencil: firm but with a little give.
Supplies You’ll Need
Before we dive in, let’s gather our tools. Having everything ready makes the process so much smoother.
- Sharp pruning shears or a clean, sharp knife: For making clean cuts.
- Rooting hormone (optional but recommended): This will give your cuttings a great head start. Look for one formulated for woody cuttings.
- Well-draining potting mix: A 50/50 mix of peat moss and perlite or vermiculite works wonderfully. You can also use a specialized succulent or cactus mix.
- Small pots or containers: Clean ones are a must! Yogurt cups with drainage holes poked in the bottom work in a pinch.
- Clear plastic bag or a humidity dome: To keep the cuttings moist.
- Water: For misting.
- A small trowel or dibbler: To make holes for the cuttings.
- Labels: To mark what you’ve planted and when.
Propagation Methods: Stem Cuttings
This is my go-to method for cocoplum. It’s reliable and you can get quite a few plants from a single parent shrub.
- Select Your Cuttings: Find those semi-hardwood stems I mentioned earlier. Look for healthy growth, free from any signs of pests or diseases.
- Make the Cut: Using your clean shears or knife, cut a length of stem that’s about 6 to 8 inches long. Make your cut just below a leaf node (where a leaf attaches to the stem). This is where most of the rooting action happens.
- Prepare the Cuttings: Gently remove the lower leaves from the bottom half of the cutting. You want to expose the nodes so they can make contact with the soil and rooting hormone. Leave about 2-3 leaves at the top to help with photosynthesis. If the remaining leaves are very large, you can cut them in half to reduce water loss.
- Apply Rooting Hormone (If Using): Dip the cut end into your rooting hormone, tapping off any excess.
- Plant Your Cuttings: Fill your chosen pots with the well-draining potting mix. Use your dibbler or a pencil to make a hole in the center of the soil. Insert the cut end of the cocoplum cutting into the hole, making sure at least one or two leaf nodes are below the soil surface. Gently firm the soil around the base of the cutting.
- Provide Humidity: Water the soil thoroughly until you see water drain from the bottom. Then, cover the pot with a clear plastic bag or place a humidity dome over it. This creates a mini greenhouse, keeping the humidity high and preventing the cuttings from drying out. You can prop up the bag with stakes so it doesn’t touch the leaves.
The “Secret Sauce” (Pro Tips)
Here are a few little tricks I’ve learned over the years that can really boost your success:
- Bottom Heat is Your Friend: If you have a propagation mat or can place your pots on a sunny windowsill over a warm appliance (like a gentle radiator), bottom heat can significantly speed up root development. It encourages those roots to seek warmth and grow.
- Don’t Let Those Leaves Touch the Water (If You Try Water Propagation): While stem cuttings in soil are my preference, some people like to try water propagation. If you go that route, ensure that no leaves are submerged in the water. Only the bare stem should be in contact with the water. Leaves in the water will rot, which can then infect the cutting.
- Patience, Patience, Patience: Cocoplum roots can take their time. I often don’t see significant root development for 6 to 8 weeks, sometimes even longer. Don’t be tempted to dig them up too soon to check!
Aftercare & Troubleshooting
Once you see signs of new growth – a tiny new leaf or two emerging from the top – it’s a good indication that your cutting has rooted!
- Gradually Acclimate: Slowly reduce the humidity over a week or two. You can start by opening the plastic bag for a few hours each day, then remove it entirely.
- Watering: Water whenever the top inch of soil feels dry. Avoid letting the pot sit in water, as this can lead to root rot, which is the most common problem.
- Transplanting: Once the roots have filled the pot (you might see them peeking out the drainage holes), you can transplant your new cocoplum into a slightly larger pot or directly into a prepared garden bed, if your climate is suitable.
If your cuttings don’t root, don’t despair! It happens to all gardeners. Wilting, yellowing leaves, or a mushy stem are usually signs that the cutting didn’t make it. This could be due to a lack of humidity, overwatering, or the cutting simply not being vigorous enough. Just clean out your pot and try again!
A Encouraging Closing
Growing plants from cuttings is such a rewarding journey. It’s a tangible way to connect with nature and fill your garden with beautiful, fruitful plants. Be patient with your cocoplum cuttings, give them the care they need, and enjoy the magic of watching them grow. Happy propagating!
Resource:
https://identify.plantnet.org/k-world-flora/species/Chrysobalanus%20icaco%20L./data