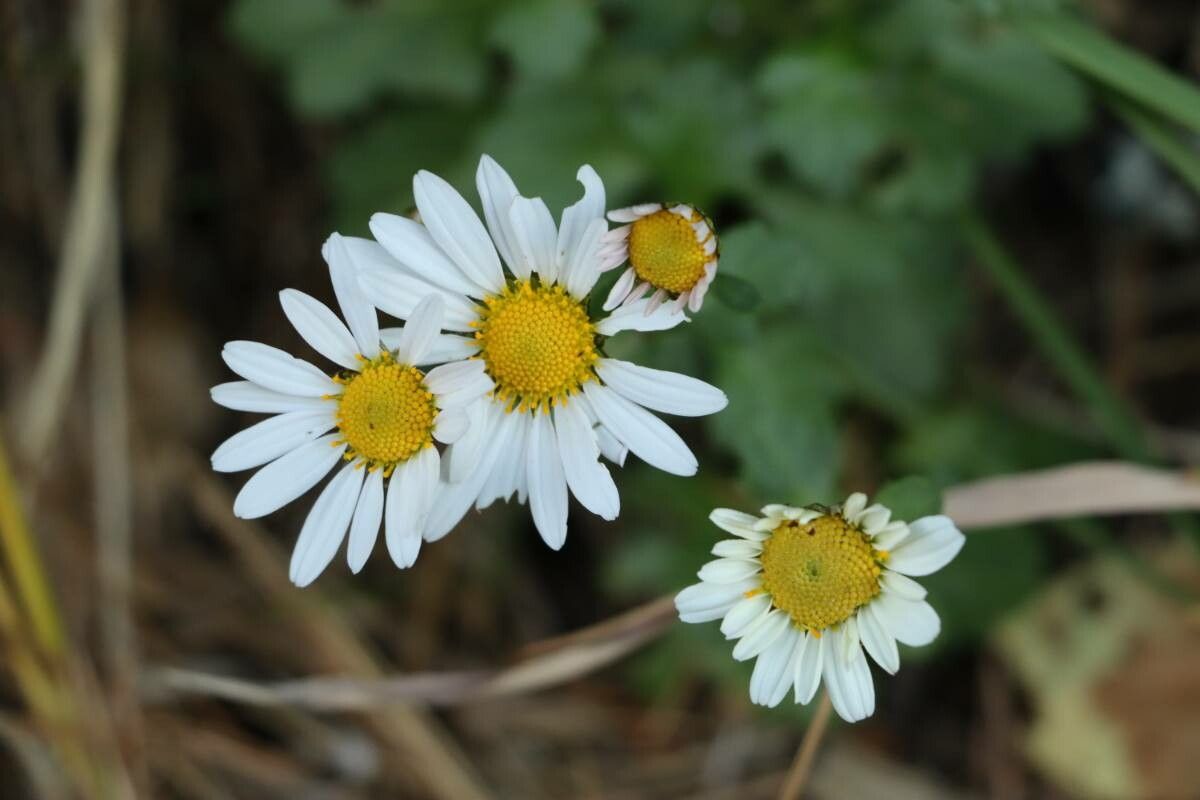
Hello, green thumb friends! It’s wonderful to have you here. Today, we’re diving into the delightful world of Chrysanthemum makinoi. These beauties, with their delicate daisy-like blooms and often cheerful colors, are such a joy to have in the garden. They bring a smile to my face every year, and the best part? You can easily have more of them! Propagating your own chrysanthemum babies is incredibly rewarding, and I find Chrysanthemum makinoi to be a quite forgiving plant, even for folks just starting their gardening journey.
The Best Time to Start
For the highest success rate with Chrysanthemum makinoi, I always reach for my pruning shears in late spring or early summer. This is when the plant is actively growing, and those young, tender shoots are perfect for taking cuttings. You can also have success with softwood cuttings a bit later in the season, but aiming for that initial flush of growth gives your new plants the longest possible season to establish themselves before fall.
Supplies You’ll Need
Gathering your supplies makes the whole process so much smoother. Here’s what I always have on hand:
- Sharp pruning shears or a clean knife: For making clean cuts.
- Rooting hormone (optional, but recommended): Helps encourage root development.
- Small pots or seed trays: With drainage holes, of course!
- Well-draining potting mix: A good blend of peat moss, perlite, and a bit of compost works wonders. I often use a specially formulated seedling mix.
- Plastic bags or a propagation dome: To create a humid environment.
- Watering can with a fine rose: For gentle watering.
- Labeling stakes and a pen: Because remembering which cutting is which is a challenge!
Propagation Methods
There are a couple of tried-and-true ways to get more Chrysanthemum makinoi from your existing plants. I’ll walk you through my favorites.
Stem Cuttings
This is my go-to method for Chrysanthemum makinoi. It’s efficient and gives you a great number of new plants.
- Take the Cuttings: In late spring or early summer, look for healthy, non-flowering shoots. Select stems that are about 4-6 inches long. Using your clean shears or knife, make a fresh cut just below a leaf node (where a leaf meets the stem). This is where the magic of rooting happens!
- Prepare the Cuttings: Gently remove the lower leaves from the cutting, leaving just a few at the top. You want to expose the leaf nodes where roots will form. If the leaves are large, you can even cut them in half to reduce water loss.
- Apply Rooting Hormone (Optional): Dip the cut end of each stem into rooting hormone, tapping off any excess.
- Plant the Cuttings: Fill your small pots with the well-draining potting mix. Make a small hole in the center of each pot with a pencil or your finger. Insert the prepared cuttings into the holes, ensuring that at least one or two leaf nodes are buried in the soil. Gently firm the soil around the cuttings.
- Water and Cover: Water the pots thoroughly until water drains from the bottom. Then, cover each pot with a plastic bag or place them under a propagation dome. This creates a humid environment that keeps the cuttings from drying out.
Division
This is a simpler method, perfect for when you’re dividing larger clumps of chrysanthemums, perhaps in the fall after flowering or in early spring.
- Excavate the Plant: Carefully dig up the entire chrysanthemum clump.
- Gently Separate: Use your hands or a clean spade to gently pull apart the clump into smaller sections. Each section should have plenty of healthy roots and a few leafy shoots. Discard any dead or mushy parts.
- Replant: Immediately replant these divisions into their new homes, whether in pots or directly into your garden beds. Water them well.
The “Secret Sauce” (Pro Tips)
Here are a couple of little tricks I’ve learned over the years that really boost my chrysanthemum propagation success:
- Bottom Heat is Your Friend: If you have the setup, placing your pots of cuttings on a heated propagation mat can significantly speed up root development. The warmth encourages the plant to send out those first tiny roots.
- Don’t Drown Your Cuttings: While they need humidity, overwatering is the quickest way to rot them. Make sure your pots drain well, and only water when the top inch of soil feels dry to the touch. And for water propagation (though less common for chrysanthemums, some try it), never let the leaves touch the water – they’ll just rot. Submerge only the stem.
Aftercare & Troubleshooting
Once your cuttings have developed roots (you can check by gently tugging on a stem – if there’s resistance, you have roots!), it’s time to give them a bit more focused care.
- Acclimatize: Slowly start to remove the plastic bag or dome for increasing periods over a few days. This helps the young plants adjust to lower humidity.
- Water Wisely: Continue to water when the soil feels dry. As they grow larger, you can start feeding them with a diluted liquid fertilizer every couple of weeks.
- Troubleshooting: The most common issue you’ll face is rot. This is usually a sign of overwatering or poor drainage. If you see a cutting turning black or mushy, sadly, it’s likely lost. Remove it immediately to prevent it from affecting nearby cuttings. Another sign of trouble is wilting that doesn’t perk up after watering; this could indicate that the cutting isn’t rooting or is drying out too much.
A Little Encouragement
Propagating plants is a journey of patience and observation. Don’t be discouraged if not every single cutting takes. Each one is a lesson, and with practice, you’ll become a pro at coaxing these charming Chrysanthemum makinoi into new life. Enjoy the process, celebrate every tiny root you find, and soon you’ll have a garden bursting with these delightful blooms! Happy growing!
Resource: