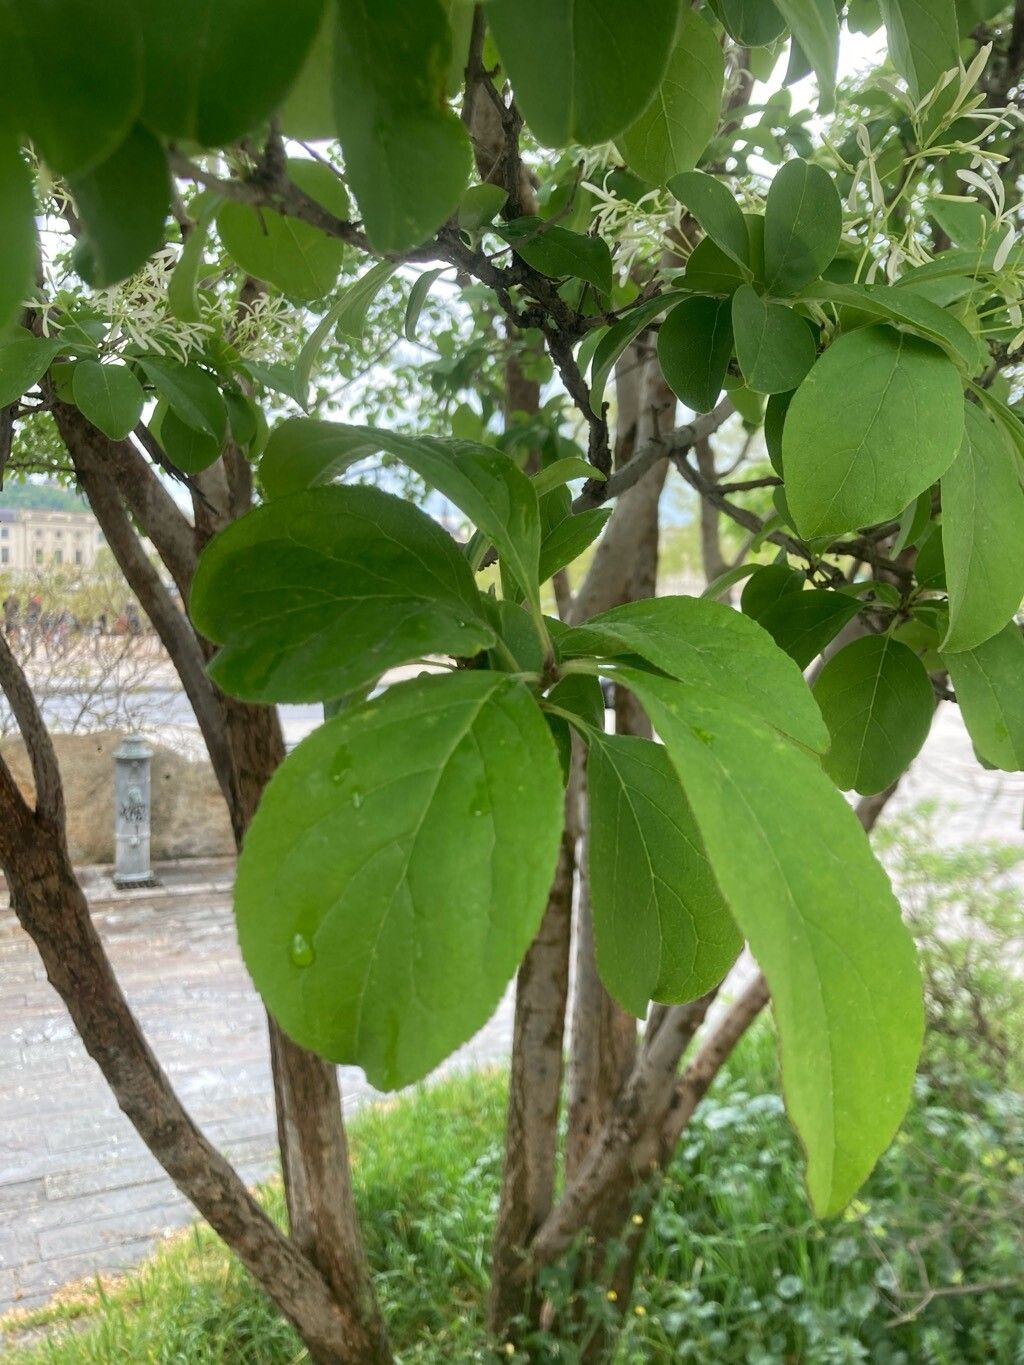
Hello, fellow garden enthusiasts! Today, we’re going to dive into the wonderful world of propagating Chionanthus retusus, also known as the Chinese Fringe Tree. If you’ve ever admired those ethereal clouds of fragrant, white, fringe-like blooms, you know how special this tree is. And let me tell you, nurturing a new one from scratch is incredibly satisfying. It’s not the easiest plant to propagate right off the bat, but with a little patience and these tips, I think you’ll find it a very rewarding venture, even if you’re just starting out on your propagation journey.
The Best Time to Start
For the highest success rates, I’ve found that late spring to early summer, just as the new growth is firming up a bit, is the prime time to take cuttings. You want to catch that surge of energy the plant has as it’s actively growing.
Supplies You’ll Need
Here’s what I always have on hand when I’m working with my fringe trees:
- Sharp, clean pruning shears or a sharp knife: Cleanliness is crucial to prevent disease.
- Rooting hormone: A powder or gel formulation works well.
- Well-draining potting mix: A blend of equal parts peat moss, perlite, and vermiculite is my go-to. You can also find specialized seedling or cutting mixes at your local nursery.
- Small pots or trays: Make sure they have drainage holes!
- Clear plastic bags or a propagator lid: To maintain humidity.
- Optional: Bottom heat mat: This can significantly speed up root development.
Propagation Methods
While Chinese Fringe Trees can be grown from seed, it’s a very slow process and germination can be erratic. For quicker results and to ensure you get a plant true to the parent, stem cuttings are your best bet.
Here’s how I do it:
- Select your cuttings: Choose healthy, vigorous, semi-hardwood stems that are about the thickness of a pencil and roughly 4-6 inches long. The leaves should be firm, not floppy. Avoid any stems that are still very soft and green or those that are old and woody.
- Prepare the cuttings: Using your clean shears, make a clean cut just below a leaf node. Remove the leaves from the bottom half to two-thirds of the cutting. This prevents them from rotting in the soil.
- Apply rooting hormone: Dip the cut end of the stem into your rooting hormone, tapping off any excess.
- Plant your cuttings: Fill your small pots with the well-draining potting mix. Make a small hole with your finger or a pencil and gently insert the cutting, ensuring the nodes (where you removed leaves) are buried. Firm the soil around the base.
- Water gently: Water thoroughly but be careful not to dislodge the cuttings.
- Create humidity: Cover the pots with a clear plastic bag or place them under a propagator lid. Make sure the bag or lid doesn’t touch the leaves themselves if possible, as this can encourage rot.
- Provide warmth and light: Place the pots in a bright location that receives indirect sunlight. If you have a bottom heat mat, now’s the time to use it – aim for a consistent temperature of around 70-75°F (21-24°C).
The “Secret Sauce” (Pro Tips)
- Don’t overwater: This is probably the most common mistake. The goal is consistently moist, not soggy, soil. If the soil feels wet to the touch, hold off on watering. A good watering can with a fine rose is your friend.
- Air circulation is key: While you need humidity, a little airflow prevents fungal issues. If you’re using a plastic bag, you can open it up for a few hours each day to let things breathe.
- Patience is your most valuable tool: I know it’s tempting to keep digging them up to check for roots, but resist! It can damage delicate new growth. Resist the urge, truly.
Aftercare & Troubleshooting
Once you start to see signs of new growth – little leaves unfurling or the cutting resisting a gentle tug – it’s a good indicator that roots have formed. This usually takes anywhere from 6 weeks to 3 months, so don’t get discouraged if it takes a while.
Gradually acclimate your new plants to normal garden humidity by slowly opening the propagator lid or plastic bag over a week or two. Continue to keep the soil consistently moist. Once they have a decent root system, you can transplant them into slightly larger pots, using a good quality potting mix.
The main sign of failure you’ll encounter is rot. If your cutting turns black and mushy, it’s usually a sign of too much moisture and not enough air circulation. If you see this, it’s best to discard the cutting and try again, paying close attention to those environmental factors.
A Encouraging Closing
Growing plants from cuttings is such a beautiful way to connect with nature. It might take a couple of tries to get it just right, but the joy of seeing a new Chinese Fringe Tree flourish from a simple stem cutting is immeasurable. So gather your supplies, embrace the process, and enjoy nurturing these stunning trees. Happy gardening!
Resource:
https://identify.plantnet.org/k-world-flora/species/Chionanthus%20retusus%20Lindl.%20&%20Paxton/data