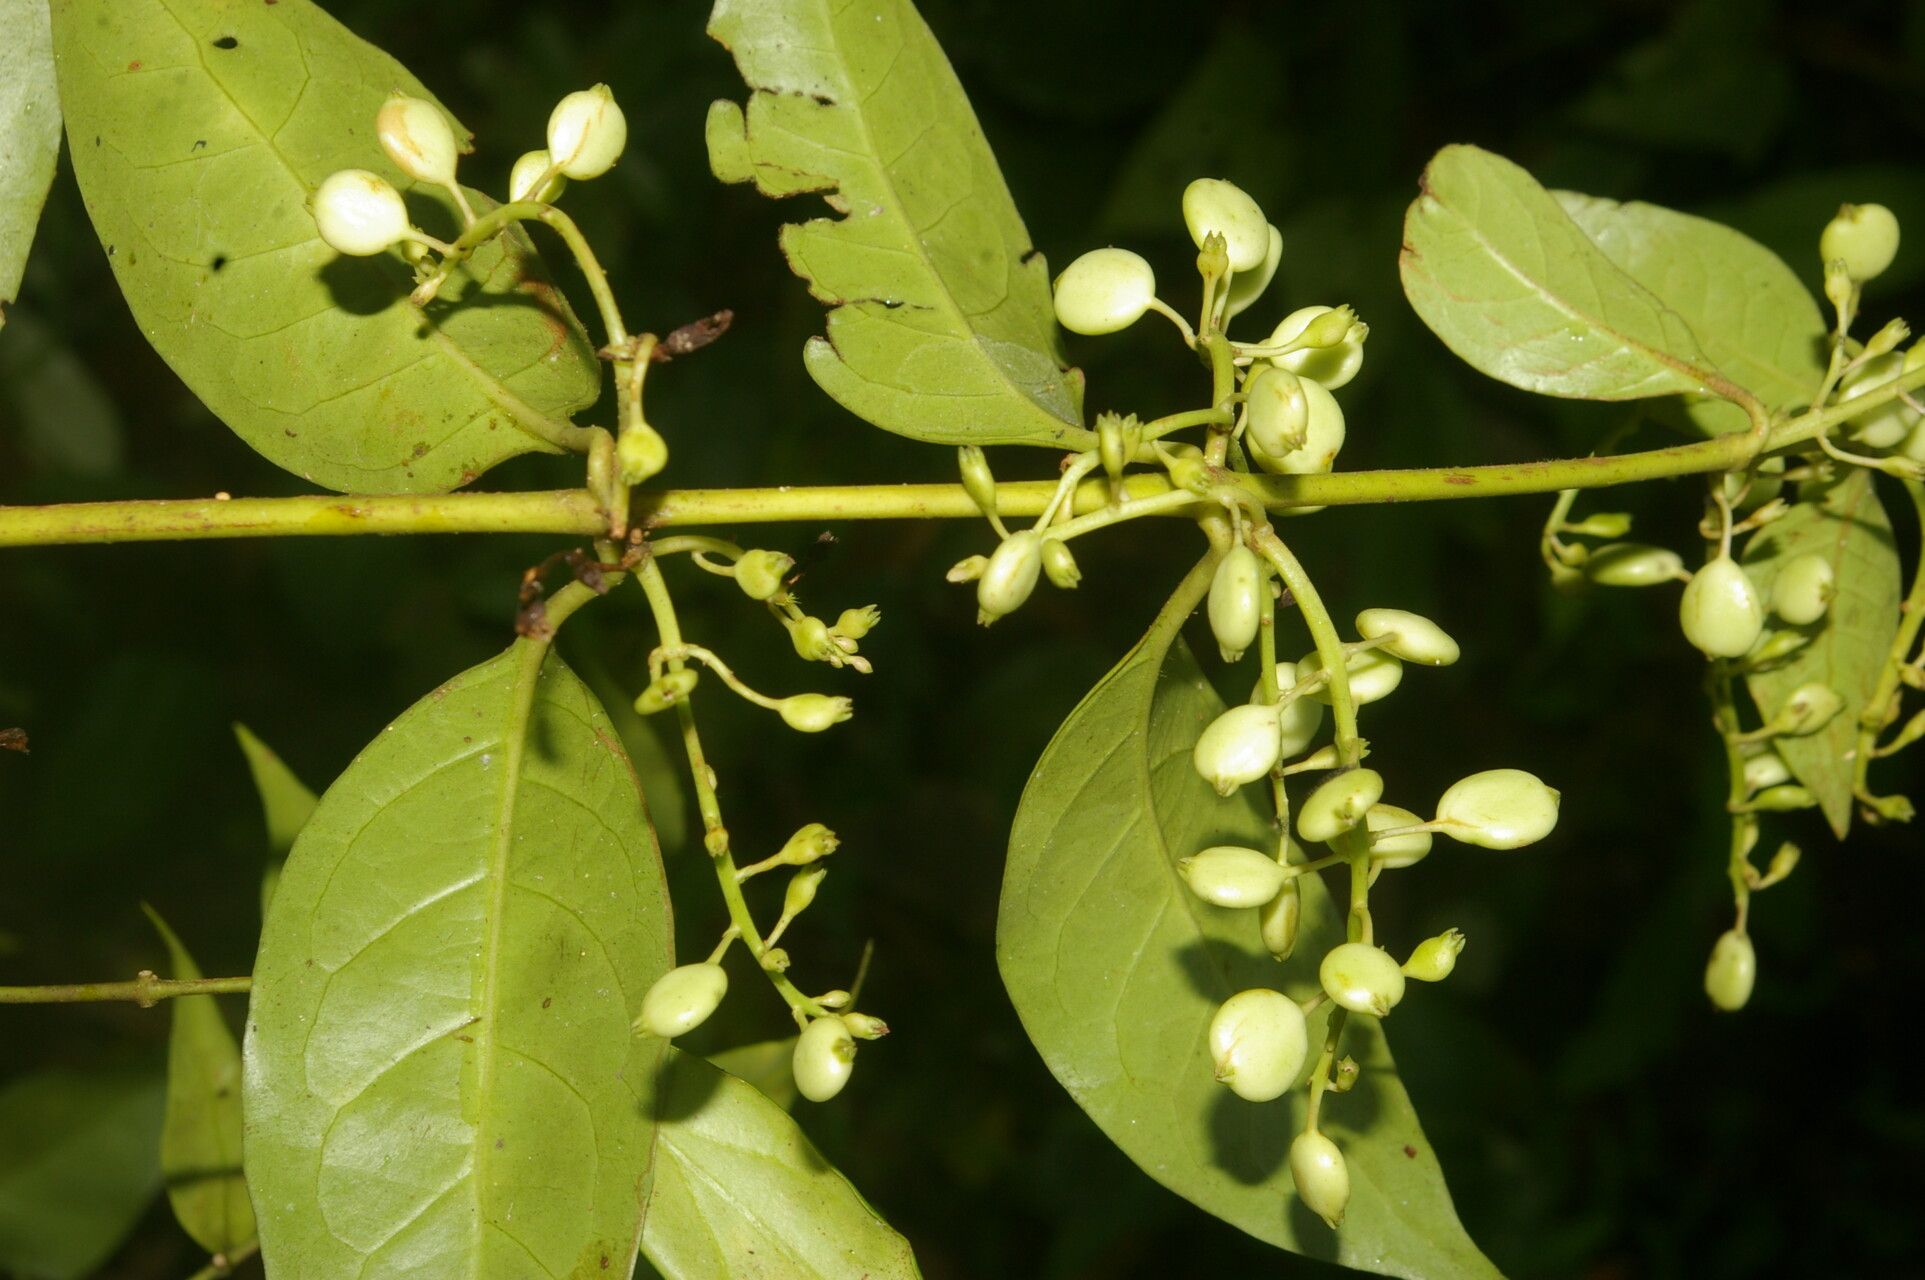
Hello there, fellow plant lovers! Today, I want to chat about a truly special plant that finds a special place in my heart – Chiococca belizensis. If you’ve ever seen its delicate, cascading white blooms, you know the charm it brings to any garden or home. It’s like a little piece of tropical magic, and honestly, there’s nothing quite like the satisfaction of seeing a new plant sprout from your own efforts. Now, if you’re new to the propagation game, don’t fret! While Chiococca belizensis might seem a bit exotic, it’s surprisingly forgiving, making it a wonderful plant to practice your propagation skills on.
The Best Time to Start
When it comes to coaxing new life from our green friends, timing is everything. For Chiococca belizensis, the sweet spot for propagation is absolutely during its active growing season. Think spring and summer. This is when the plant is full of energy, has plenty of good material to work with, and is more inclined to send out those vital new roots. Trying to propagate when the plant is dormant or stressed is like asking someone to run a marathon after a bad night’s sleep – not ideal!
Supplies You’ll Need
Gathering your tools upfront makes the whole process smoother. Here’s what I usually have on hand for propagating Chiococca belizensis:
- Sharp, clean pruning shears or a knife: For making those precise cuts. Sterilize them with rubbing alcohol!
- A well-draining potting mix: I often use a blend of equal parts peat moss, perlite, and a bit of compost. This ensures good aeration and prevents waterlogged roots.
- Small pots or propagation trays: Clean ones, of course!
- Rooting hormone powder or gel: This is your secret weapon for encouraging root development.
- A plastic bag or clear plastic dome: To create a mini-greenhouse effect and keep humidity levels high.
- Watering can or mister: For gentle watering.
- Optional: A heat mat: For those cooler months, bottom heat can really speed things up.
Propagation Methods
This lovely plant is quite amenable to a couple of straightforward propagation techniques.
Stem Cuttings: My Go-To Method
- Select your material: Find a healthy, non-flowering stem. Look for new growth that’s firm but still a little flexible – usually about 4-6 inches long.
- Make the cut: Using your sharp shears, make a clean cut just below a leaf node (where a leaf attaches to the stem). This is where new roots are most likely to form.
- Prepare the cutting: Remove the lower leaves from the stem, leaving just a few at the top. This prevents them from rotting in the soil.
- Dip in hormone: Lightly dip the cut end into your rooting hormone. Tap off any excess.
- Plant the cutting: Make a small hole in your prepared potting mix and gently insert the cutting. Firm the soil gently around the stem.
- Water and cover: Water the soil thoroughly until it drains. Then, pop your pot into a plastic bag or cover with a dome. This traps moisture, which is crucial for cuttings.
- Find a bright spot: Place your cutting in a location that receives bright, indirect light. Avoid direct sun, which can scorch the delicate new growth.
Water Propagation (with a caveat!)
While you can try water propagation, I find stem cuttings in soil are generally more successful for Chiococca belizensis. If you do opt for water:
- Prepare your cutting: Similar to above, take a healthy stem cutting and remove the lower leaves.
- Place in water: Put the cutting in a clean jar or glass of filtered water.
- The Crucial Step: Ensure no leaves are submerged in the water. This is a common mistake that leads to rot. Only the stem should be in contact with the water.
- Change water regularly: Refresh the water every few days to keep it clean and oxygenated.
- Wait for roots: You’ll see tiny white roots emerge from the nodes. Once they are about an inch long, you can carefully transplant them into well-draining potting mix, treating them like a new cutting.
The “Secret Sauce” (Pro Tips)
Here are a few little tricks that have helped me achieve consistent success:
- Don’t overcrowd: When taking multiple cuttings, give them space in the pot. This prevents the spread of any potential fungal issues and ensures each cutting gets good air circulation.
- Bottom heat is your friend: If you have a heat mat, place your pots on it. This gentle warmth from below signals to the plant that it’s time to get serious about root production. It’s a game-changer, especially in cooler weather.
- Mist, but don’t drench: While humidity is key, over-misting can encourage fungal diseases. A light daily mist or ensuring the plastic cover is keeping things moist is usually enough. You want the soil to be consistently damp, not waterlogged.
Aftercare & Troubleshooting
Once you see those first signs of new growth – tiny leaves unfurling or a gentle tug on the cutting resisting – you know you’re on the right track!
- Acclimate slowly: Gradually remove the plastic bag or dome over a week or two. I usually start by opening the bag a little wider each day. This prevents the new, tender growth from getting shocked by drier air.
- Watering: Once established, water your new plant when the top inch of soil feels dry.
- Troubleshooting: The most common issue you might encounter is rot. If your cutting turns black and mushy, it’s likely a sign of too much moisture and not enough air circulation. Unfortunately, for that particular cutting, it’s probably a goner. Remove it immediately and check the moisture levels of your other cuttings. Another sign of stress can be wilting. This might mean it needs more humidity, or perhaps less direct light. Adjust your conditions accordingly.
A Little Patience Goes a Long Way
Propagating plants is a journey, and Chiococca belizensis is a beautiful reward at the end of it. Don’t get discouraged if your first attempt isn’t perfect. Every cutting, even the ones that don’t make it, teaches you something valuable. Enjoy the process, observe your plant’s progress, and soon you’ll be sharing these lovely blooms with friends and family. Happy propagating!
Resource:
https://identify.plantnet.org/k-world-flora/species/Chiococca%20belizensis%20Lundell/data