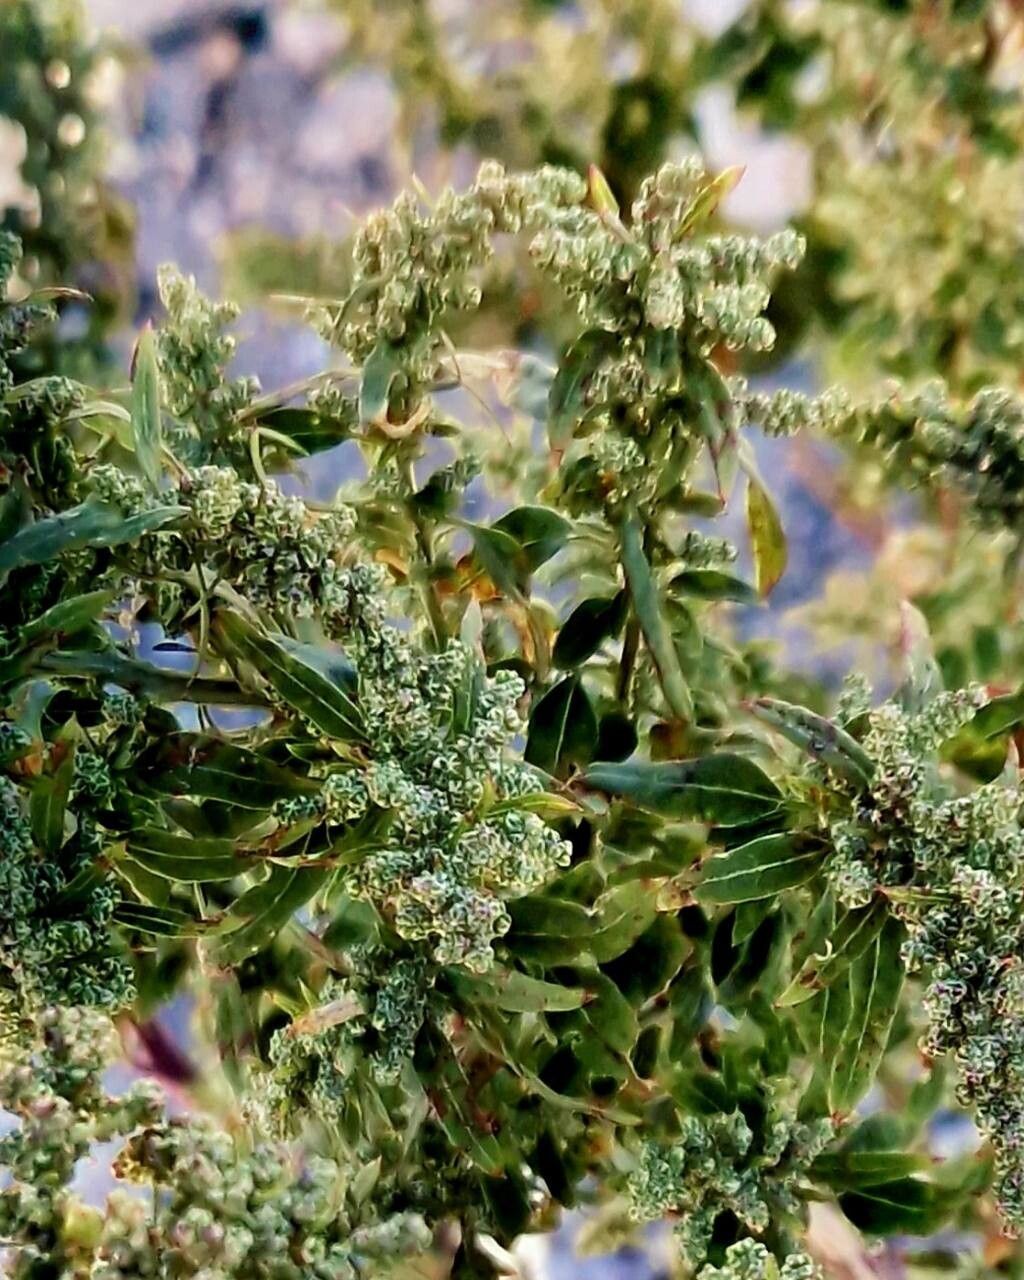
Hello, fellow garden enthusiasts! Today, we’re diving into propagating a truly delightful plant: Chenopodium betaceum, also known as Beetroot Berry or sometimes even Tree Spinach. I’ve been growing and experimenting with it for years, and honestly, it’s a plant that brings such a unique charm to any garden. Its decorative foliage alone is a winner, and the fact that it’s edible? Well, that’s just a bonus!
If you’re looking to expand your patch of these beauties without buying new plants every time, you’re in luck! Propagating Chenopodium betaceum is a wonderfully rewarding endeavor. For beginners, I’d say it’s moderately easy. It doesn’t require a greenhouse or a degree in botany, but a little attention to detail goes a long way.
The Best Time to Start
Generally, the sweet spot for propagating Chenopodium betaceum from cuttings is in late spring to early summer. This is when the plant is actively growing, and its stems have that perfect blend of flexibility and maturity. You want to catch it when it’s not too woody but also not just tender new growth.
Supplies You’ll Need
Before we get our hands dirty, let’s gather our essentials:
- Sharp pruning shears or a clean knife: For taking clean cuts.
- Rooting hormone (optional but recommended): A little boost never hurts! I prefer the powder form.
- Well-draining potting mix: A blend of potting soil, perlite, and a bit of coarse sand works beautifully. You want something that won’t hold excess moisture.
- Small pots or propagation trays: Clean pots with drainage holes are key.
- Plastic bags or a propagation dome: To create a humid environment.
- Water: For misting and watering.
- Labels: So you don’t forget what you planted!
Propagation Methods
We’ll focus on the most reliable method for Chenopodium betaceum: stem cuttings.
- Take the Cuttings: Select healthy, non-flowering stems from a mature plant. Look for stems that are about pencil-thick and have some leaves. Using your clean shears or knife, make a clean cut just below a leaf node (where a leaf attaches to the stem). Aim for cuttings that are about 4-6 inches long.
- Prepare the Cuttings: Gently remove the lower leaves, leaving just two or three sets of leaves at the top of the cutting. This prevents them from rotting in the soil.
- Apply Rooting Hormone (Optional): Dip the cut end of each stem into your rooting hormone, tapping off any excess.
- Plant the Cuttings: Fill your small pots or trays with your well-draining potting mix. Moisten the soil slightly. Make a small hole with your finger or a pencil, and insert the cutting, ensuring the leaf nodes that you removed leaves from are buried. Gently firm the soil around the stem.
- Create a Humid Environment: Water the soil lightly. Then, cover the pots with a clear plastic bag, securing it with a rubber band, or place them under a propagation dome. This humidity is crucial for root development.
- Place in a Bright Spot: Find a location that receives bright, indirect light. Avoid direct sunlight, as it can scorch the delicate new cuttings.
The “Secret Sauce” (Pro Tips)
Here are a couple of things I’ve learned over the years that make a difference:
- Bottom Heat is Your Friend: If you have a heat mat designed for propagation, use it! Placing your pots on a gentle heat source can significantly speed up root formation. I find it just gives the roots that extra nudge they need to get going.
- Don’t Drown Them! While humidity is vital, overwatering is the quickest way to kill your cuttings. The soil should feel moist but not waterlogged. If you see water pooling in the bottom of the pot after watering, you’ve likely added too much.
Aftercare & Troubleshooting
Once your cuttings have successfully rooted (and this can take anywhere from 3 to 6 weeks), you’ll start to see new leaf growth. This is your cue!
- Harden Off: Gradually acclimate your new plants to the outside environment. If they’ve been under a dome or plastic, remove it for increasing periods each day before transplanting them to their final location.
- Watering: Water them regularly, ensuring the soil dries out slightly between waterings.
- Signs of Trouble: The most common issue is rot. If your cuttings turn black and mushy, it’s usually a sign of too much moisture and not enough air circulation. Other signs of failure include wilting that doesn’t recover and no new growth after several weeks. If this happens, don’t be discouraged! Just trim away the rotted parts and try again. It’s all part of the learning process.
So, there you have it! Propagating Chenopodium betaceum is a really satisfying way to multiply these lovely plants. Be patient with yourself and your little propagations. Nature has its own rhythm, and with a bit of care and attention, you’ll be rewarded with a whole new generation of beautiful, and perhaps even tasty, beetroot berries. Happy gardening!
Resource:
https://identify.plantnet.org/k-world-flora/species/Chenopodium%20betaceum%20Andrz./data