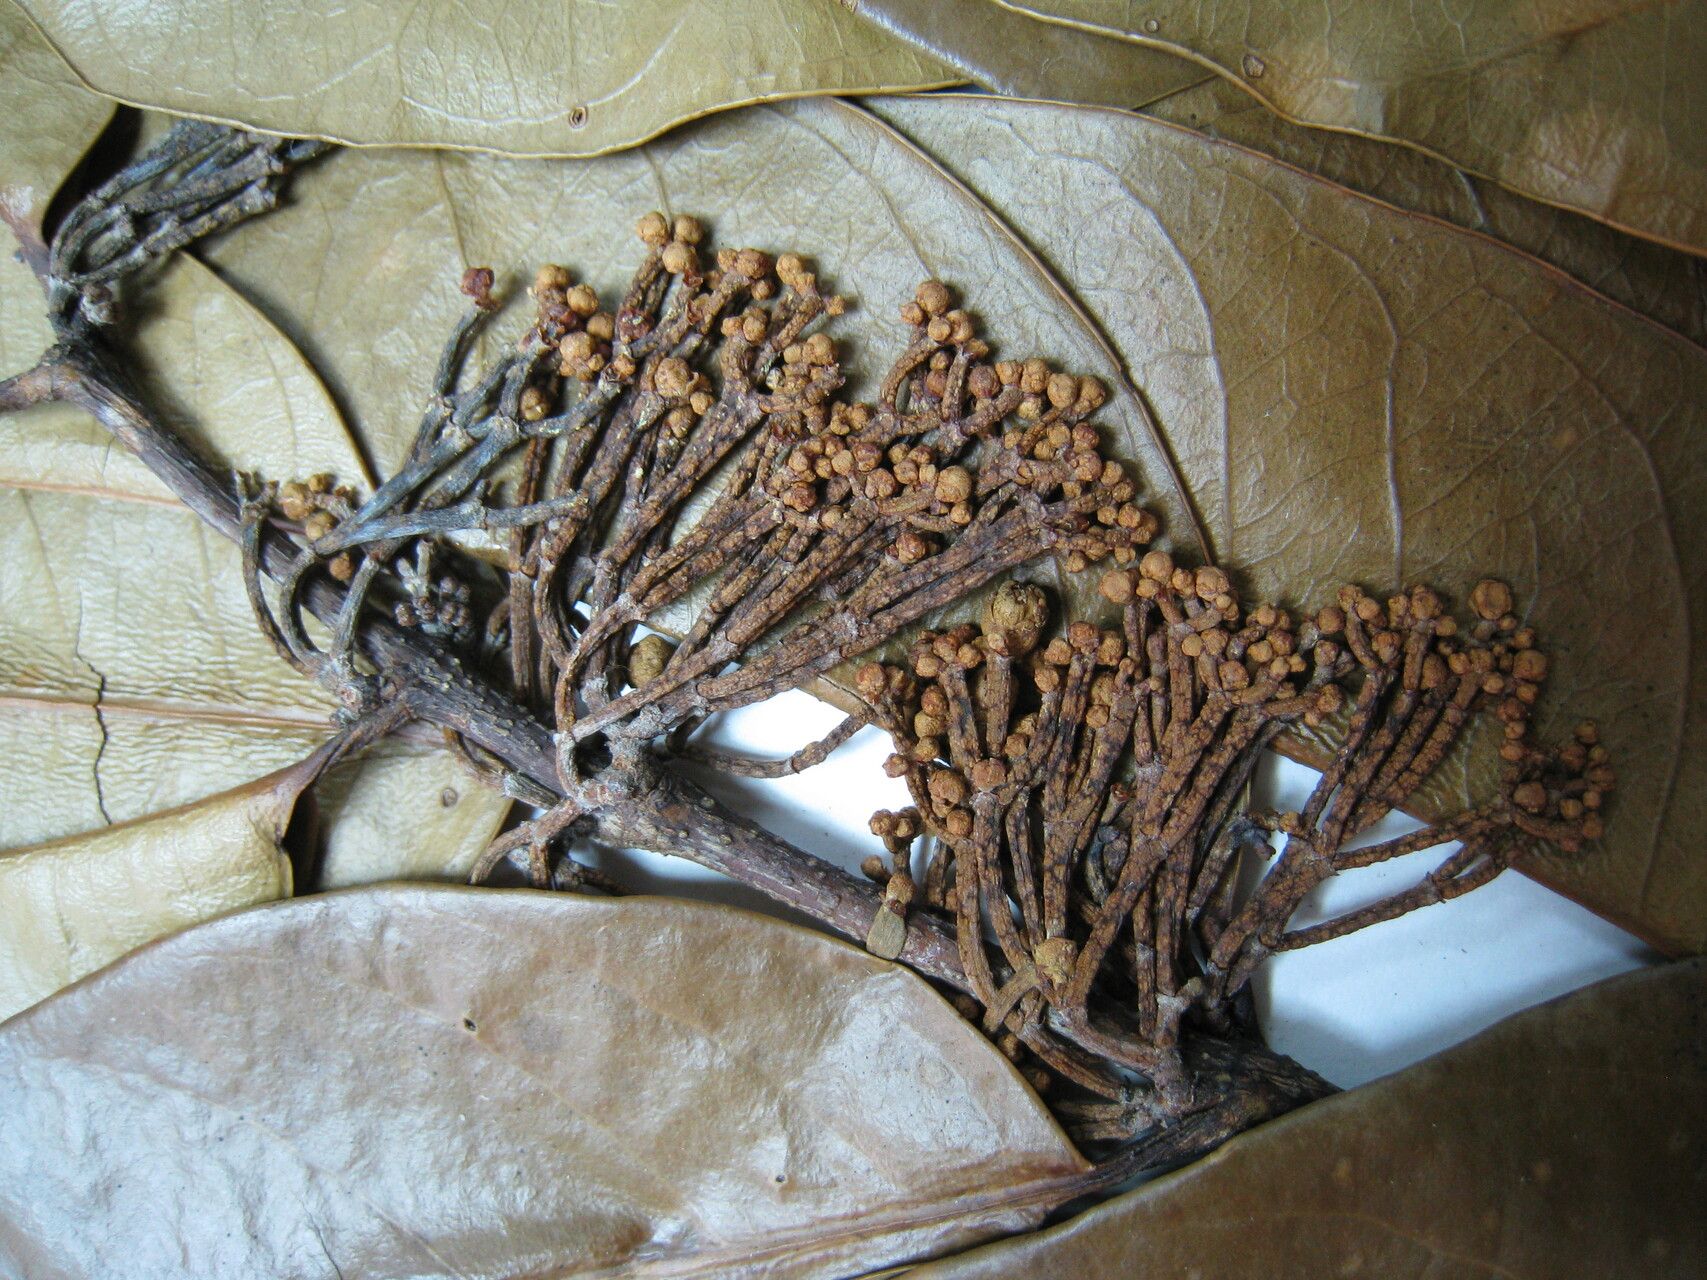
Oh, Cheiloclinium diffusiflorum! What a delightful plant to have in the garden. You know those moments when you stumble upon a plant that just stops you in your tracks with its charm? That’s Cheiloclinium diffusiflorum for me. Its delicate, cascading blooms are just a dream, and growing more of them feels like spreading a little bit of sunshine.
Now, if you’re wondering if this is a starter project for those new to the gardening game, I’d say it’s a rewarding challenge. It’s not the easiest plant to propagate on your very first try, but with a little patience and these tips, you’ll be well on your way to success. Trust me, seeing a tiny cutting flourish is incredibly satisfying!
The Best Time to Start
For Cheiloclinium diffusiflorum, late spring or early summer is your golden window. This is when the plant is in its most vigorous growth phase. You’ll be looking for stems that are semi-hardwood – not brand new and floppy, but not old and woody either. Think of a pencil in terms of flexibility. This is when they have the best energy reserves to push out roots.
Supplies You’ll Need
Gathering your supplies before you begin makes the whole process smoother. Here’s what I always have on hand:
- Sharp Pruning Shears or a Knife: Cleanliness is key here. You want a clean cut to prevent disease.
- Rooting Hormone (Optional, but Recommended): This gives your cuttings a helpful boost in developing roots.
- A Well-Draining Potting Mix: I like a mix that’s about half peat moss or coco coir and half perlite or coarse sand. This ensures good aeration and prevents waterlogging. You can also buy specialized propagation mixes.
- Small Pots or a Seed Tray with Inserts: These are perfect for giving your cuttings their own space to start growing.
- A Clear Plastic Bag or Humidity Dome: To create a humid environment for your cuttings.
- Water: For preparing your cuttings.
- Labels: Because one variety looks much like another when they’re tiny!
Propagation Methods
While Cheiloclinium diffusiflorum can be a bit particular, stem cuttings are generally the most dependable method.
Stem Cuttings
- Select Your Cuttings: Head out in the morning after the dew has dried. Look for healthy, non-flowering stems. Choose lengths that are about 4-6 inches long.
- Make the Cut: Using your sterilized sharp shears or knife, make a clean cut just below a leaf node (where a leaf attaches to the stem). This is where the magic happens for root formation.
- Prepare the Cutting: Gently remove the leaves from the bottom half of the stem. You want to expose at least one or two leaf nodes. If the remaining leaves are very large, I often cut them in half to reduce water loss through transpiration.
- Apply Rooting Hormone (If Using): Dip the cut end of the stem into your rooting hormone powder, tapping off any excess.
- Plant Your Cuttings: Fill your small pots or tray with your prepared potting mix. Moisten the mix lightly. Make a pilot hole with a pencil or your finger, and gently insert the cutting, ensuring the leafless nodes are buried. Firm the soil gently around the base.
- Create Humidity: Water the soil lightly again, just to settle it. Then, cover the pot or tray with a clear plastic bag or a humidity dome. This creates that essential humid microclimate. Secure it so it doesn’t collapse onto the leaves.
- Find a Good Spot: Place your pots in a bright location with indirect light. Avoid direct sun, which can scorch the delicate cuttings.
The “Secret Sauce” (Pro Tips)
Here are a couple of things I’ve learned over the years that really seem to make a difference:
- Don’t let the leaves touch the water in the soil bag. If the bag touches the soil, water can condense and drip onto leaves, leading to rot. I often use a few small twigs or stakes to prop up the plastic bag, keeping it away from the foliage.
- Bottom heat can be a game-changer. If you can, place your potted cuttings on a gentle heat mat. This encourages root development from below, giving your cuttings an extra boost. Many heat mats have adjustable thermostats, so you can keep it around 70-75°F (21-24°C).
Aftercare & Troubleshooting
Once your cuttings are planted, the waiting game begins. Keep the soil consistently moist but not waterlogged. Like a wrung-out sponge is a good way to think about it. Check under the plastic bag for condensation – a little bit is good, but if there’s a lot, you can vent the bag for an hour or so to prevent fungal issues.
You’ll know your cuttings are rooting when you see new leaf growth or feel a gentle tug when you very carefully try to pull on the stem. This can take anywhere from four weeks to a couple of months. Once they seem well-rooted, you can gradually introduce them to more light and begin to acclimate them to open air by removing the plastic bag for longer periods.
The most common issue you’ll encounter is rot. If you notice your cuttings looking mushy, black, or falling over, it’s usually a sign of too much moisture and not enough air circulation. If this happens, unfortunately, it’s best to discard them and start again, paying closer attention to watering and humidity levels.
A Encouraging Closing
Remember, gardening is a journey, and propagation is an adventure. Don’t get discouraged if your first few attempts aren’t perfect. Each time you try, you learn a little more, and before you know it, you’ll have a stunning collection of Cheiloclinium diffusiflorum to share and enjoy. Be patient, observe your little cuttings closely, and relish the joy of growing something beautiful from scratch!
Resource: