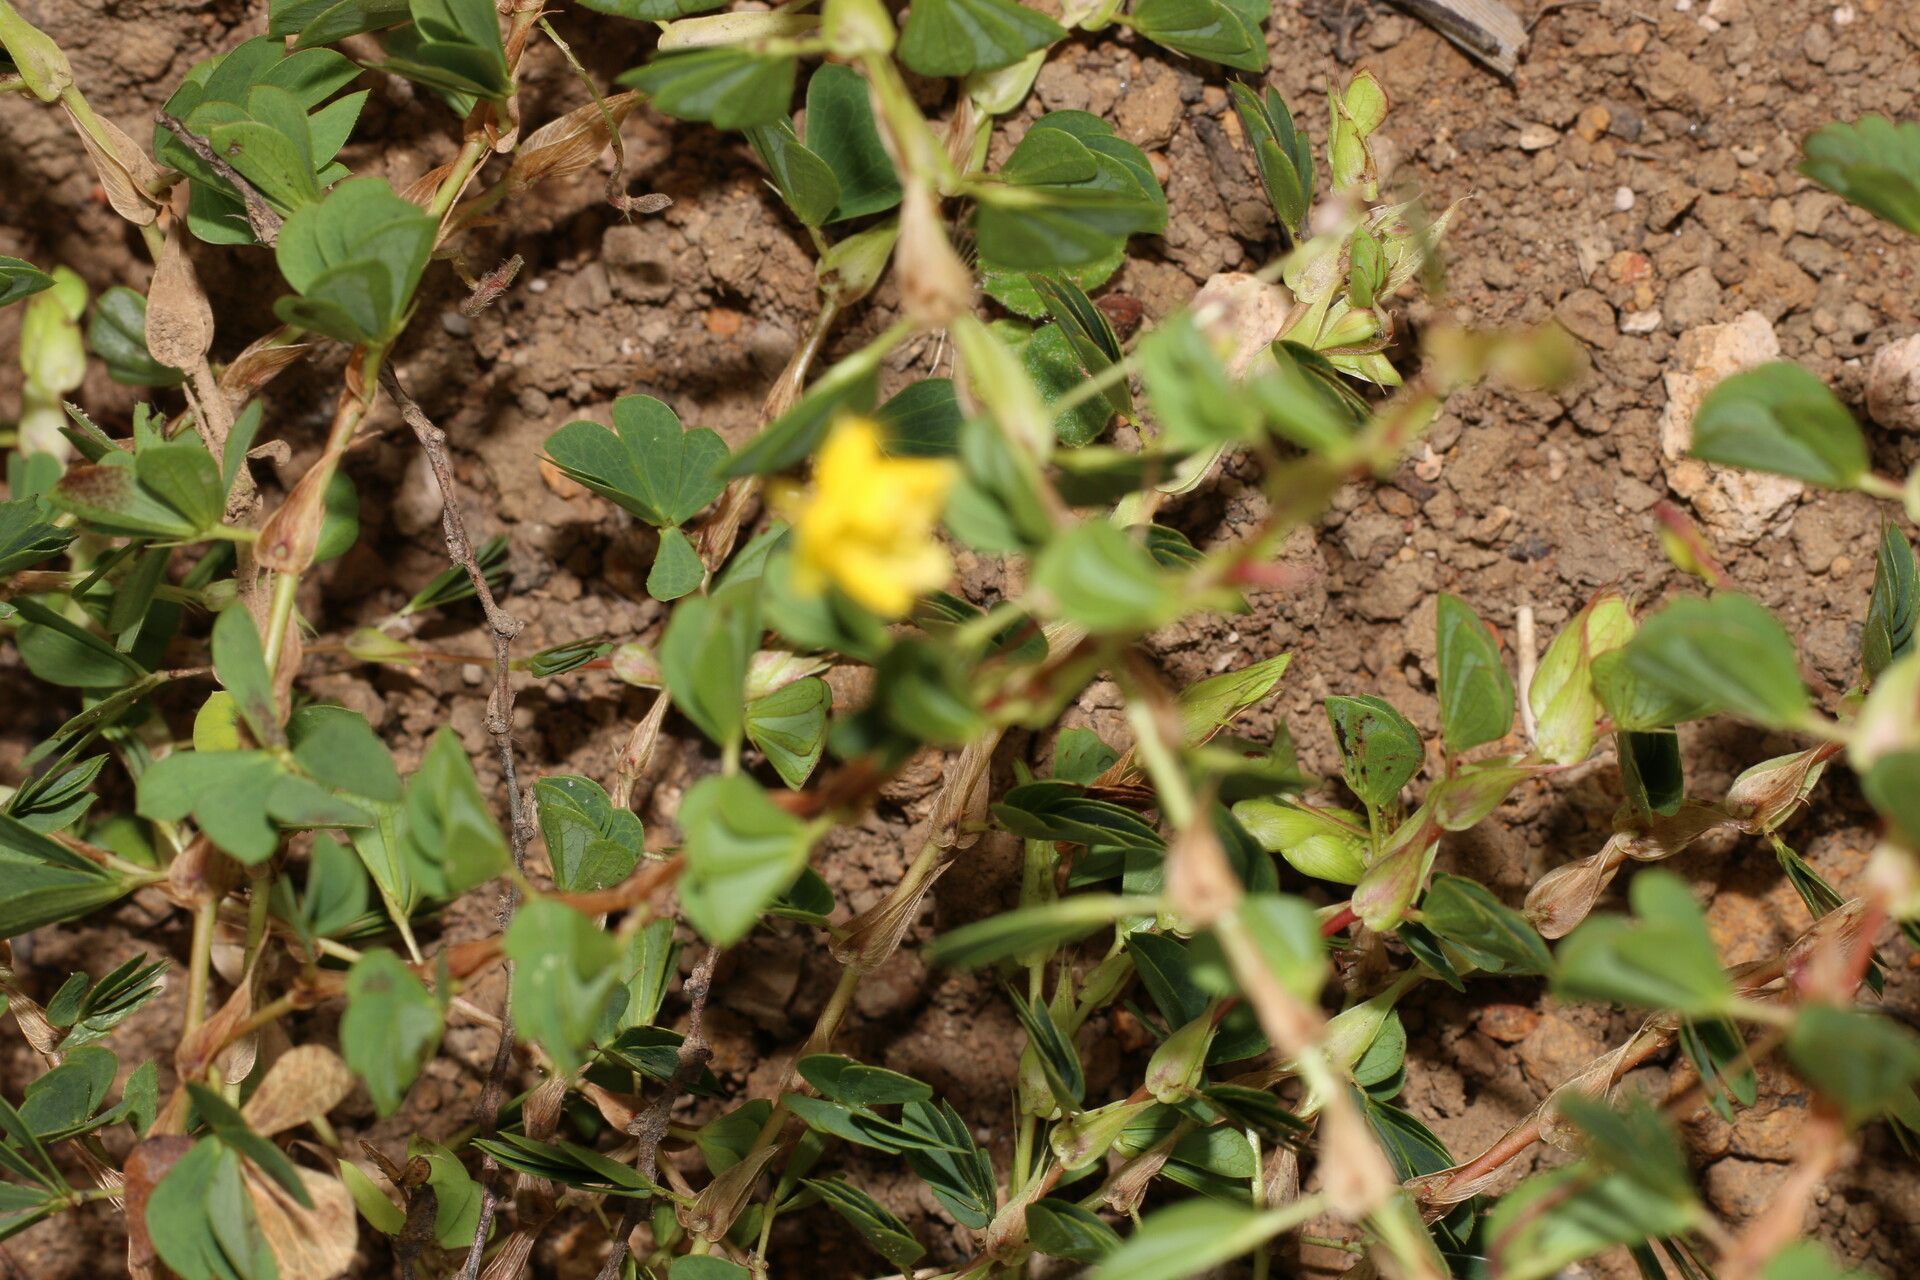
Oh, Chamaecrista kunthiana! If you’ve ever seen this beauty gracing a garden, you’ve probably been captivated by its delicate, feathery foliage and those cheerful little yellow blooms. It just has this breezy, natural elegance, doesn’t it? And the best part? Bringing more of that sunshine into your own space by propagating it yourself is incredibly rewarding. Now, I wouldn’t exactly call it a beginner’s plant to divide or snip from, but with a little patience and a few key tricks, you’ll be well on your way to success.
The Best Time to Start
For the most success with Chamaecrista kunthiana, I’ve found that spring is your absolute best friend. Think of it as giving your new cuttings or divisions a good, long growing season to establish themselves. You want to aim for a time when the plant is actively putting on new growth but hasn’t yet reached its peak flowering season. This is when the plant’s energy is naturally directed towards vigorous development, making it more receptive to rooting.
Supplies You’ll Need
Here’s what I generally have on hand when I’m ready to propagate:
- Sharp, clean pruning shears or a sharp knife: Essential for making clean cuts that heal well.
- Rooting hormone powder or gel: While not always strictly necessary for Chamaecrista, it can give your cuttings a real boost. Ask your local nursery if they have one suitable for flowering shrubs.
- Well-draining potting mix: A good starting point is a mix of potting soil and perlite or coarse sand. I often use a cactus or succulent mix as a base, as it’s already designed for excellent drainage.
- Small pots or containers: Make sure they have drainage holes! Terracotta pots are great because they breathe.
- Watering can with a fine rose or a spray bottle: For gentle watering.
- Plastic bags or a propagation dome: To create a humid environment for cuttings.
- Labels and a permanent marker: Trust me, you’ll thank yourself later!
Propagation Methods
While Chamaecrista kunthiana can be a bit particular, I’ve had the most luck with stem cuttings. Division is possible, but it can sometimes shock the parent plant, so I tend to reserve that for when I’m seriously needing to thin out a very mature specimen.
Stem Cuttings
- Take Your Cuttings: In spring, select healthy, non-flowering stems that are about 4-6 inches long. Using your clean shears, make a clean cut just below a leaf node. A leaf node is that slightly swollen part where a leaf emerges from the stem.
- Prepare the Cuttings: Gently remove any leaves from the bottom half of the cutting. This prevents them from rotting in the soil. If your cutting has any flower buds, pinch them off – we want the plant’s energy focused on roots, not flowers, right now.
- Apply Rooting Hormone (Optional but Recommended): Dip the cut end of the stem into your rooting hormone, tapping off any excess.
- Plant the Cuttings: Fill your small pots with your well-draining potting mix. Make a small hole in the center of the soil with your finger or a pencil. Insert the cut end of the stem into the hole, ensuring it’s deep enough to be stable. Gently firm the soil around the cutting.
- Create a Humid Environment: Lightly water the soil. Then, either cover the pot with a clear plastic bag (making sure the bag doesn’t touch the leaves) or place it inside a propagation dome.
- Place in a Warm Location: Put your pots in a bright spot that gets indirect sunlight. Avoid direct sun, which can scorch the delicate cuttings.
The “Secret Sauce” (Pro Tips)
Here are a couple of things I’ve learned over the years that make a real difference:
- Bottom Heat is Your Friend: Chamaecrista kunthiana loves a little warmth. Placing your pots on a gentle heat mat specifically designed for propagation will significantly speed up root development. It mimics the warmth of spring soil and encourages those roots to form much faster.
- Don’t Be Afraid to Let Them Dry Out Slightly Between Waterings: While we want humidity, we don’t want soggy soil. Overwatering is the fastest way to invite rot. I aim to water when the top inch or so of the soil feels barely damp. This encourages the roots to search for moisture, making them stronger.
Aftercare & Troubleshooting
Once your cuttings have been calloused and covered for a few weeks, you might start to see new leaf growth. That’s a great sign! Another good indicator is when you gently tug on a cutting and feel a bit of resistance – that usually means roots have formed.
Once roots are established (you can often tell by seeing them poking through the drainage holes or by gently removing the pot to check), you can start gradually acclimatizing them to less humid conditions. Remove the plastic bag for a few hours each day, then increase the time until they are fully exposed. Water them as you would a mature plant, ensuring that well-draining mix.
The most common issue you’ll face is rot. If a cutting turns mushy, black, or just wilts dramatically and doesn’t perk up with watering, it’s most likely rotted. This is usually due to overwatering or poor drainage. Don’t be discouraged! Just discard the affected cutting and try again, focusing on that drier soil and good airflow.
Keep Growing!
Propagating plants is a journey, and each success (and even each failure!) teaches you something new. Be patient with your Chamaecrista kunthiana cuttings. Give them the right conditions, a little warmth, and plenty of light. Before you know it, you’ll have a whole little posse of these cheerful beauties to enjoy. Happy gardening!
Resource: