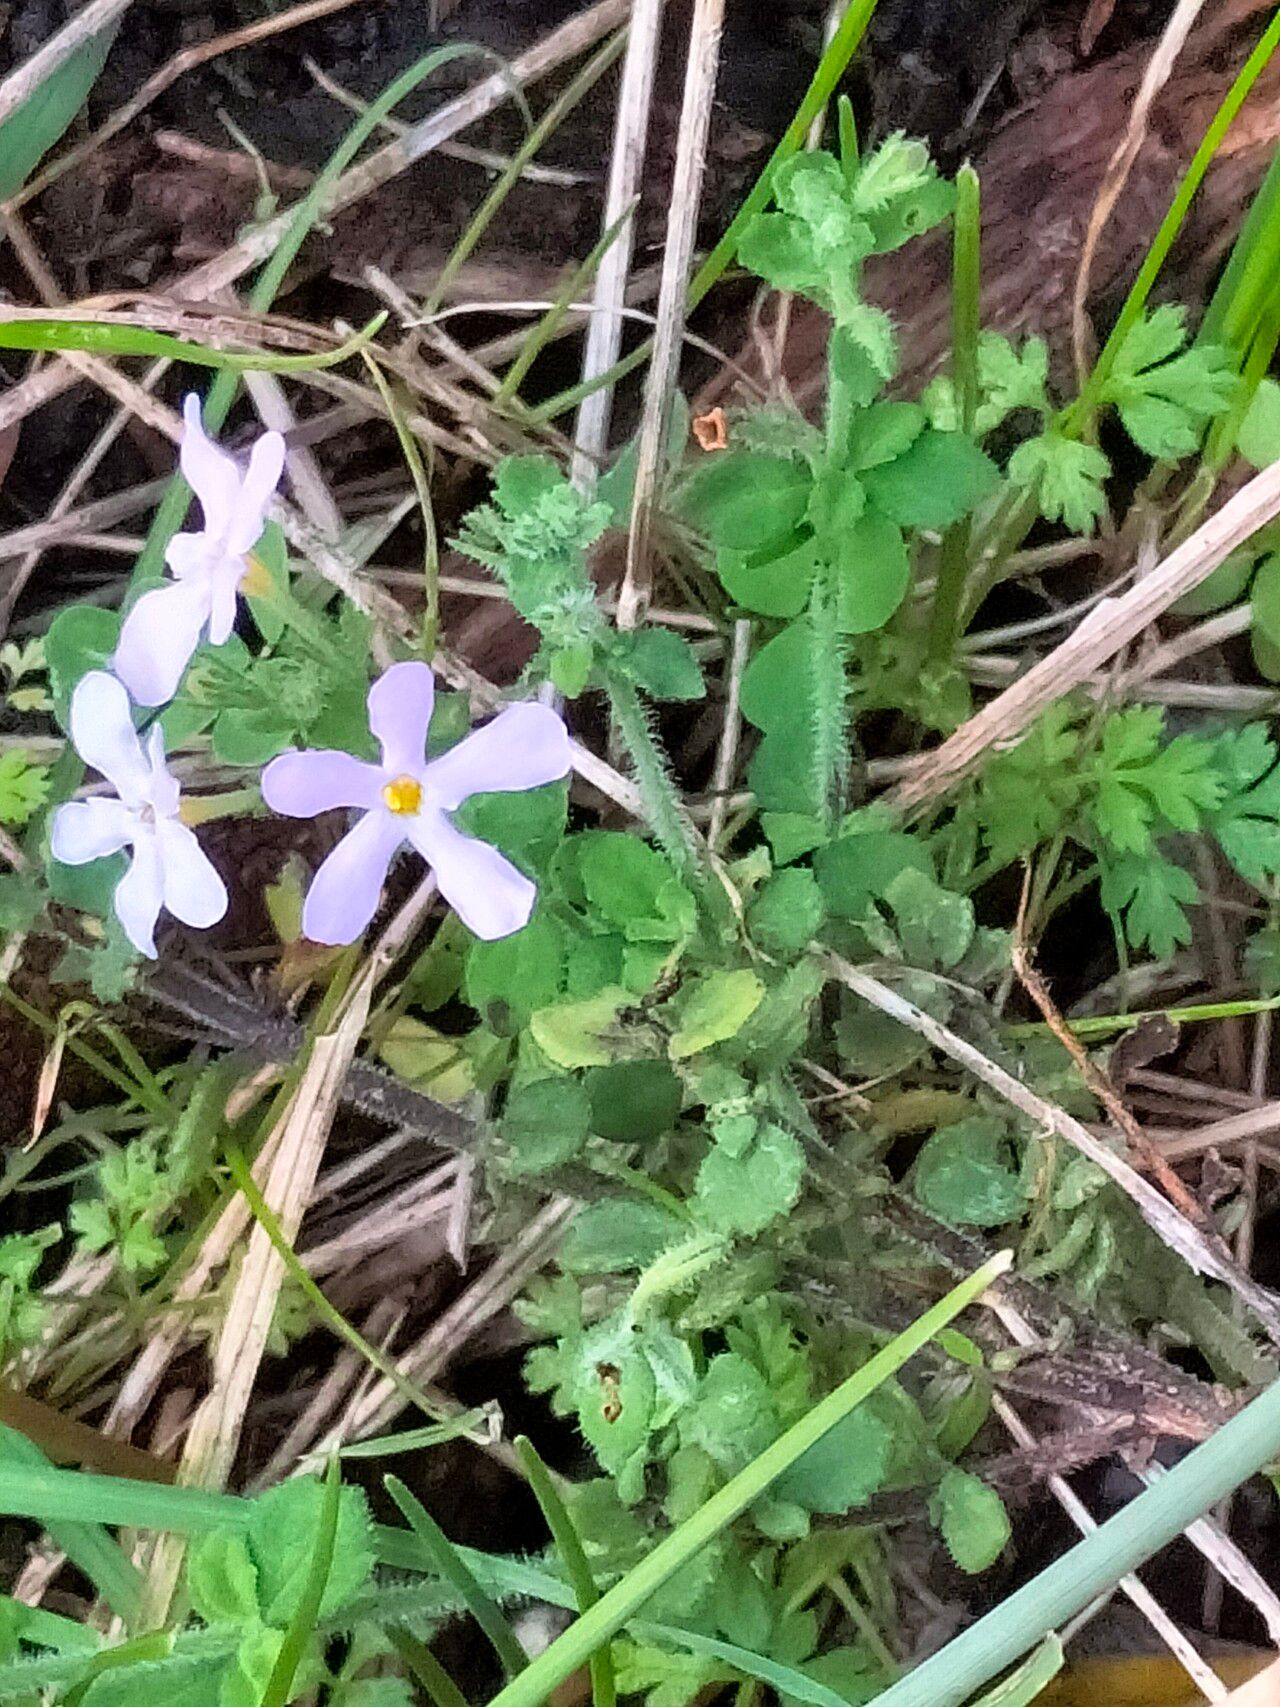
Hey there, fellow plant lovers! I’m so excited to chat with you today about a little gem that’s been capturing my heart (and my garden) for years: Chaenostoma hispidum. You might know it by its common name, perhaps something like ‘Pixie Bright’ or one of its many charming cultivars. It’s that lovely, cascading plant with delicate, often white or pale blue, star-shaped flowers that seem to bloom endlessly. Honestly, seeing it spill over a pot or tumble down a border is just pure sunshine in plant form. And the best part? It’s wonderfully rewarding to propagate. For those of you just dipping your toes into the world of plant magic, I’m happy to report that Chaenostoma hispidum is quite forgiving. You can absolutely get started with this one!
The Best Time to Start
For the absolute best chance of success, I always recommend taking cuttings in the late spring or early summer. This is when the plant is actively growing, pushing out fresh, healthy stems that have plenty of energy for rooting. Waiting until after your plant has had a good period of growth, and has recovered from any transplant shock or initial blooming period, is key. Think of it like this: you’re borrowing a bit of its summer vigor.
Supplies You’ll Need
To get your Chaenostoma propagation station set up, here’s what I find indispensable:
- Sharp Pruning Shears or a Craft Knife: Clean cuts are crucial!
- Rooting Hormone: Not strictly essential for Chaenostoma, but it can give your cuttings a real boost. I usually opt for a powder.
- Well-Draining Potting Mix: A 50/50 blend of peat moss or coco coir and perlite is my go-to. It keeps things airy and prevents soggy roots.
- Small Pots or Seed Trays: Yogurt cups with drainage holes poked in the bottom work in a pinch!
- Clear Plastic Bag or Propagator Lid: This creates a humid microclimate for your cuttings.
- Spray Bottle: For misting.
- Labels: So you don’t forget what you’ve planted!
Propagation Methods
I find that stem cuttings are by far the most reliable and efficient way to propagate Chaenostoma hispidum. Here’s how I do it:
- Select Your Stems: Look for healthy, non-flowering stems that are about 3-4 inches long. You want stems that are firm but still a little bit flexible – not woody, and definitely not floppy.
- Make the Cut: Using your clean shears or knife, make a clean cut just below a leaf node. This is the point where a leaf grows from the stem, and it’s where the magic of root formation usually happens.
- Prepare the Cutting: Gently remove the lower leaves, leaving just a couple of leaves at the very tip. This prevents the leaves from rotting in the soil. If you’re using rooting hormone, dip the cut end into it now.
- Plant Your Cuttings: Fill your small pots with your prepared potting mix. Make a small hole in the center with your finger or a pencil. Insert the cutting, making sure the leaf nodes where you removed the leaves are below the soil surface. Gently firm the soil around the base of the cutting.
- Water and Cover: Water the soil lightly until it’s moist but not waterlogged. Then, cover the pot with a clear plastic bag or lid to create a mini-greenhouse. This traps moisture, which is vital for your cuttings while they develop roots.
The “Secret Sauce” (Pro Tips)
Here are a couple of tricks I’ve learned over the years that really help:
- “Mist, Don’t Drench”: When you mist your cuttings while they’re under plastic, go easy. The goal is to keep the leaves slightly moist, not to create puddles. Excess water is the enemy of happy cuttings and is the fastest route to rot.
- “Warmth is Key”: While not an absolute must, placing your propagation pots on a heating mat can significantly speed up the rooting process. Chaenostoma seems to really appreciate that gentle warmth from below, encouraging those roots to get going.
Aftercare & Troubleshooting
Once your cuttings are planted, keep them in a bright spot, but out of direct, harsh sunlight. The plastic cover will usually keep them moist enough, but if the soil starts to look dry, give it a light mist.
You’ll know your cuttings are rooting when you start to see new leaf growth or feel a gentle tug when you lightly pull on a stem. This usually takes anywhere from 3 to 6 weeks, sometimes a little longer.
The most common problem you might encounter is rot. If you see your cuttings turning black and mushy, it’s usually a sign of too much moisture and not enough air circulation. If this happens, the best thing to do is remove the affected cutting immediately, check your watering habits, and ensure good drainage. Sometimes, if a cutting is just wilting and not showing signs of rot, it might just need a bit more time and consistent moisture.
A Encouraging Closing
Propagating plants is such a beautiful way to connect with nature and to multiply the joy your garden brings. Be patient with your little Chaenostoma cuttings. They might take their time, but the reward of watching them grow into new, blooming plants is absolutely worth it. Enjoy the process, and happy gardening!
Resource:
https://identify.plantnet.org/k-world-flora/species/Chaenostoma%20hispidum%20(Thunb.)%20Benth./data