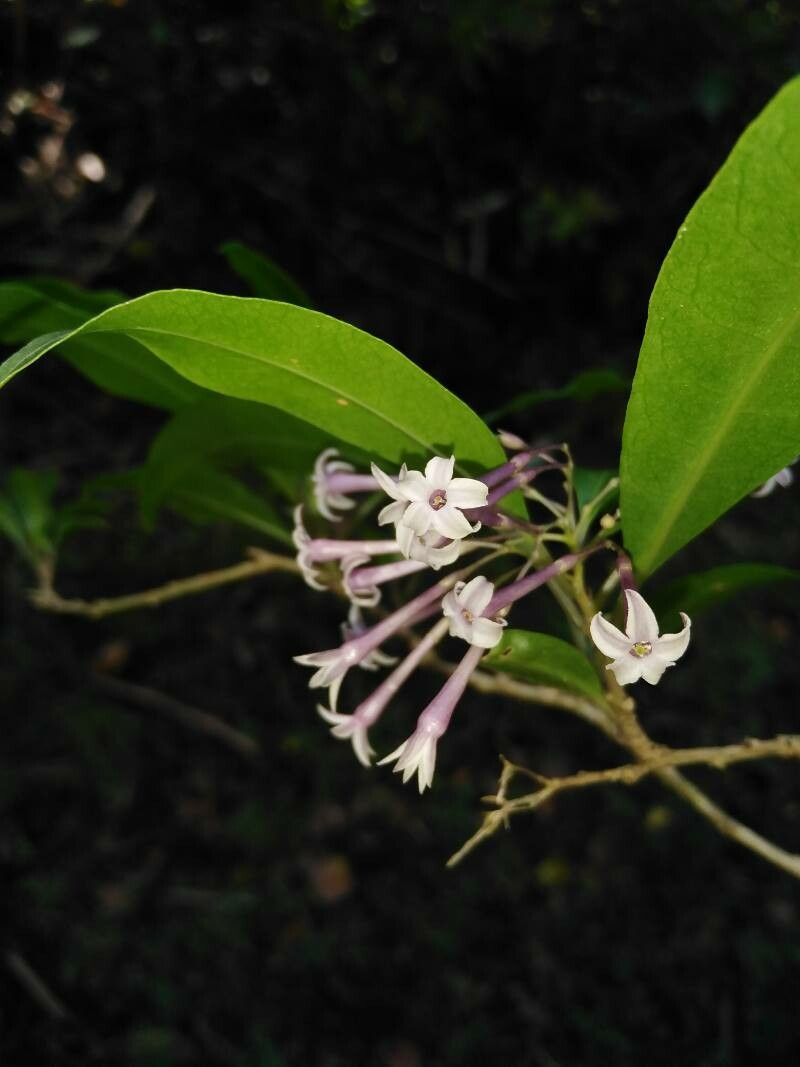
(Image: A lush Cestrum irazuense shrub with clusters of fragrant, tubular flowers.)
Bringing More of That Cestrum Charm Home: A Guide to Propagating Cestrum irazuense
Oh, Cestrum irazuense! Isn’t this plant just a dream? Those clusters of fragrant, often tubular flowers, usually in shades of orange and red, are a magnet for hummingbirds and a real showstopper in any garden. I remember the first time I encountered one, completely covered in bloom – pure magic! The scent on a warm evening is just divine.
If you’re like me and have fallen head over heels for this beauty, you’re probably wondering how to get more of it. The good news is, propagating Cestrum irazuense is quite achievable, though it does have its own little quirks. For beginners, I’d say it’s moderately easy. It’s not as foolproof as, say, a pothos, but with a little attention, you’ll be rewarded with lovely new plants.
When to Get Your Hands Dirty
The best time to take cuttings of your Cestrum irazuense is when the plant is actively growing, typically in late spring or early summer. You’re looking for stems that are semi-hardwood – not brand new and soft, but not old and woody either. Think along the lines of a pencil in thickness. This is when they have the best energy reserves to root. If you miss that window, a secondary good time is early autumn before the real chill sets in, as long as you can provide them with warmth to establish.
Your Propagation Toolkit
To set yourself up for success, gather these essentials:
- Sharp, sterile pruning shears or a sharp knife: Clean tools are crucial to prevent disease.
- Rooting hormone (optional but recommended): This can give your cuttings a helpful boost. Look for one containing IBA.
- A well-draining potting mix: I like to use a mix of equal parts perlite and peat moss or coco coir. You can also add a bit of coarse sand. Avoid heavy garden soil.
- Small pots or trays: Clean pots with drainage holes are a must.
- Plastic bags or a propagator: To create a humid microclimate.
- A spray bottle: For misting.
- A dibber or pencil: To make planting holes.
Bringing New Cesrtums to Life: Stem Cuttings
Stem cuttings are my go-to method for Cestrum irazuense. It’s efficient and gives you a high chance of success.
- Select Your Cuttings: Head out to your healthy Cestrum irazuense plant. Look for those semi-hardwood stems I mentioned. You want to take cuttings that are about 4-6 inches long.
- Make the Cut: Using your sterile shears, make a clean cut just below a leaf node (where a leaf attaches to the stem).
- Prepare the Cuttings: Gently remove the lower leaves from the cutting, leaving just a few at the top. If any leaves are very large, you can even cut them in half to reduce water loss.
- Dip in Rooting Hormone (Optional): If you’re using rooting hormone, dip the cut end of the stem into the powder or gel. Tap off any excess.
- Plant Your Cuttings: Fill your clean pots with your well-draining potting mix. Use your dibber or a pencil to make a hole in the soil. Insert the cutting into the hole, making sure the nodes where you removed the leaves are buried. Gently firm the soil around the base of the cutting.
- Water and Cover: Water the soil gently to settle it around the cuttings. Then, place the pots inside clear plastic bags or a propagator. This will create a humid environment, which is vital for cuttings to root. Make sure the leaves don’t touch the plastic if you can help it.
My “Secret Sauce” for Cestrum Success
Here are a few little tricks I’ve learned over the years that really help Cestrum irazuense cuttings thrive:
- Bottom Heat is Your Friend: Cestrum irazuense loves a bit of warmth from below. Placing your potted cuttings on a heat mat specifically designed for propagation can significantly speed up root development and increase your success rate. It mimics that lovely warmth they enjoy in their native habitat.
- Don’t Drench, Mist: While they need humidity and moisture, sitting in soggy soil is a death sentence. Water thoroughly when you first plant, and then rely on regular misting to keep the humidity up within the propagator and the soil surface slightly damp. The perlite in your mix helps immeasurably with this.
- Patience with the Pedicel: Sometimes, those tiny flower buds will appear on your cuttings before they’ve even rooted. It’s a tough decision, but I often pinch off any flower buds that form. The plant’s energy is better spent on developing roots, not trying to bloom prematurely.
Aftercare and What to Watch For
Once your cuttings are planted, keep them in a bright spot out of direct sunlight. The light is important, but intense sun can scorch those tender young stems. Check them regularly. After about 4-8 weeks, you should start to see signs of rooting. You can gently tug on a cutting; if there’s resistance, roots are forming!
Once you see healthy new growth appearing at the top, it’s a good sign. You can then start to gradually acclimate them to lower humidity by opening the propagator or plastic bag a little more each day for about a week.
Of course, things don’t always go to plan. The most common issue is rot, which happens when the cuttings sit in waterlogged soil. If a cutting turns black and mushy, unfortunately, it’s likely beyond saving. Ensure your drainage is excellent and your watering practices are mindful. Stunted growth or yellowing leaves can sometimes mean they need a bit more light or warmth, or perhaps they’re just taking their sweet time to get going.
Happy Propagating!
Creating new plants is one of the most satisfying aspects of gardening. It connects you to the rhythm of nature and allows you to share your garden’s beauty with others. Don’t be discouraged if your first few attempts aren’t perfect. Every gardener has had their share of failures! Just keep trying, observe your plants, and enjoy the journey of coaxing new life from a piece of your favorite shrub. Happy propagating!
Resource:
https://identify.plantnet.org/k-world-flora/species/Cestrum%20irazuense%20Kuntze/data