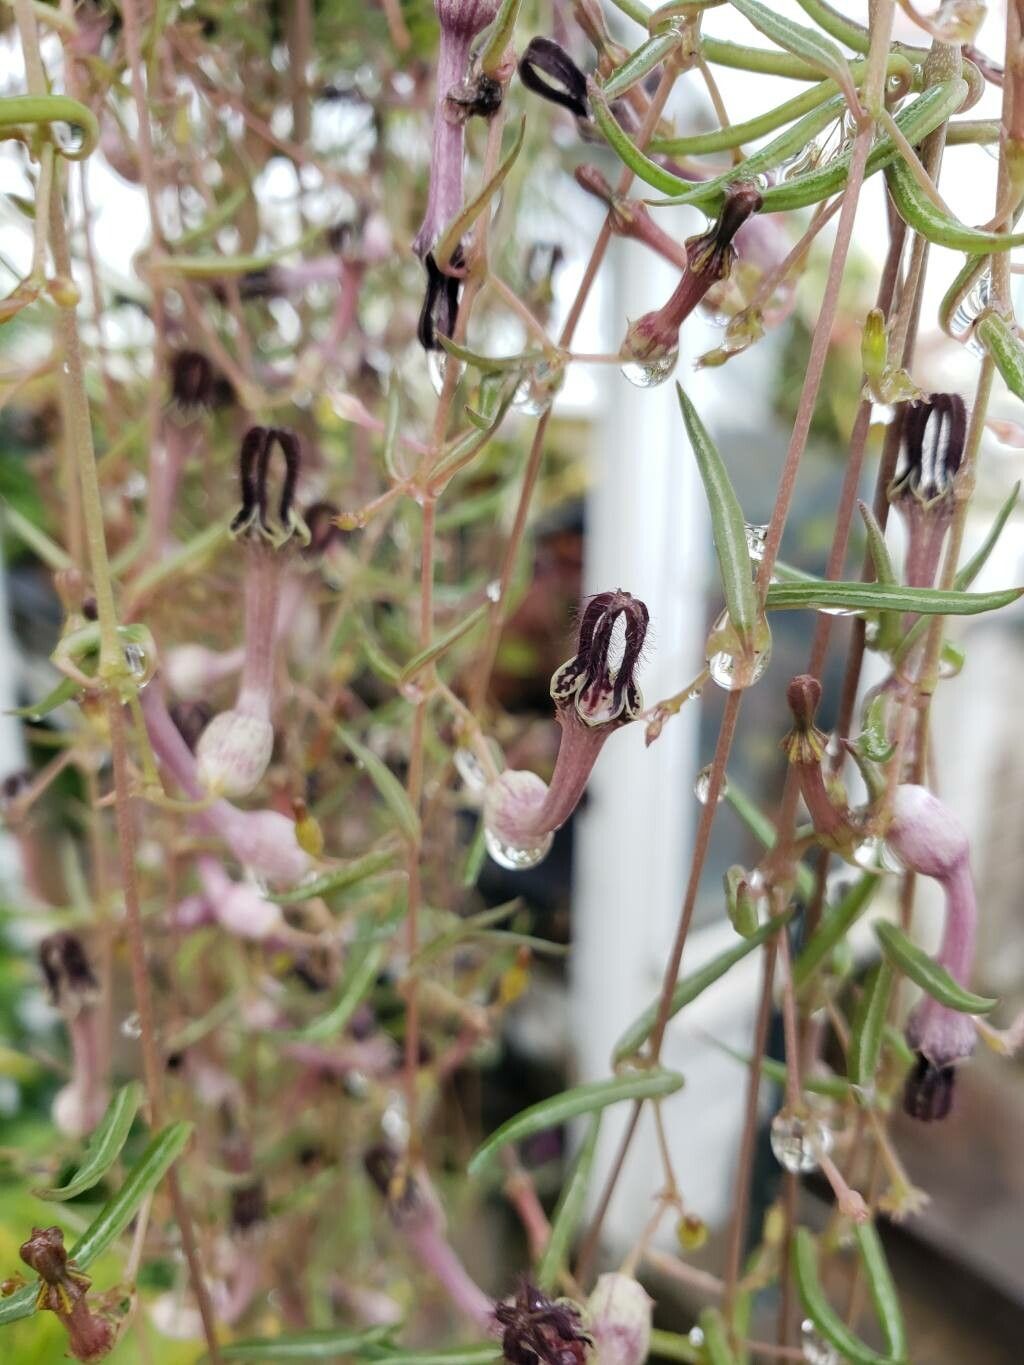
Oh, hello there! Pull up a chair and let’s chat about one of my absolute favorite plants – the Ceropegia linearis, also known as the String of Hearts. Isn’t it just magical? Those little heart-shaped leaves cascading down in delicate chains are pure poetry. If you’ve got one, you likely know how addictive they are to grow. And the best part? They’re surprisingly easy to share! Propagating them is such a rewarding little project, and it really doesn’t have to be intimidating, even if you’re just dipping your toes into the plant propagation world.
The Best Time to Start
Honestly, spring is your best bet. Think of it as giving your little Ceropegia a wake-up call after a winter’s nap. As the days get longer and the weather warms up, the plant is bursting with energy, and those new cuttings will be eager to root. Late spring into early summer is also fantastic. Just wait until your plant looks actively growing, not sluggish.
Supplies You’ll Need
Gathering your supplies is half the fun! You don’t need anything too fancy:
- Sharp pruning shears or scissors: Clean cuts are happy cuts!
- A well-draining potting mix: I like a cactus or succulent mix, or you can make your own with
- 50% potting soil
- 50% perlite or pumice
- Small pots or containers: Yogurt cups with drainage holes work just fine!
- Rooting hormone (optional but helpful): A little boost never hurt anyone. I usually use a powder.
- Water: For a few methods, good old tap water is perfectly fine.
- A spray bottle: For a gentle mist.
Propagation Methods
Let’s get our hands dirty! The most common and easiest ways to grow more String of Hearts are through stem cuttings and even those adorable little “tubers.”
Stem Cuttings: The Classic Approach
- Find a healthy stem: Look for a stem that’s at least a few inches long and has plenty of those lovely heart-shaped leaves.
- Make the cut: Using your clean shears, make a cut just below a leaf node. This is the little bump where a leaf attaches to the stem, and it’s where roots love to emerge.
- Prepare your cutting: You can gently remove the bottom couple of leaves. This makes it easier to plant and prevents them from rotting in the soil.
- Rooting hormone (if using): Dip the cut end into the rooting hormone powder. Tap off any excess.
- Planting: Fill your small pot with your well-draining mix. Make a little hole in the center and gently insert the cut end of your stem. You can tuck it so the remaining leaves are just above the soil line.
- Watering: Give your new cutting a light watering. You want the soil to be moist, not soggy.
Water Propagation: Watching Roots Appear
This method is so satisfying because you actually get to see the magic happen!
- Take your cutting: Same as above, get a healthy stem cutting with a few leaf nodes exposed at the bottom.
- Remove lower leaves: Just like for soil propagation, pop off the lowest leaves.
- Place in water: Find a small jar or glass and fill it with water. Hang the cutting so that the leaf nodes you exposed are submerged in the water. Make sure the leaves themselves are not sitting in the water.
- Find a bright spot: Place your jar in a bright location with indirect sunlight.
- Change the water: Every few days, refresh the water to keep it clean and oxygenated.
You’ll start to see tiny white roots appearing from the nodes in a few weeks. Once the roots are about an inch long, you can transplant them into soil!
The “Secret Sauce” (Pro Tips)
Now for a couple of little tricks I’ve learned over the years:
- Often, those little bulb-like structures you see on the stems, called tubers, will actually root on their own when they touch soil! If you have a stem that’s broken off with a tuber attached, don’t throw it away. Just lay it on top of some potting mix, and chances are it will sprout roots and a new plant.
- When propagating in soil, don’t let the leaves touch the soil directly. They can hold moisture and lead to rot. Try to keep them elevated or buried just enough so they’re not in constant contact.
Aftercare & Troubleshooting
Once you see those lovely roots forming (either in water or in the soil), you’re practically there!
- For soil-propagated cuttings: Keep the soil consistently moist but not waterlogged. Once they’re established and start showing new growth, you can treat them like a mature String of Hearts – allow the soil to dry out slightly between waterings.
- For water-propagated cuttings: Once the roots are a decent length, gently transplant them into your well-draining potting mix. Water them in lightly and keep the soil a bit more consistently moist for the first week or two while they adjust.
What if things go wrong? The most common culprit is rot. If your cutting turns mushy and black, it’s usually a sign of overwatering or poor drainage. Don’t be discouraged! Just clean your shears, grab another cutting, and try again. Sometimes, a cutting just won’t take, and that’s okay. It’s part of the learning process!
Happy Growing!
See? Not so scary, right? Propagating your Ceropegia linearis is a wonderful way to multiply your plant collection and share the beauty of these cascade champions. Be patient with your little cuttings. Some will root faster than others. Just give them a little love, the right conditions, and enjoy watching them grow. Happy gardening!
Resource:
https://identify.plantnet.org/k-world-flora/species/Ceropegia%20linearis%20E.Mey./data