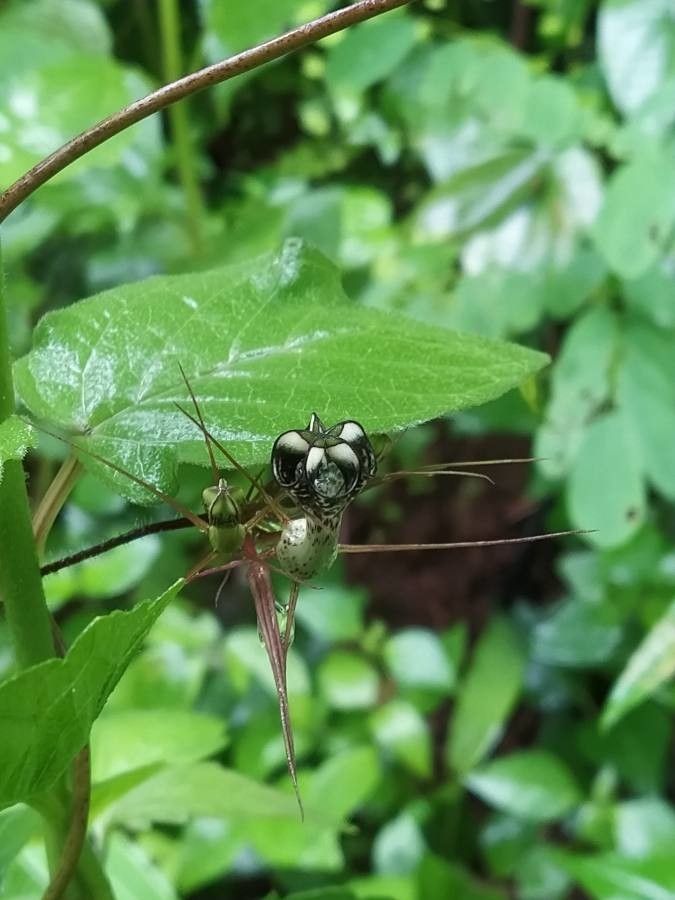
Oh, Ceropegia fantastica! Isn’t she a stunner? With those heart-shaped leaves and often intricate patterns, it’s no wonder this plant has captured so many hearts. I’ve been growing and propagating these beauties for years, and believe me, the joy of watching a tiny cutting transform into a lush specimen is absolutely unparalleled. If you’ve ever admired a Ceropegia fantastica and thought, “I wish I had more of those!”, then you’re in the right place. Good news: propagating this one is quite achievable, even for those just starting their plant journey.
The Best Time to Start
My favorite time to propagate Ceropegia fantastica is during the active growing season. Think spring and summer. This is when the plant has plenty of energy stored up, making it eager to push out new roots and leaves. You’ll often see new growth emerging then, which is a great indicator that it’s ready for a little propagation adventure. Waiting until the plant is actively growing rather than during its resting period in winter will give you the best chance of quick success.
Supplies You’ll Need
Gathering your tools beforehand makes the whole process smoother. Here’s what I usually have on hand:
- Sharp Pruning Sheers or a Clean Knife: For making clean cuts.
- Rooting Hormone (Optional but Recommended): A little boost never hurts. Look for one that’s suitable for succulents or houseplants.
- Well-Draining Potting Mix: A cactus or succulent mix is perfect. I often amend mine with a bit of perlite or pumice for extra drainage.
- Small Pots or Seedling Trays: Clean pots are a must to prevent disease.
- Watering Can with a Fine Rosette: For gentle watering.
- Plastic Bag or Clear Dome: To create a mini-greenhouse effect.
- Labels and a Marker: To keep track of what you’ve planted!
Propagation Methods
There are a couple of tried-and-true ways to get more Ceropegia fantastica for yourself or to share with fellow plant lovers.
Stem Cuttings: My Go-To
This is by far the most reliable and my preferred method for Ceropegia fantastica.
- Select a Healthy Stem: Look for a vigorous stem that has at least two to three nodes (that’s where the leaves emerge).
- Make the Cut: Using your clean, sharp shears or knife, make a clean cut just below a node. You want a piece that’s at least 4-6 inches long.
- Remove Lower Leaves: Gently pluck off the leaves from the bottom half of the cutting. This prevents them from rotting when you plant it. You’ll want to expose at least one or two nodes.
- Let it Callus: This is crucial! Let the cut end of your Ceropegia cutting air dry for a day or two, or until the cut surface looks dry and sealed. This ‘callusing’ prevents rot.
- Apply Rooting Hormone (Optional): If you’re using rooting hormone, dip the callused end into the powder or liquid. Tap off any excess.
- Plant Your Cutting: Fill your small pot with your well-draining mix. Make a small hole in the center and gently insert the callused end of the cutting into the soil, ensuring at least one node is buried. Firm the soil around it.
- Create a Humid Environment: Water the soil very lightly, then cover the pot with a plastic bag or a clear dome to keep the humidity high. Make sure the leaves aren’t touching the plastic.
- Place in Bright, Indirect Light: Find a warm spot that receives bright, indirect sunlight. Avoid direct sun, which can scorch the young cutting.
Water Propagation (for the impatient among us!)
While I find stem cuttings in soil more successful long-term, water propagation can be fun to watch.
- Prepare the Cutting: Follow steps 1-3 from the stem cutting method.
- Place in Water: Pop your cutting into a clean jar or vase filled with fresh water. Make sure the cut end is submerged, but critically, ensure no leaves are touching the water. This is a common mistake that leads to rot.
- Provide Bright, Indirect Light: Just like with soil propagation, place it in a bright spot away from direct sun.
- Change Water Regularly: Every few days, refresh the water to keep it clean and oxygenated.
- Wait for Roots: You should start to see little white roots emerging from the nodes within a few weeks.
- Plant Once Rooted: Once the roots are about an inch long, you can carefully transplant your cutting into well-draining potting mix, following step 6 from the stem cutting method.
The “Secret Sauce” (Pro Tips)
Here are a few little tricks I’ve picked up over the years that really make a difference:
- Bottom Heat is Your Friend: For faster root development, especially if your house is on the cooler side, place your pots on a seedling heat mat. It can significantly speed up the process. Just use it on a low setting.
- Don’t Overwater: This is the number one killer of new cuttings. The goal when propagating is to keep the soil consistently moist, not soggy. Too much water will lead to rot.
- Patience with the Potting Up: Don’t be tempted to repot your new cutting too soon, even if it looks like it’s growing. Wait until you see noticeable new growth above the soil level and feel resistance when you gently tug on the cutting.
Aftercare & Troubleshooting
Once your Ceropegia cutting has developed a good root system (you might see new leaves unfurling or feel it’s firmly anchored), you can slowly start to transition it to its own environment.
- Gradual Acclimatization: If you used a plastic bag or dome, gradually remove it over a few days to let the plant adjust to normal humidity.
- Watering: Water thoroughly when the top inch or two of soil is dry. Allow excess water to drain away.
- Light: Continue to provide bright, indirect light.
- Troubleshooting Rot: The most common issue is stem rot. If you see mushy, blackening stems, it’s likely due to overwatering or that the cutting wasn’t allowed to callus properly. Sadly, a rotted cutting can’t usually be saved. In this case, you’ll need to start again with fresh material and ensure you follow the callusing step diligently.
A Little Encouragement
Propagating Ceropegia fantastica is a rewarding journey. Don’t get discouraged if your first attempt isn’t perfect. Every gardener has had their share of failures – it’s all part of the learning process! Keep experimenting, observe your plants, and most importantly, enjoy the quiet satisfaction of growing something new with your own two hands. Happy propagating!
Resource:
https://identify.plantnet.org/k-world-flora/species/Ceropegia%20fantastica%20Sedgw./data