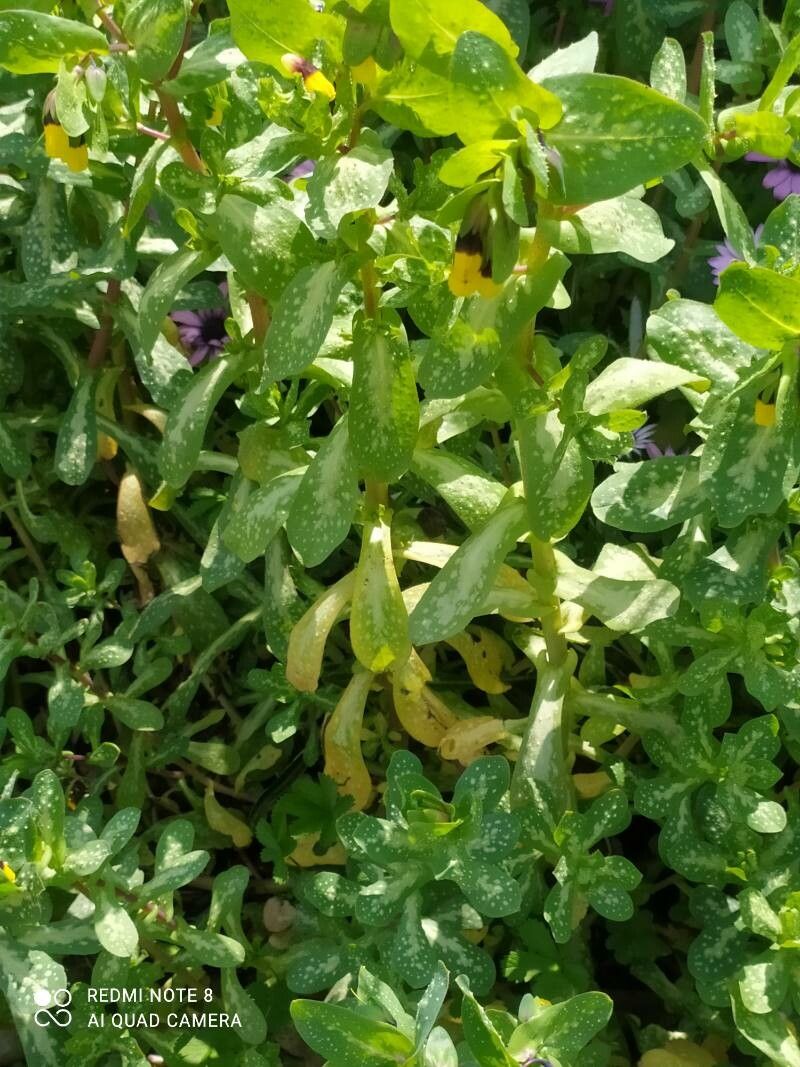
Ah, Cerinthe! You know, the ones with those gorgeous, unique bell-shaped flowers and that silvery-blue foliage that just glints in the sun? They’re such a delight in the garden, aren’t they? Especially Cerinthe tenuiflora, with its delicate charm. And the best part? Growing more of them to fill your pots or share with friends is surprisingly achievable.
If you’re new to the gardening scene, I think you’ll find Cerinthe to be a forgiving friend. Propagating it is a joy, not a chore, and it’s a fantastic way to get a feel for plant reproduction without too much stress. Let’s dive in!
The Best Time to Start
My favorite time to get my hands dirty with Cerinthe propagation is in the late spring or early summer, usually around May or June. This is when the plants are actively growing and have plenty of energy to put into developing new roots. You’ll want to take cuttings from healthy, non-flowering stems. Look for stems that are about 4 to 6 inches long.
Supplies You’ll Need
Gathering your tools beforehand makes the whole process much smoother. Here’s what I usually have on hand:
- Sharp, clean pruning shears or a sharp knife: For making nice, clean cuts.
- Rooting hormone (optional but helpful): A powder or gel can significantly boost success.
- A good quality potting mix: I like a blend of peat moss, perlite, and a little bit of compost. Something that drains well is key!
- Small pots or seed trays: Clean ones, of course!
- A watering can with a fine rose: To water gently without disturbing young cuttings.
- Plastic bags or a propagator lid: To create a humid environment.
- A pen and marker: To label your cuttings (trust me, you’ll thank yourself later!).
Propagation Methods
For Cerinthe tenuiflora, stem cuttings are generally the most successful and straightforward method.
Stem Cuttings
- Select your parent plant: Find a healthy, vigorous Cerinthe.
- Take the cuttings: Using your clean shears, snip a stem that’s about 4-6 inches long. Make the cut just below a leaf node (where a leaf attaches to the stem).
- Prepare the cuttings: Gently strip off the lower leaves, leaving only the top two or three sets. This prevents them from rotting when buried. If your cuttings are particularly long, you can even cut them in half to maximize the number of potential plants.
- Apply rooting hormone (optional): Dip the cut end of each stem into rooting hormone powder or gel, tapping off any excess.
- Plant the cuttings: Fill your small pots or trays with your potting mix, moisten it lightly, and then poke a hole in the soil with your finger or a pencil. Insert the cut end of the stem into the hole, ensuring the leaf nodes are below the soil surface. Gently firm the soil around the stem.
- Create humidity: Water the soil gently. Then, cover the pots with a plastic bag or place them in a propagator with a lid. Make sure the leaves don’t touch the plastic, as this can encourage rot.
The “Secret Sauce”
Here are a couple of things I’ve learned over the years that can really make a difference:
- Bottom heat is your best friend: If you can, place your pots on a heated propagator mat. This gentle warmth from below encourages root development like nothing else. It’s a game-changer, especially in cooler weather.
- Don’t be afraid to sacrifice a few leaves: When preparing your cuttings, if a stem naturally has more than three sets of leaves, don’t hesitate to remove some of the lower ones. Those lower leaves are prone to sitting in moisture and becoming breeding grounds for mildew or rot. Better to have fewer leaves to support the plant than too many that cause problems.
Aftercare & Troubleshooting
Once your cuttings are planted and covered, place them in a bright spot, but avoid direct sunlight, which can scorch them. Keep the soil consistently moist but not waterlogged. You should start to see signs of new growth, like tiny leaves unfurling from the leaf nodes, in about 3-6 weeks.
The most common issue you might encounter is rot. If a cutting turns mushy or black, it’s likely succumbed to rot. This is usually due to too much moisture or poor air circulation. If you see this, remove the affected cutting immediately to prevent it from spreading.
When your cuttings have developed a good root system (you can gently tug on them, or you might see roots peeking out of the drainage holes), it’s time to acclimate them to the outside world. Gradually remove the plastic bag or propagator lid for a few hours each day over a week. Then, you can transplant them into larger pots or their final garden spots.
A Encouraging Closing
Propagating Cerinthe really is a rewarding endeavor. It’s a wonderful way to deepen your connection to your plants and experience the magic of new life. Be patient with your little cuttings; nature works on its own timeline. Enjoy the process, and before you know it, you’ll have a whole new generation of these beauties to admire! Happy gardening!
Resource:
https://identify.plantnet.org/k-world-flora/species/Cerinthe%20tenuiflora%20Bertol./data