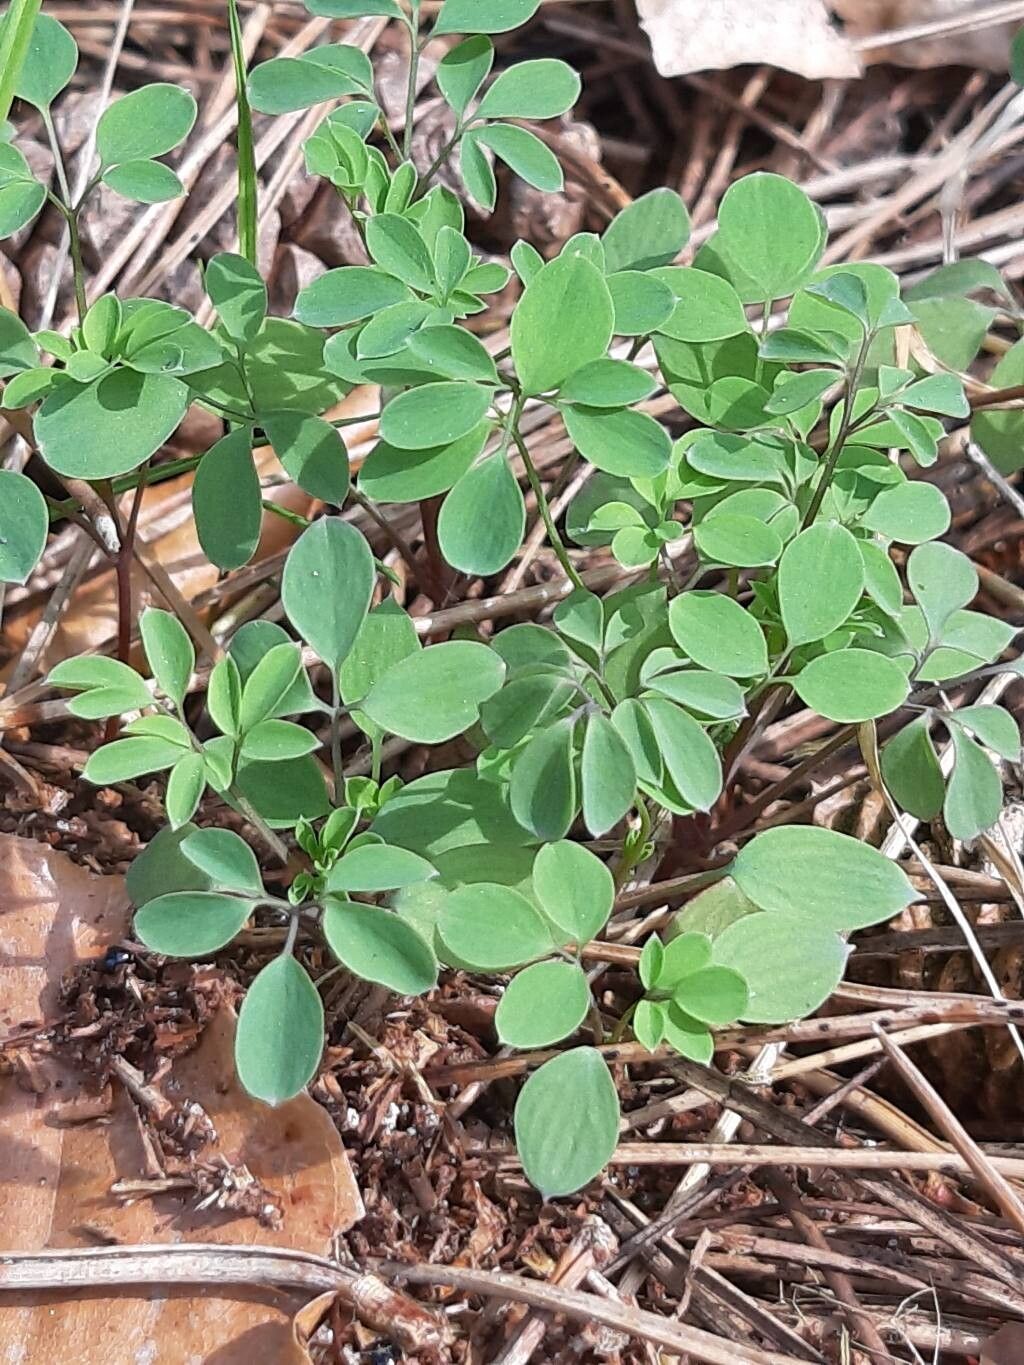
Hello, fellow plant enthusiasts! Today, we’re diving into the delightful world of Ceratocapnos claviculata. This charming vine, with its delicate foliage and often subtle, sweet scent, brings a touch of airy elegance to any garden. Whether you’re looking to fill in a bare patch, create more of this lovely climber, or simply enjoy the magic of bringing new life into existence, propagating Ceratocapnos claviculata is a truly rewarding endeavor. Now, while it’s not quite as foolproof as an overgrown hosta, I’d say it’s happily in the moderately easy category. A little patience and attention will go a long way!
The Best Time to Start
For the highest success rate with Ceratocapnos claviculata, the sweet spot is late spring or early summer. This is when the plant is actively growing and has plenty of energy to put into developing new roots. You’re looking for young, vigorous growth. Avoid taking cuttings during times of stress for the plant, like extreme heat or drought.
Supplies You’ll Need
Here’s a little kit to get you going:
- Sharp pruning shears or a clean, sharp knife: For making clean cuts that heal well.
- A small amount of rooting hormone (optional but recommended): This can give your cuttings a helpful boost.
- A well-draining potting mix: I like a 50/50 blend of perlite and good quality potting soil.
- Small pots or trays: Clean ones are crucial to prevent disease.
- A clear plastic bag or a propagation lid: To create a humid environment.
- Watering can with a fine rose: For gentle watering.
Propagation Methods
The most straightforward way to propagate Ceratocapnos claviculata is through stem cuttings. It’s really quite simple.
- Identify and Select Cuttings: Look for healthy, non-flowering stems about 4-6 inches long. You want pieces that are flexible but not spindly.
- Make the Cut: Using your clean shears or knife, make a clean, angled cut just below a leaf node (where the leaves attach to the stem). This is where roots are most likely to form.
- Prepare the Cuttings: Gently remove the leaves from the bottom half of the cutting. You want to expose a few nodes to the rooting medium. If the remaining leaves are very large, you can snip them in half to reduce water loss through transpiration.
- Apply Rooting Hormone (Optional): Dip the cut end into the rooting hormone powder, tapping off any excess.
- Plant Your Cuttings: Fill your clean pots with the well-draining potting mix. Make a small hole with your finger or a pencil and gently insert the cut end of the stem, ensuring at least one or two leaf nodes are buried. Firm the soil gently around the stem. Water everything thoroughly but gently.
- Create Humidity: Place the pots into a clear plastic bag, sealing it loosely, or cover them with a propagation lid. This traps moisture and creates that vital humid microclimate.
The “Secret Sauce” (Pro Tips)
Here are a few little tricks I’ve learned over the years:
- Don’t be afraid of a bit of mess: Sometimes, a cutting that looks a little sad initially will perk up and root beautifully. Trust the process.
- Consider bottom heat: If you have a heat mat designed for propagation, placing your pots on it can significantly speed up root development. It’s like giving your cuttings a warm hug, encouraging them to get moving.
- Freshness is key: Try to get your cuttings into their rooting medium as soon as possible after taking them. Don’t let them sit around wilting.
Aftercare & Troubleshooting
Once your cuttings are planted, the journey has just begun!
- Keep them in bright, indirect light. Direct sun can scorch those tender cuttings.
- Maintain consistent moisture. The soil should be damp, not waterlogged. Check the humidity inside the bag or under the lid regularly. If you see condensation, it’s good! If it’s dripping excessively, open the bag for a few hours to let it air out.
- Be patient! It can take anywhere from 3 to 6 weeks, sometimes longer, for roots to develop. You can gently tug on a cutting; if you feel resistance, you likely have roots.
The main culprit for failure is usually rot. If your cutting turns mushy and brown, it’s a sign of being too wet and/or poor air circulation. Don’t be discouraged if a few don’t make it. It happens to all of us! Just try again with fresh cuttings.
And there you have it! Propagating Ceratocapnos claviculata is a wonderfully accessible way to expand your collection and share the joy of gardening. Remember, nature works at its own pace. Be kind to yourself, enjoy the process of nurturing these little green shoots, and celebrate every new root you discover. Happy propagating!
Resource:
https://identify.plantnet.org/k-world-flora/species/Ceratocapnos%20claviculata%20(L.)%20Lidén/data