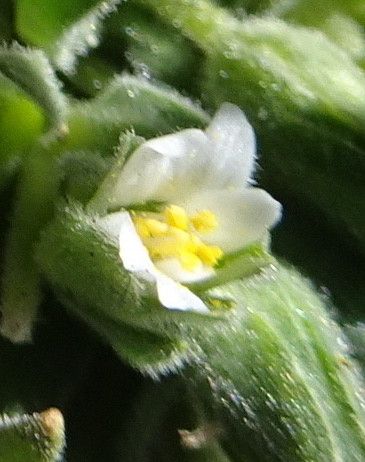
Oh, Cerastium peruvianum! What a darling plant to have in the garden. Its little white flowers, like scattered confetti, are just pure joy. I’ve always found it so rewarding to create more of them, and honestly, there’s a special kind of satisfaction in watching a tiny cutting transform into a flourishing plant. Don’t be intimidated if you’re new to propagation; this one is quite forgiving.
The Best Time to Start
For the highest success rate with Cerastium peruvianum, I always reach for my pruning shears in late spring or early summer. This is when the plant is actively growing, and the stems are plump and full of energy, ready to sprout roots. You want to catch it before it gets too leggy and perhaps before it’s fully flowered out.
Supplies You’ll Need
Gathering your tools beforehand makes the whole process so much smoother. Here’s what I usually have on hand:
- Sharp pruning shears or a clean knife: Essential for making clean cuts.
- Potting mix: A well-draining mix is key. I often use a blend of peat moss, perlite, and compost. You can also buy specific seed-starting or cutting mixes.
- Small pots or trays: Clean containers are a must to prevent disease.
- Rooting hormone powder (optional but helpful): This gives those cuttings a little boost.
- Plastic bags or a propagator: To create a humid environment.
- Watering can or spray bottle: For gentle watering.
Propagation Methods
Let’s get our hands dirty! For Cerastium peruvianum, I find the most success with stem cuttings and division.
Stem Cuttings
This is my go-to method for multiplying my Cerastium peruvianum.
- Take your cuttings: Using your clean pruning shears or knife, snip off healthy stems that are about 3-4 inches long. Look for stems that are semi-woody – not too soft and green, but not completely hard either. Remove any flowers or flower buds.
- Prepare the cuttings: Gently remove the lower leaves from the cutting, leaving just a few at the top. If you’re using rooting hormone, dip the cut end into the powder, tapping off any excess.
- Plant the cuttings: Fill your small pots with your well-draining potting mix. Make a small hole with your finger or a pencil, and insert the cut end of the stem. Firm the soil gently around it.
- Water and cover: Water the soil lightly until it’s moist but not soggy. Cover the pots with a plastic bag or place them in a propagator to maintain high humidity. This is crucial for preventing the cuttings from drying out.
Division
This is a fantastic way to rejuvenate an older clump and get more plants at the same time.
- Excavate the clump: In the spring or fall, carefully dig up the entire plant. You can gently shake off some of the excess soil to get a better look at the root system.
- Separate the sections: With your hands or a clean trowel, gently pull or cut the root ball into smaller sections. Each section should have a healthy root system and at least a few shoots.
- Replant and water: Plant these divisions into new spots in your garden or into pots filled with good soil. Water them in well and keep them consistently moist for the first few weeks.
The “Secret Sauce” (Pro Tips)
Here are a couple of things I’ve learned over the years that really make a difference:
- Forget about water propagation for this one. While it works for some plants, Cerastium peruvianum tends to rot if its leaves sit in standing water. Stick to soil!
- Once your cuttings are planted, place them in a bright spot, but out of direct, harsh sunlight. Think of it like dappled shade under a tree. Too much sun will scorch those tender new leaves before they’ve had a chance to establish.
- If you happen to have bottom heat, placing your pots on a heat mat can significantly speed up root development. It mimics those lovely warm spring soils and gives your cuttings a real boost.
Aftercare & Troubleshooting
Once you start seeing new growth emerging from your cuttings, it’s a good sign that roots are forming!
- Gradually introduce them to less humid conditions. Once they’re well-rooted, you can start lifting the plastic bags for longer periods each day until they’re fully acclimatized.
- Continue to water regularly, keeping the soil nicely moist.
- The biggest issue you’ll likely run into is rot. If you see your cuttings turning mushy and dark, it’s usually a sign of too much moisture and not enough air circulation. Make sure your soil drains well, and don’t waterlog them. If you catch it early, you might be able to save some by cutting away the rotted parts and replanting in fresh, dry soil with better drainage.
A Encouraging Closing
Propagating plants is a journey, and like any good garden project, it’s about patience and observation. Don’t get discouraged if every single cutting doesn’t make it. Celebrate the successes, learn from any setbacks, and most importantly, enjoy the process of creating more of these delightful white blooms for your garden. Happy propagating!
Resource:
https://identify.plantnet.org/k-world-flora/species/Cerastium%20peruvianum%20Muschl./data