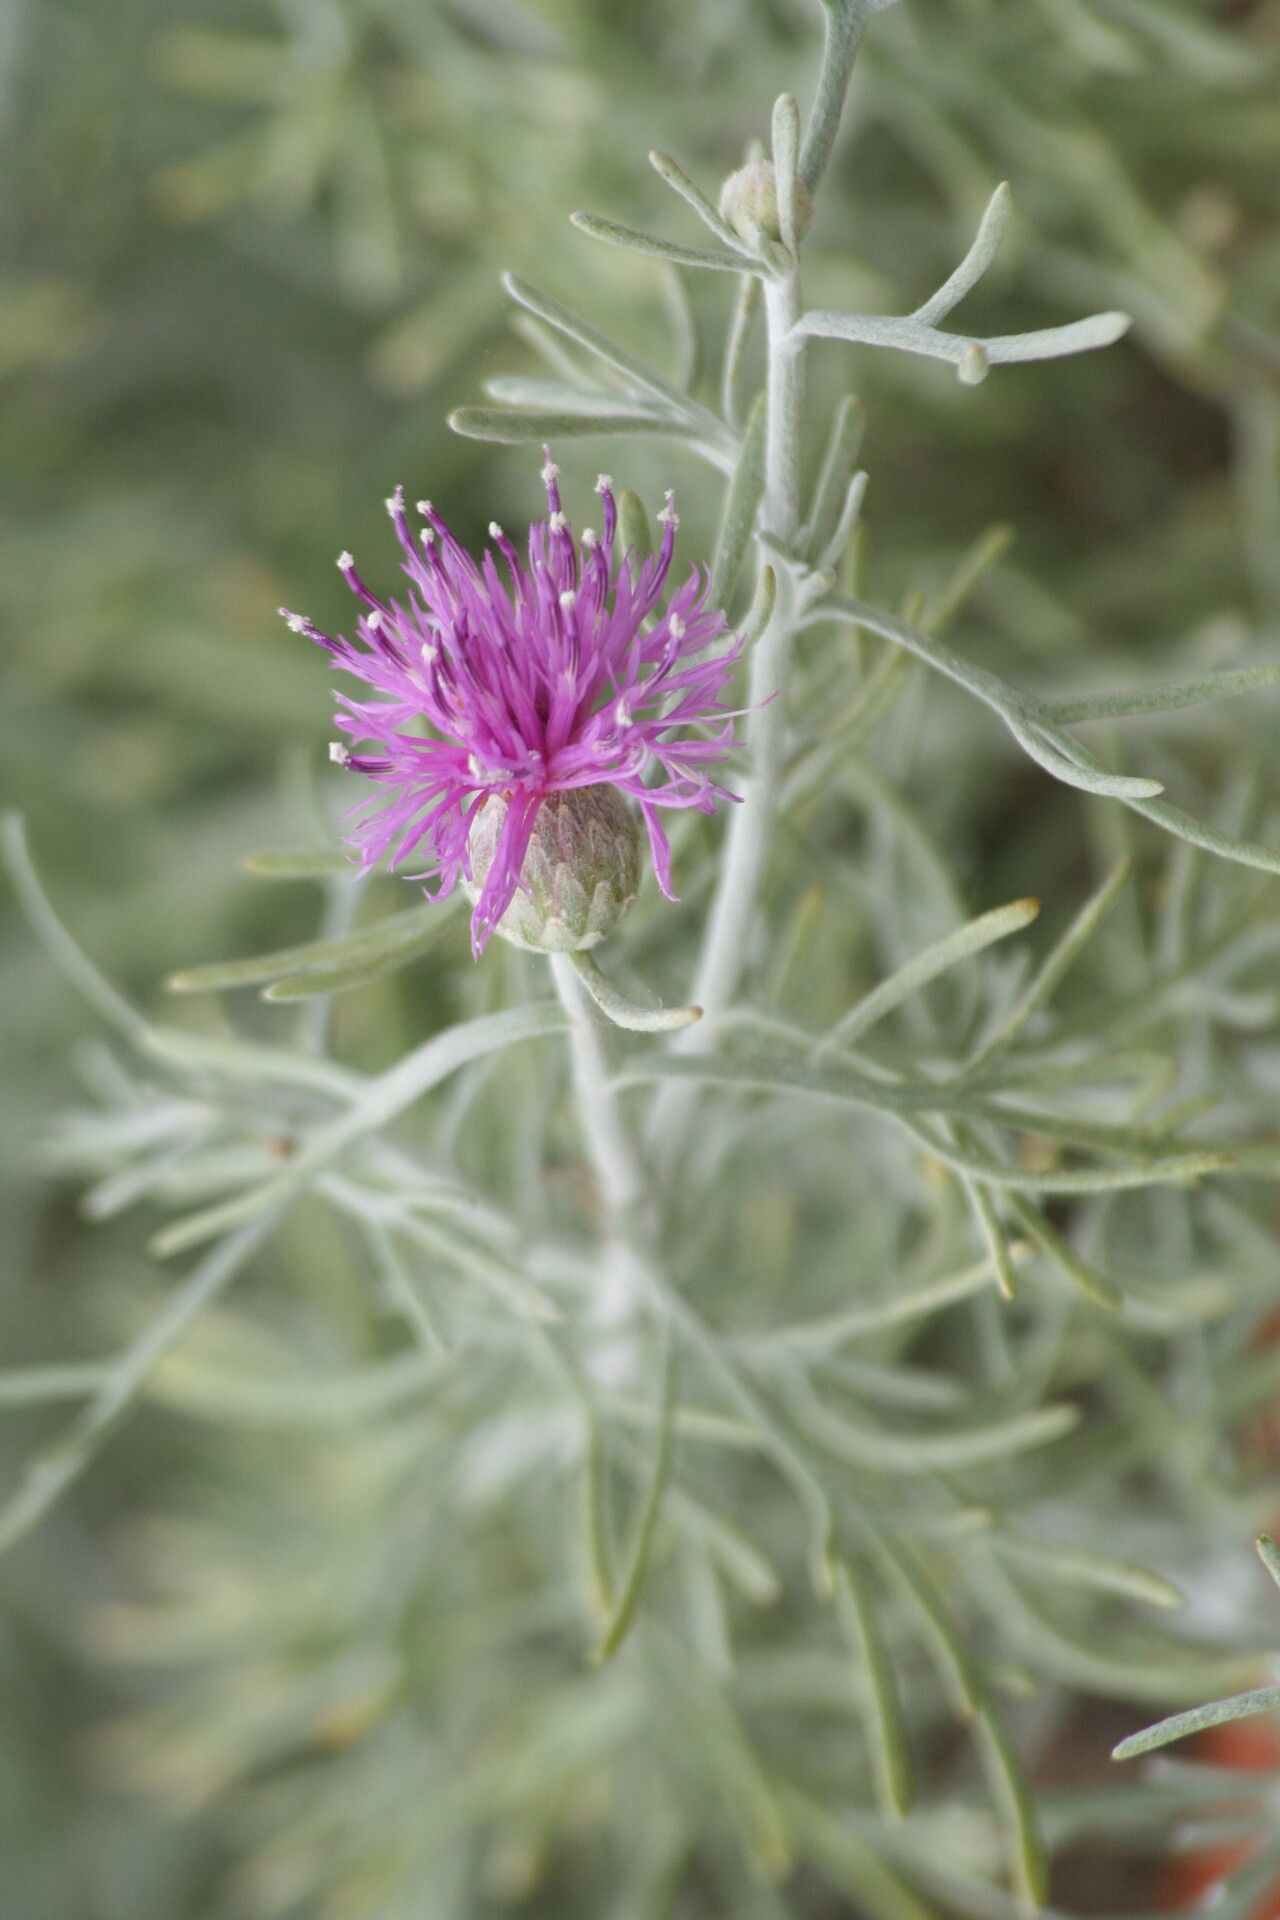
Hello friends, and welcome back to my little corner of the gardening world! Today, we’re diving into the charming, fuzzy beauty that is Centaurea akamantis. You know, those delightful plants with their silvery, woolly leaves and delicate, often purplish-blue blooms that just scream Mediterranean charm? They have a way of bringing a touch of rustic elegance to any garden. And the joy of creating more of these beauties from your existing plants? Pure gardening bliss! Now, I won’t lie, Centaurea akamantis can be a little on the finicky side compared to, say, a common petunia. But with a bit of know-how and patience, it’s absolutely achievable for us home gardeners. Let’s get our hands dirty!
The Best Time to Start
For Centaurea akamantis, spring is generally your prime time for propagation. Think of it as giving your new plant babies the best chance to get established before the heat of summer or the chill of autumn sets in. You’re looking for active new growth. If you’ve got a plant that’s already put out some fresh stems after winter, that’s your cue!
Supplies You’ll Need
Here’s a little checklist to get you prepped:
- Sharp, clean pruning shears or a sharp knife: For making clean cuts.
- Seedling potting mix: Something light and airy, with good drainage. A mix of peat moss, perlite, and a touch of compost is ideal.
- Rooting hormone (optional but recommended): A powder or gel to encourage root development.
- Small pots or seed trays: With drainage holes, of course!
- Plastic bags or a propagator lid: To create a humid environment.
- Spray bottle with water: For misting.
- Gravel or small stones (for water propagation): To keep cuttings upright.
Propagation Methods
Let’s explore a couple of ways to get more Centaurea akamantis going.
Stem Cuttings
This is my go-to method for Centaurea akamantis.
- Take Cuttings: In spring, identify healthy, non-flowering stems on your mature plant. Using your clean secateurs or knife, take cuttings about 4-6 inches long. Make a cut just below a leaf node (where a leaf attaches to the stem).
- Prepare Cuttings: Gently remove the lower leaves from the cutting, leaving just a couple of sets at the top. This prevents them from rotting in the soil. If you’re using rooting hormone, dip the cut end into it now, tapping off any excess.
- Plant Cuttings: Fill your small pots or trays with your prepared potting mix. Make a hole in the center with your finger or a pencil.
- Insert Cuttings: Gently push the cut end of each cutting into the hole, ensuring the leaf nodes are below the soil surface. Firm the soil gently around the base of the cutting.
- Water and Cover: Water the potting mix thoroughly but gently, then cover the pot or tray with a plastic bag or propagator lid to create a humid microclimate.
- Place and Wait: Put the pot in a bright spot but out of direct sunlight. A warm windowsill is perfect.
Division
If your plant has formed a nice clump, dividing it is a straightforward option.
- Prepare: Water your plant well a day or two before dividing.
- Excavate: Carefully dig up the entire plant. Gently shake off excess soil.
- Divide: You’ll see that the clump can often be pulled or gently broken apart into smaller sections. Each section should have leaves and some healthy roots. If it’s a bit tough, a clean trowel or spade can help, but try to be as gentle as possible.
- Replant: Pot up each division into its own container with fresh potting mix, or replant them directly into the garden, giving them enough space. Water them in well.
The “Secret Sauce” (Pro Tips)
Here are a few little tricks I’ve picked up over the years that really make a difference.
- Humidity is Key: For stem cuttings, that enclosed humid environment is crucial! If the bag starts getting too much condensation, briefly open it to air it out for a few minutes. It’s a balancing act, but a humid environment signals to the cutting, “It’s time to make roots!”
- Bottom Heat: If you have it, a heated propagator mat can significantly speed up root formation for cuttings. It mimics the warmth of the soil in summer and gives those roots a real boost. Don’t overdo it; just a gentle warmth is all you need.
- Don’t Disturb the Peace: Once your cuttings are planted, resist the urge to keep poking at them to see if roots have formed! You’ll only stress them out and potentially damage developing roots. Patience is your best tool here.
Aftercare & Troubleshooting
Once you start seeing new growth on your cuttings, that’s a fantastic sign!
- Acclimatize: Gradually remove the plastic bag or propagator lid over a week or two. Start by taking it off for a few hours each day, then longer, until the plant is used to the ambient humidity.
- Watering: Water when the top inch of soil feels dry. Avoid letting the pots sit in standing water, which can lead to root rot.
- Potting Up: When the new plants have a decent root system (you might see roots peeking out of the drainage holes), you can pot them up into slightly larger containers or plant them out in the garden once all danger of frost has passed.
The most common issue you’ll encounter is rot. If a cutting turns mushy and black, it’s usually a sign of too much moisture and not enough air circulation, or it was simply too stressed to begin with. Don’t be disheartened if a few don’t make it; that’s just part of the gardening dance. Remove any rotten bits immediately to prevent it from spreading.
A Encouraging Closing
So there you have it! Propagating Centaurea akamantis is a rewarding journey. It’s about observing, learning, and celebrating those tiny miracles. Be patient with your new green companions, give them a little TLC, and you’ll soon be enjoying more of their silvery charm in your garden. Happy growing!
Resource: