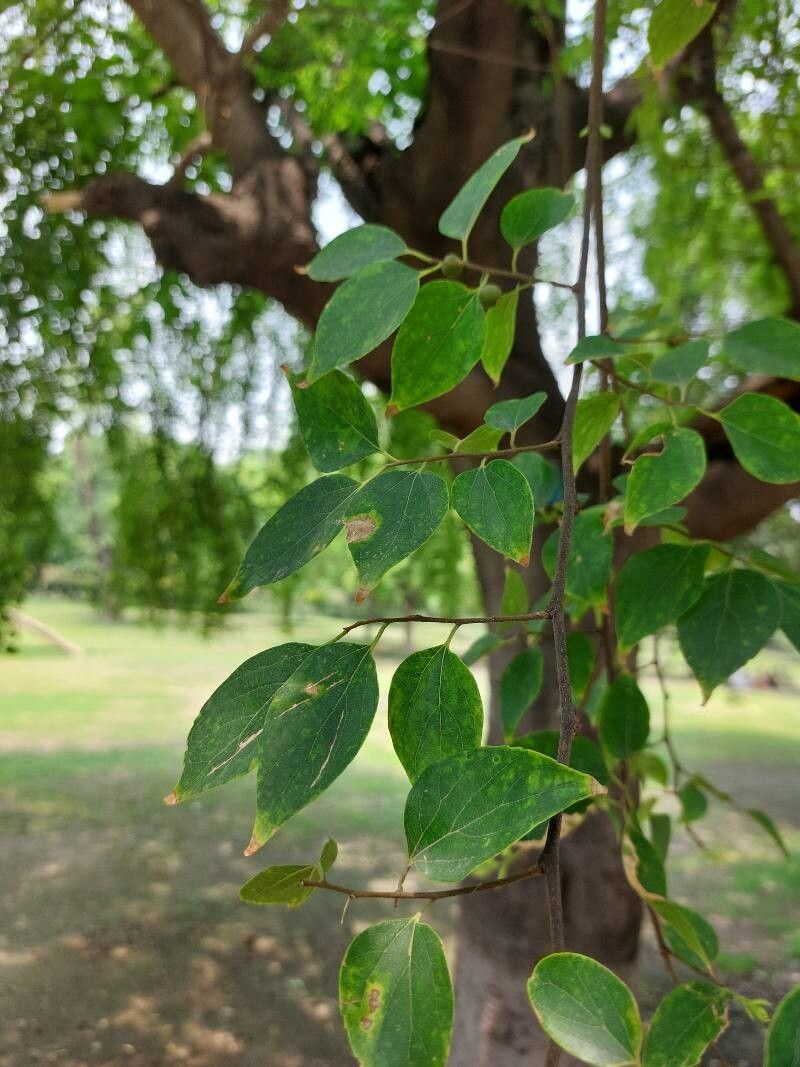
Oh, hello there! I’m so glad you’ve stopped by. Today, we’re going to chat about a truly special tree: Celtis eriocarpa, or as some of us affectionately call it, the hairy-fruited hackberry. If you’re looking for a tree that offers delicate charm in its leaves and a subtle, sweet reward with its small, berry-like fruits, then this is one you’ll want to get to know. And the best part? Bringing more of these beauties into your garden by propagating them yourself is a wonderfully rewarding journey. For beginners, I’d say Celtis eriocarpa is a moderately easy plant to propagate, especially with a few handy tips I’ll be sharing. It’s a lovely challenge that often yields great results.
The Best Time to Start
When it comes to getting new Celtis eriocarpa plants going, spring is your best bet. Aim for late spring, just as the plant is in full swing with its new growth. This is when the stems are most flexible and full of energy, making them prime candidates for taking cuttings. You’ll often find the plant putting out lovely, soft new shoots at this time, and those are the ones we’re after.
Supplies You’ll Need
Before we get our hands dirty, let’s gather our tools. You won’t need much, but having these ready will make the process much smoother:
- Sharp pruning shears or a clean knife: For making clean cuts.
- Rooting hormone powder: This isn’t strictly necessary, but it can give your cuttings a significant boost.
- Small pots or trays: Clean ones are crucial to prevent disease.
- A well-draining potting mix: I like a blend of equal parts peat moss, perlite, and coarse sand. Sometimes, a good quality seed-starting mix works wonders too.
- A clear plastic bag or propagator: To create a humid environment.
- Watering can or mister: For gentle hydration.
- Labels: To remember what you’ve planted!
Propagation Methods
While Celtis eriocarpa can be grown from seed (though germination can be slow and unpredictable), stem cuttings are generally the most reliable and quickest way to get a new plant. Here’s how I do it:
-
Take Your Cuttings: On a mild spring day, select a healthy shoot that’s about 4-6 inches long. Look for a stem that has new growth at the tip but is starting to firm up slightly near the base. Make a clean cut just below a leaf node (where a leaf attaches to the stem). Remove all but the top two or three leaves. If the leaves are very large, I’ll often snip them in half to reduce water loss.
-
Prepare for Rooting: Dip the cut end of your stem into rooting hormone powder, tapping off any excess. This encourages root development.
-
Plant Your Cuttings: Fill your small pots or trays with your prepared potting mix. Make a small hole in the center with your finger or a pencil. Gently insert the cut end of the cutting into the hole, ensuring at least one leaf node is below the soil surface. Firm the soil gently around the stem.
-
Create a Humid Environment: Water the soil lightly until it’s evenly moist. Now, here’s a key step: cover the pot or tray with a clear plastic bag or place it in a propagator. This traps humidity, which is vital for cuttings to root. Make sure the plastic bag doesn’t touch the leaves too much.
-
Find the Right Spot: Place your pots in a bright location but out of direct, harsh sunlight. A windowsill in a room that stays consistently warm is usually ideal.
The “Secret Sauce” (Pro Tips)
Over the years, I’ve learned a few tricks that have really helped me up my propagation game. Here are a couple that are particularly useful for trees like Celtis eriocarpa:
- Bottom Heat is Your Friend: If you can, provide gentle bottom heat to your cuttings. A simple seedling heat mat placed underneath your propagator or pots can make a world of difference. It encourages the roots to form more quickly while keeping the foliage cool enough to prevent rot. You can usually find these online or at a good garden center.
- Be Patient with the Initial Watering: When you first pot up your cuttings, give them a good, initial watering. After that, resist the urge to overwater! It’s much better for the cuttings to dry out slightly between waterings than to sit in soggy soil. I often check my cuttings by lightly touching the soil surface. If it feels dry an inch down, it’s time for a gentle watering.
Aftercare & Troubleshooting
Once your cuttings have been in their humid little homes for a few weeks, you might start to see signs of life – new leaf buds forming! This is a beautiful indicator that roots are developing. The next step is to gradually acclimatize your new plant to normal conditions. Start by opening the plastic bag or propagator for increasing lengths of time each day over about a week. This helps the new plant adjust to lower humidity.
Once you see actual roots emerging from the drainage holes of the pot, you know your cutting has successfully rooted! You can then pot it up into a slightly larger pot with a good quality potting mix. Continue to keep it in a bright, indirect light location and water it when the top inch of soil feels dry.
If you notice your cuttings are wilting and not perking up after watering, or developing mushy, dark stems, that’s usually a sign of rot. This often happens from overwatering or poor air circulation. Unfortunately, a rotted cutting is usually a goner. Don’t be discouraged, though! Just clean up the pot, sterilize your tools, and try again with fresh cuttings. The key is to ensure good drainage and avoid waterlogged soil.
A Encouraging Closing
Propagating Celtis eriocarpa is a beautiful way to connect with nature and expand your garden. It’s a process that requires a bit of patience and observation, but the reward of nurturing a new life from a simple cutting is truly special. So, gather your supplies, get your hands in the soil, and enjoy the journey. Happy gardening!
Resource:
https://identify.plantnet.org/k-world-flora/species/Celtis%20eriocarpa%20Decne./data