Oh, hello there! Come on in, grab a cuppa. We’re going to chat about Celosia trigyna today, and I promise, it’s a joy to get more of these beauties growing.
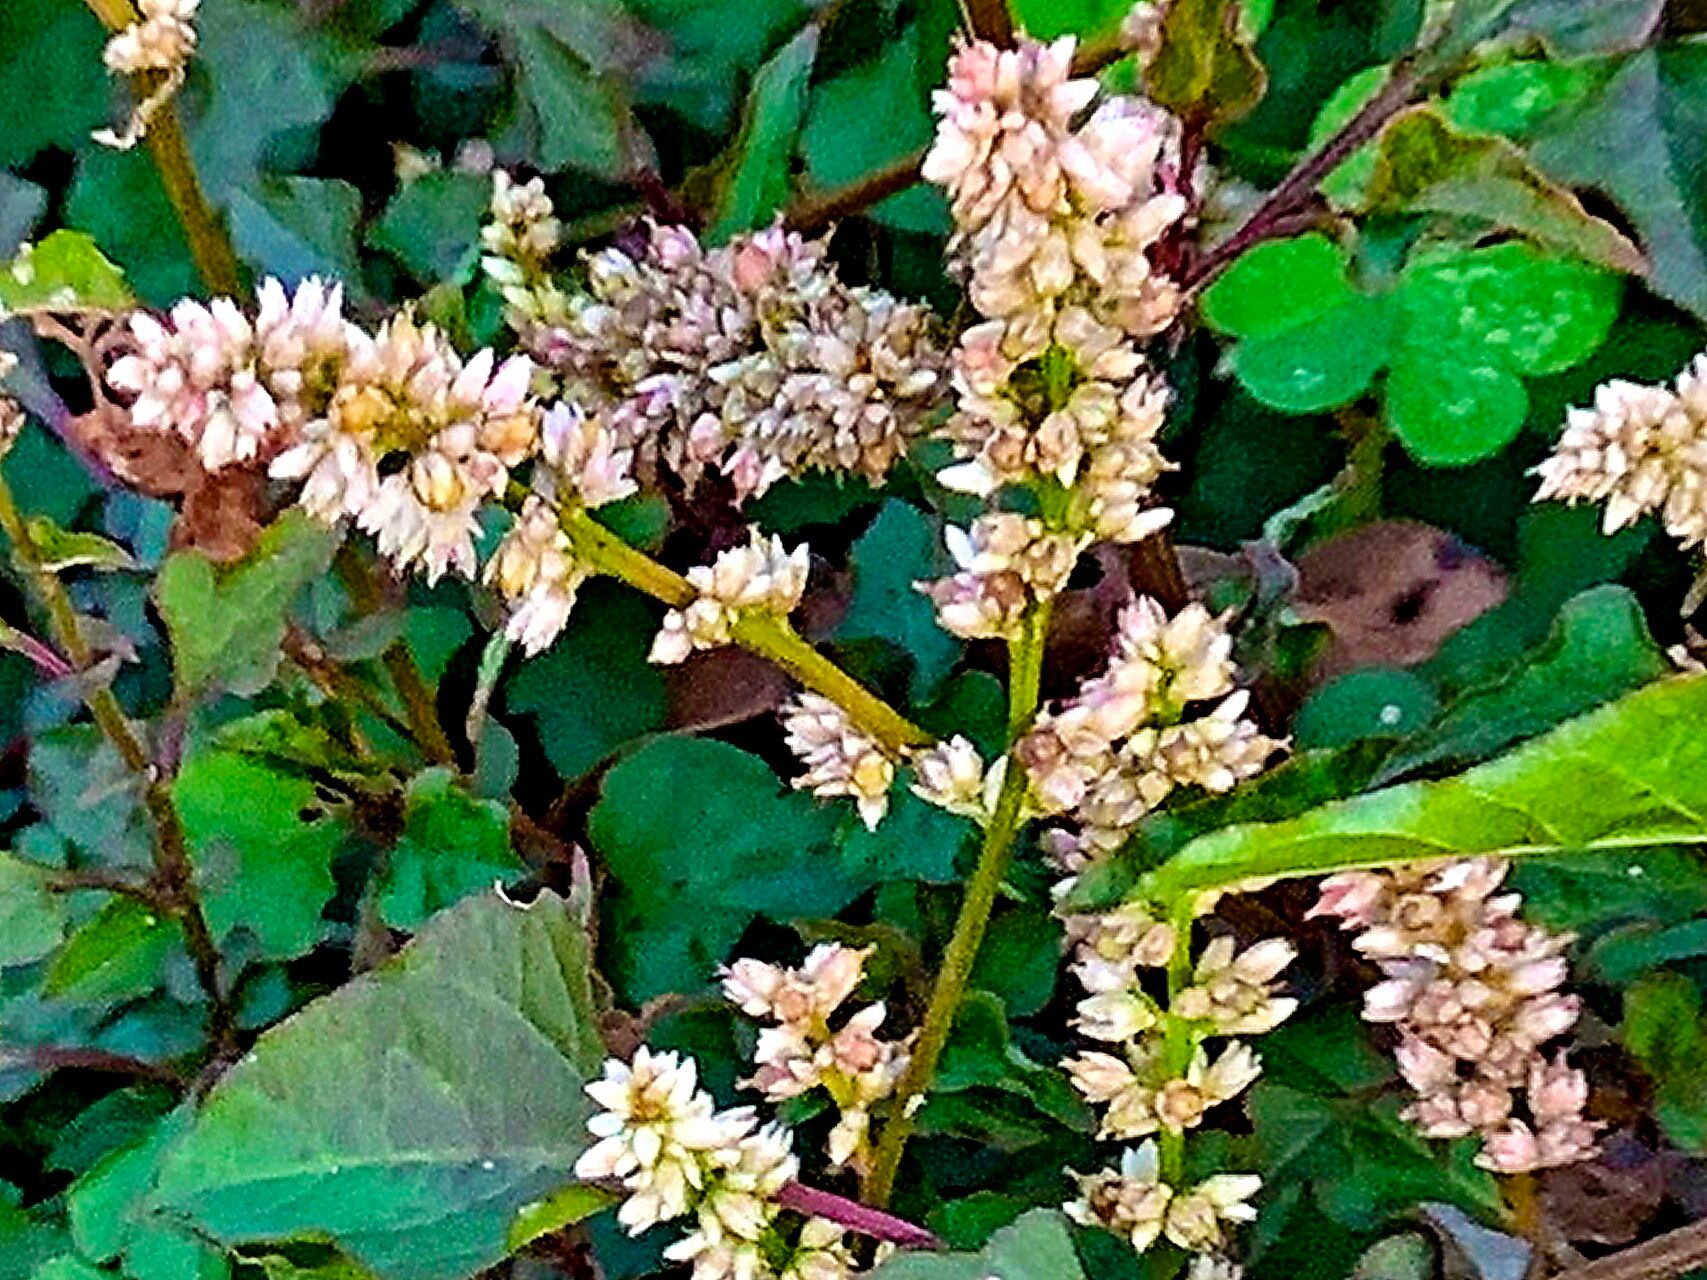
You know those vibrant, feathery plumes that practically glow in the garden? That’s often our friend Celosia trigyna. They’re such cheerful plants, bringing so much color and texture to a sunny spot. And the best part? They’re surprisingly easy to grow from cuttings. Honestly, if you’ve ever dabbled in gardening, you can absolutely master this. It’s a very rewarding way to fill your garden or even just get a few extra pots going for friends.
The Best Time to Start
My favorite time to take cuttings is in the late spring or early summer. This is when the plant is actively growing and has lots of nice, firm stems to work with. You’ll find they root much more readily when the days are getting longer and warmer. Aim for a time when you can provide consistent warmth.
Supplies You’ll Need
Before we get our hands dirty, let’s gather our vittles:
- Sharp, clean pruning shears or a sharp knife: Nothing ruins a cutting faster than a dull tool that crushes the stem.
- Well-draining potting mix: I like a blend of equal parts perlite and peat moss or coco coir. You can also find specific seed-starting mixes that work wonderfully.
- Small pots or trays: Anything that can hold your mix and is clean is perfect. Yogurt cups with drainage holes work in a pinch!
- Rooting hormone (optional but helpful): This isn’t strictly necessary for Celosia, but a little dip can speed things up.
- Watering can with a fine rose or spray bottle: Gentle watering is key!
- Plastic bag or propagation dome: This helps create a humid microclimate.
Propagation Methods
Celosia trigyna is wonderfully amenable to stem cuttings. It’s my go-to method for a reason!
- Take Your Cuttings: Look for healthy, non-flowering stems. You want pieces that are about 4-6 inches long. Using your clean shears, make a cut just below a leaf node (where a leaf attaches to the stem).
- Prepare the Cuttings: Gently remove the lower leaves from the cutting, leaving just a few at the top. This prevents them from rotting in the soil and encourages the plant to focus energy on root development.
- Apply Rooting Hormone (if using): Dip the cut end of the stem into your rooting hormone. Gently tap off any excess.
- Plant Your Cuttings: Fill your pots with your prepared potting mix. Make a small hole with your finger or a pencil and gently insert the cut end of each Celosia cutting. Firm the mix around the stem so it stands upright.
- Water Gently: Water the soil thoroughly but gently. You don’t want to disturb the cuttings.
The “Secret Sauce” (Pro Tips)
Here are a few things I’ve learned over the years that make a big difference:
- Bottom Heat is Your Friend: If you have a heat mat available, place your pots on it. This gentle warmth from below really encourages those roots to form much faster. It’s like a cozy spa day for your cuttings!
- Humidity is Key, But Don’t Drown Them: Cover your pots with a plastic bag or a propagation dome to keep the humidity high. Be sure to vent it daily for a few minutes to prevent fungal issues. You want that muggy greenhouse feel, not a swamp. And never let the leaves of the cutting sit in water within the pot.
- Patience with the Plumes: Resist the urge to let your cuttings flower too soon. If you see a tiny bud forming, I often gently pinch it off. This encourages the plant to put its energy into growing roots instead of seeds.
Aftercare & Troubleshooting
Once your cuttings have started to root – you’ll usually see new leaf growth within a couple of weeks – you can start to gradually acclimate them to less humid conditions. Remove the plastic tent for longer periods each day before taking it off completely. Start watering them as you would a mature plant, allowing the soil to dry slightly between waterings.
The most common issue you might face is rot. If a cutting turns mushy and dark, it’s likely rotted. This is usually due to too much moisture and not enough airflow. Sadly, these cuttings are usually lost. Keep an eye out for wilting that doesn’t improve after watering – this could be a sign of root rot, or sometimes just that they haven’t rooted yet and are stressed.
So there you have it! Propagating Celosia trigyna is a really straightforward and satisfying process. Just remember to be gentle, provide warmth and humidity, and give them a little time. You’ll be amazed at how many gorgeous plants you can create from just one! Happy growing!
Resource:
https://identify.plantnet.org/k-world-flora/species/Celosia%20trigyna%20L./data