Hello there, green thumbs!
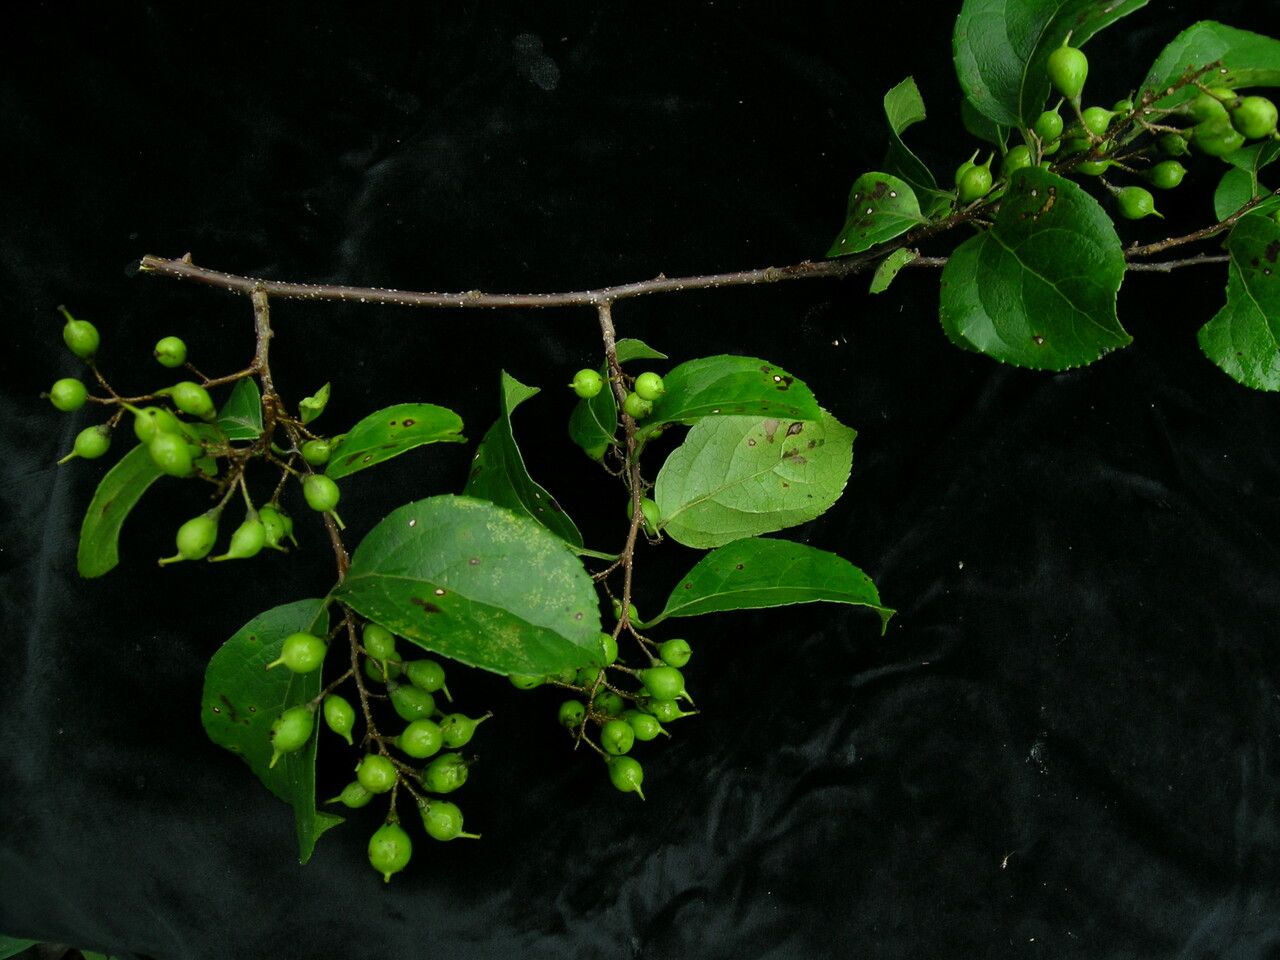
I’m so delighted you’re interested in Celastrus hookeri, also known as Hooker’s Bittersweet. If you’ve ever admired its delicate, often variegated foliage and charming clusters of berries (on female plants, of course!), then you’re in for a treat. Propagating this beauty is incredibly rewarding. It means more of those lovely plants gracing your garden, or even sharing them with fellow plant enthusiasts. For newcomers to propagation, I’d say Celastrus hookeri falls into the “moderately easy” category. A little attention to detail goes a long way!
The Best Time to Start
The sweet spot for propagating Celastrus hookeri is definitely late spring to early summer. Aim for when the plant is actively growing, but not in the throes of producing fruit or putting on its absolute most vigorous growth spurt. You want stems that are a bit firm but still somewhat flexible. Think of it as catching them at the peak of health!
Supplies You’ll Need
To get your propagation station set up, gather these goodies:
- Sharp pruning shears or a clean, sharp knife: For making clean cuts.
- A small trowel or dibber: For making holes in your potting mix.
- Small pots or trays: Clean ones are a must to prevent disease. Six-inch pots are usually a good size.
- A quality potting mix: I like to use a well-draining mix, often a blend of peat moss, perlite, and a bit of compost. You can also buy specific seed-starting or cutting mixes.
- Rooting hormone (optional but recommended): This can significantly boost your success rate, especially for trickier cuttings. Look for one containing IBA.
- Clear plastic bags or a propagation dome: To create a humid environment.
- Spray bottle filled with water: For misting.
Propagation Methods
While you could try seed, I find stem cuttings to be the most reliable and straightforward method for Celastrus hookeri.
Stem Cuttings
- Take your cuttings: In late spring or early summer, select healthy, current-season stems that are about pencil-thick. Look for sections that have set a bit, feeling firm but not woody. Aim for cuttings that are 6 to 8 inches long, and remove them with a clean cut just below a leaf node (where a leaf attaches to the stem).
- Prepare the cuttings: Gently remove the leaves from the lower half of each cutting. If the remaining leaves are very large, you can cut them in half horizontally to reduce water loss.
- Apply rooting hormone (if using): Dip the cut end of each stem into your rooting hormone, tapping off any excess.
- Plant the cuttings: Fill your clean pots with your prepared potting mix. Use your trowel or dibber to create a hole for each cutting, about 2 inches deep. Firm the soil gently around the base of each cutting to ensure good contact.
- Water gently: Water the soil thoroughly until water drains from the bottom of the pot.
- Create a humid environment: Place a clear plastic bag loosely over the pot and cuttings, or pop on a propagation dome. This traps moisture, mimicking the humid conditions new cuttings need. Ensure the leaves do not touch the sides of the bag, as this can encourage rot.
- Find a good spot: Place your pots in a bright location that receives indirect light. Avoid direct sun, which can scorch the delicate cuttings.
The “Secret Sauce” (Pro Tips)
Here are a couple of things I’ve learned over the years that can really make a difference:
- Bottom Heat is Your Friend: If you can, placing your pots on a gentle heat mat can speed up root development considerably. Most plants, including Celastrus hookeri, are happiest when their roots are a bit warmer than their foliage.
- Don’t Rush the Removal: Once you think your cuttings might be rooted, give them a gentle tug. If you feel resistance, it’s a good sign roots have formed. Resist the urge to pull them out to check too early! Patience is key here.
Aftercare & Troubleshooting
Once your cuttings have grown a few new leaves and you feel that strong resistance when tugging, it’s time to acclimate them. Gradually increase ventilation over a week or two by opening the plastic bag or dome a little more each day.
Once they are well-established, you can begin watering them as you would any other young plant. Water when the top inch of soil feels dry.
The most common issue you might encounter is rot. This usually happens when cuttings sit in overly wet soil or have poor air circulation. If you see a cutting turn mushy or black, it’s usually best to discard it to prevent it from affecting others. Good drainage and air circulation are your best defense.
A Encouraging Closing
Propagating plants is a journey, not a race. There’s a special satisfaction in nurturing a tiny cutting into a full-fledged plant. So, take a deep breath, gather your supplies, and give it a go! Be patient with your Celastrus hookeri, and enjoy the magic of new growth. Happy gardening!
Resource:
https://identify.plantnet.org/k-world-flora/species/Celastrus%20hookeri%20Prain/data