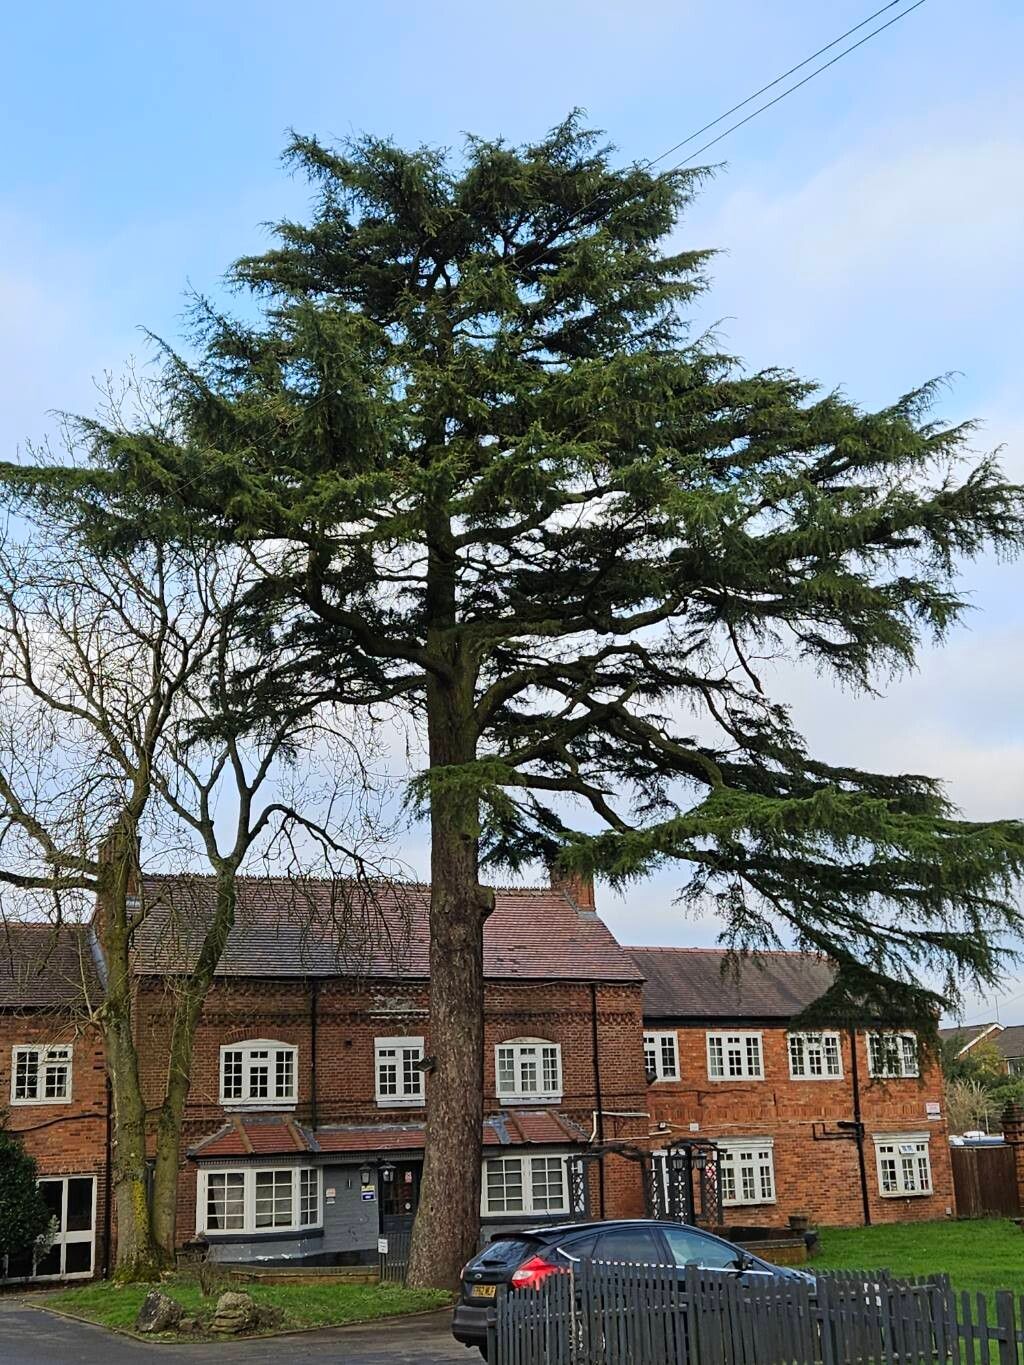
Hello there, fellow garden enthusiasts! Today, I want to chat about a truly magnificent tree: the Himalayan Cedar, or Cedrus deodara. Those graceful, often pendulous branches, with their soft, silvery-green needles, bring such elegance to any landscape. They have a way of just making your garden feel… established. And you know what’s even more rewarding? Growing one from scratch! Propagating these beauties isn’t as daunting as you might think, though I’ll be honest, it leans a little more towards the “intermediate” gardener’s journey rather than a complete beginner’s first foray. But with a little patience and these tips, you’ll be well on your way.
The Best Time to Start
For Cedrus deodara, the sweet spot for propagation is almost always late summer to early autumn. This is when the new growth has matured a bit but is still somewhat flexible. It’s often referred to as semi-hardwood. Trying too early in the season can mean the cuttings are too soft and prone to rot, while waiting until it’s fully dormant might mean they struggle to establish. Aim for those days when the air is crisping up a bit, but the sun still has some warmth.
Supplies You’ll Need
Here’s what I like to have on hand to give my cedar cuttings the best start:
- Sharp Pruning Shears or a Knife: Cleanliness is key to prevent disease.
- Rooting Hormone: A powder or gel works wonderfully. It really gives those roots a helpful nudge.
- Well-Draining Potting Mix: I often use a 50/50 mix of perlite and peat moss or a commercial seed starting mix that’s light and airy.
- Small Pots or a Propagation Tray: Clean pots are a must. About 4-inch pots work well.
- Clear Plastic Bags or a Propagation Dome: To create that humid environment cuttings love.
- Small Labels and a Waterproof Marker: You’ll thank yourself later!
- Watering Can with a Fine Rose: For gentle watering.
Propagation Methods
The most successful way I’ve found to propagate Cedrus deodara is through stem cuttings. Division is usually reserved for much larger, established trees and can be quite stressful for the plant.
Stem Cuttings:
- Select Your Cuttings: On a cool day, using your sterilized pruning shears, take cuttings from healthy, vigorous growth. Look for pieces that are about 4 to 6 inches long. They should feel somewhat firm but still bendable – that’s your semi-hardwood. Snip just below a leaf node (where a leaf attaches to the stem).
- Prepare the Cuttings: Gently remove the bottom 2-3 inches of needles. This exposes the part of the stem that will be going into the soil and helps prevent leaves from rotting.
- Apply Rooting Hormone: Dip the cut end of each prepared cutting into your rooting hormone, ensuring it’s coated evenly. Tap off any excess.
- Potting Up: Fill your clean pots with your well-draining mix. Make a little hole in the center with your finger or a pencil. Gently insert the cutting, firming the soil around the base to ensure good contact.
- Water Gently: Water the soil thoroughly until you see it begin to drain from the bottom of the pot.
- Create Humidity: Place a clear plastic bag over the pot, securing it loosely with a rubber band, or cover it with a propagation dome. This locks in moisture, which is crucial for cuttings before they develop roots.
- Placement is Key: Set the pots in a bright location but out of direct, harsh sunlight. A north-facing window or a spot under grow lights is ideal.
The “Secret Sauce” (Pro Tips)
Now, here are a few things I’ve learned over the years that make a difference:
- “Heel” That Cutting: When I’m selecting my semi-hardwood cuttings, I look for shoots that have a small bit of older wood attached at the base – sometimes called a “heel.” This little bit of older tissue can sometimes give cuttings a faster start in developing roots. If you can find one, great! If not, don’t worry too much, it’s not a deal-breaker.
- Bottom Heat is Your Friend: If you have the space and inclination, placing your pots on a heat mat designed for plants can really speed things up. Cedars like that gentle warmth from below to encourage root development.
Aftercare & Troubleshooting
Once your cuttings are potted, the patient waiting game begins. Keep the soil consistently moist but not waterlogged. You’ll want to lightly water when the surface of the potting mix feels dry to the touch. Every few days, lift the plastic bag or dome for a few minutes to allow for some air circulation. This helps prevent mold and rot.
You’ll know your cuttings have rooted when you see new needle growth and feel a gentle resistance if you were to lightly tug on the cutting. This can take anywhere from two months to six months, so patience is truly a virtue here!
The most common issue you’ll encounter is rot. If you see the cutting turning black and mushy, it’s likely succumbed to too much moisture and not enough air circulation. This is why that well-draining mix and occasional ventilation are so important. Also, ensure no leaves are submerged in any standing water at the bottom of the pot or tray.
A Encouraging Closing
Propagating Cedrus deodara is a wonderfully rewarding endeavor. It’s a chance to slow down, observe, and connect with these magnificent trees on a deeper level. Don’t be discouraged if your first few attempts aren’t perfect; every cutting is a learning experience. Just keep at it, enjoy the process, and soon you’ll have your very own Himalayan Cedars to cherish. Happy gardening!
Resource: