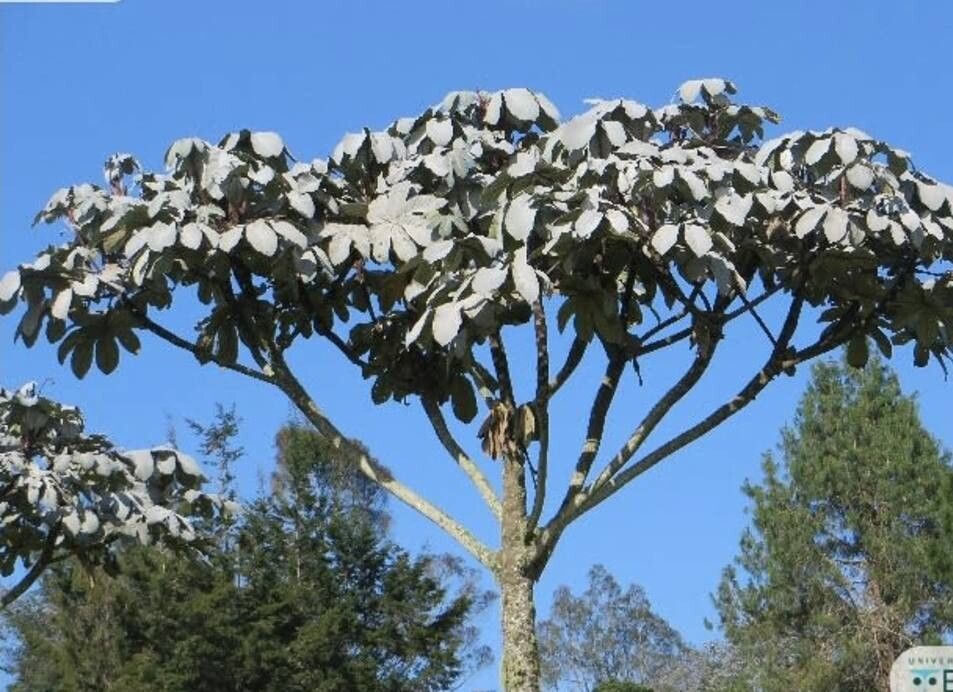
Oh, the Cecropia! If you’ve ever admired those tall, elegant trees with their distinctive palmate leaves, you’re not alone. They bring such a tropical vibe to any space, and if you’re looking to bring a piece of that sunshine home, propagating them is a fantastic endeavor. Imagine the joy of seeing a tiny sprig unfurl new leaves – it’s incredibly rewarding! Now, I won’t lie, Cecropia can be a touch finicky, but with a little know-how and the right approach, it’s absolutely achievable, even for those of you just starting out on your gardening journey.
Let’s talk about timing, because that’s often half the battle.
The Best Time to Start
For Cecropia, the sweet spot for propagation is generally during the active growing season. Think late spring through early summer. This is when the plant is bursting with energy, ready to put out new growth, and has plenty of stored reserves to fuel root development. Trying to propagate when the plant is dormant or stressed is like asking a sleepy bear to run a marathon – it’s just not going to work as well. You want that vigorous sap flow working in your favor!
Supplies You’ll Need
Don’t let a long list daunt you; these are pretty standard items for any propagation enthusiast:
- Sharp, clean pruning shears or a knife: This is crucial for making clean cuts that heal and root easily.
- Rooting hormone (optional but recommended): I like to use a gel or powder formulation. It really gives cuttings a head start.
- A well-draining potting mix: I typically use a 50/50 blend of perlite and coco coir or a good quality seed-starting mix. Avoid heavy, dense soil.
- Small pots or cell trays: Clean ones, of course! Anything that holds the potting mix and allows for drainage.
- Plastic bags or a humidity dome: To create that humid microclimate your struggling cuttings will adore.
- Watering can or spray bottle: For gentle watering.
- A warm location: This is a big one, more on that in a bit!
Propagation Methods
I’ve found the most reliable way to get new Cecropia plants is through stem cuttings. It’s straightforward, and you can often get multiple plants from a single parent.
Stem Cuttings:
- Select your cutting: Look for a healthy, semi-hardwood stem on your parent plant. This means it’s not brand new, bright green growth, but also not old, woody growth. Aim for a stem that feels firm but has a little give.
- Make the cut: Using your sterilized pruning shears, cut a section of stem about 6-8 inches long. Make sure your cut is at a 45-degree angle, just below a leaf node. These nodes are where the magic happens – they’re packed with potential roots.
- Prepare the cutting: Carefully remove the lower leaves. You want to expose at least two nodes that will be buried in the soil. You can also nip off any smaller leaves at the top and perhaps cut larger leaves in half to reduce water loss through transpiration.
- Apply rooting hormone: Dip the cut end of the stem into your rooting hormone, tapping off any excess.
- Plant the cutting: Fill your clean pots with your well-draining potting mix. Make a hole in the center with your finger or a pencil. Insert the prepared cutting into the hole, ensuring that at least one or two leaf nodes are below the soil surface. Gently firm the soil around the cutting.
- Water gently: Water thoroughly but gently, making sure the soil is evenly moist.
The “Secret Sauce” (Pro Tips)
Here are a couple of things I’ve learned over the years that make a real difference:
- Bottom Heat is Your Best Friend: Cecropia cuttings love warmth. Placing your pots on a propagation mat or in a warm greenhouse provides consistent bottom heat that really encourages root formation. It’s the difference between a cutting slowly thinking about rooting and one that enthusiastically gets going.
- Don’t Over-Mist (Once it’s established): While humidity is key, once your cutting is planted and covered, avoid frequently lifting the cover to mist. This disrupts the humid environment. Instead, aim for consistent moisture in the soil. Water from the bottom if you can, or mist just the inside of the plastic bag.
Aftercare & Troubleshooting
Once your cuttings are planted, it’s time to be patient and provide a bit of TLC.
- Maintain Humidity: Cover your pots with clear plastic bags or a humidity dome. This is non-negotiable for those first few weeks. The goal is to keep the leaves from wilting, which can happen quickly in dry air.
- Bright, Indirect Light: Place your cuttings in a spot that receives bright, indirect light. Avoid direct sunlight, as this can scorch the delicate leaves and heat up the plastic too much.
- Check for Roots: After about 4-8 weeks, you can gently tug on a cutting. If you feel resistance, it’s a good sign roots have formed! You can also look for new leaf growth.
- Troubleshooting: The most common issue is rot. If you see blackened, mushy stems or leaves, it’s usually a sign of overwatering and poor drainage, or not enough airflow. If this happens, remove the affected cutting immediately to prevent it from spreading. Sometimes, the soil mix is just too heavy, or the pot doesn’t drain well. Another sign of failure is continued wilting and no sign of root development after several months. This might mean the cutting wasn’t viable or the conditions weren’t quite right.
A Encouraging Closing
Propagating Cecropia is a journey, and like any good journey, it requires patience. Don’t be discouraged if your first few attempts don’t yield immediate results. Every gardener has their share of failures; it’s all part of the learning process. Enjoy the quiet observation, the gentle watering, and the anticipation. Soon enough, you’ll be marveling at your own little Cecropia offspring, and that feeling is truly priceless. Happy propagating!
Resource:
https://identify.plantnet.org/k-world-flora/species/Cecropia%20telenitida%20Cuatrec./data