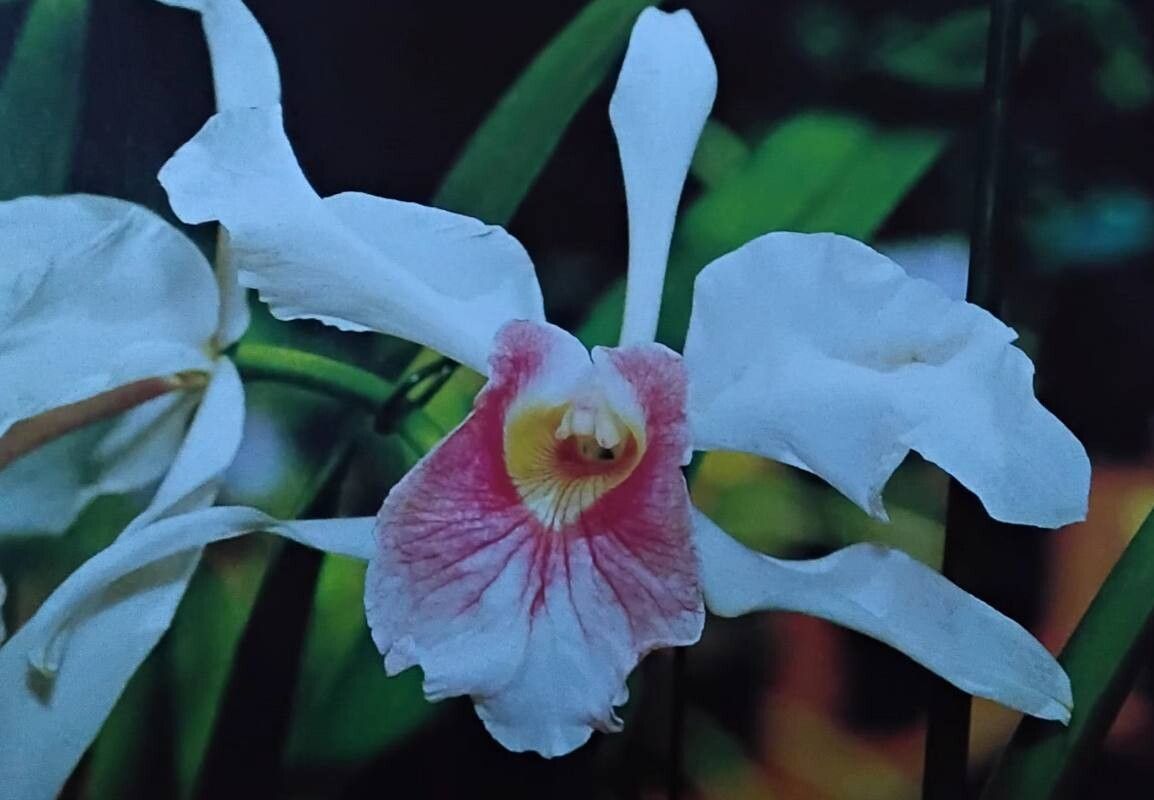
Hello fellow plant lovers! I’m so excited to chat with you today about a true gem of the orchid world: Cattleya purpurata. If you’ve ever seen this beauty in bloom, you know what I’m talking about. Those magnificent, ruffled petals, often with striking veining, are simply breathtaking. Growing and multiplying them is incredibly rewarding, a way to share that beauty or simply to have more of what you love. Now, is Cattleya purpurata an easy plant to propagate? I’d say it’s more of a plant that rewards patience and a bit of understanding, rather than one that’s a walk in the park for a complete beginner. But with a little guidance, you absolutely can succeed!
The Best Time to Start
When it comes to giving your Cattleya purpurata the best chance at new life, time is key. The sweet spot for propagation is right after the plant finishes blooming. This is usually in the late spring or early summer for many growers. The plant has just put forth a lot of energy into its spectacular display, and it’s entering a period of active growth. This new growth is where we’ll be focusing our efforts, and it’s much more receptive to setting down roots.
Supplies You’ll Need
Before we get our hands dirty (or rather, our sterile tools ready!), let’s gather our essentials. Having everything on hand makes the process so much smoother.
- Sharp, sterile pruning shears or a clean knife. Sterilize with rubbing alcohol between cuts to prevent disease.
- Orchid bark mix: A good quality, free-draining mix is crucial. I like a blend that includes medium-grade bark, perlite, and maybe a bit of charcoal.
- Potting pots: These can be plastic or terracotta, just make sure they have excellent drainage.
- Rooting hormone (optional but recommended): A powder or gel form can give cuttings a helpful boost.
- Sphagnum moss: Long-fibered sphagnum is fantastic for retaining a bit of moisture.
- Clear plastic bags or a humidity dome: To keep humidity high around your cuttings.
- Potting labels: Because believe me, you will forget which is which!
Propagation Methods
For Cattleya purpurata, the most reliable and common method is division. While stem cuttings are possible with some orchids, they can be trickier and take much longer with Cattleyas. Let’s focus on division, which essentially splits a mature, multi-growth plant into smaller, independent plants.
Here’s how we do it:
- Assess your plant: Look for a mature Cattleya purpurata that has at least three or four healthy pseudobulbs (the swollen stems). You want a plant that looks robust and has a good amount of active root growth.
- Gently remove from pot: Carefully take the orchid out of its current pot. You might need to gently squeeze the pot or run a knife around the edge if it’s stuck.
- Clean the roots: This is where you can get a good look at what you’re working with. Gently remove as much of the old potting medium as you can. You want to be able to see the rhizome (the creeping stem that connects the pseudobulbs) and the roots.
- Identify division points: Look for natural breaks in the rhizome. Ideally, you want to divide your plant so that each new piece has at least two to three healthy pseudobulbs and some good roots. Try to avoid dividing sections that are too small or have no developed roots.
- Make the cut: Using your sterilized shears or knife, make a clean cut through the rhizome. I like to make sure there’s at least one good pseudobulb and a growing tip (the newest growth) on each division.
- Pot the divisions: Treat any cut surfaces on the mother plant and the divisions with a fungicide or cinnamon powder if you’re concerned about rot. Then, pot each division into its own clean pot using your fresh orchid bark mix. I like to plant them so the new growth is facing outwards, giving it room to expand. If there aren’t many roots, you can gently pack some sphagnum moss around the base to help retain a little moisture initially.
The “Secret Sauce” (Pro Tips)
Over the years, I’ve learned a few tricks that can really make a difference.
- Don’t overwater divisions right away: This is a big one for preventing rot. Your newly divided plant has likely lost some roots or is stressed. It needs time to adjust and actually form new roots before it can effectively use a lot of water. Water lightly, and then wait until the potting mix starts to dry out before watering again.
- Embrace the humidity tent: For the first few weeks, those divisions need a good dose of humidity. Place the potted divisions inside clear plastic bags with a few air holes, or use a humidity dome. This creates a mini-greenhouse effect, encouraging the plant to send out new roots rather than dehydrate.
- Bottom heat is your friend: If you have a seedling heat mat, try placing your potted divisions on it. A gentle warmth from below can supercharge root development. Just make sure it’s not too hot – think lukewarm bath water temperature.
Aftercare & Troubleshooting
Once your divisions are potted, keep them in a bright, indirect light location and maintain that elevated humidity for about a month. You’ll know they’re settling in when you see new root tips emerging or a new leaf starting to develop.
What about when things go wrong? The most common issue is rot. If you see pseudobulbs turning black and mushy, that’s a sure sign of overwatering or insufficient airflow. If you spot this early, you might be able to cut away the rotted parts (sterilizing your tool first!) and repot into dry media. Another sign of trouble is a pseudobulb that shrivels up completely without any new growth appearing. This often means the plant didn’t have enough stored energy or couldn’t establish roots in time.
A Encouraging Closing
Propagating Cattleya purpurata is a journey, and like any good gardening adventure, it involves a bit of learning and a lot of patience. Don’t be discouraged if your first attempt isn’t perfect. Observe your plants, adjust your care, and celebrate every little success. The sheer joy of watching a new orchid thrive, knowing you helped bring it into existence, is truly something special. Happy growing!
Resource: