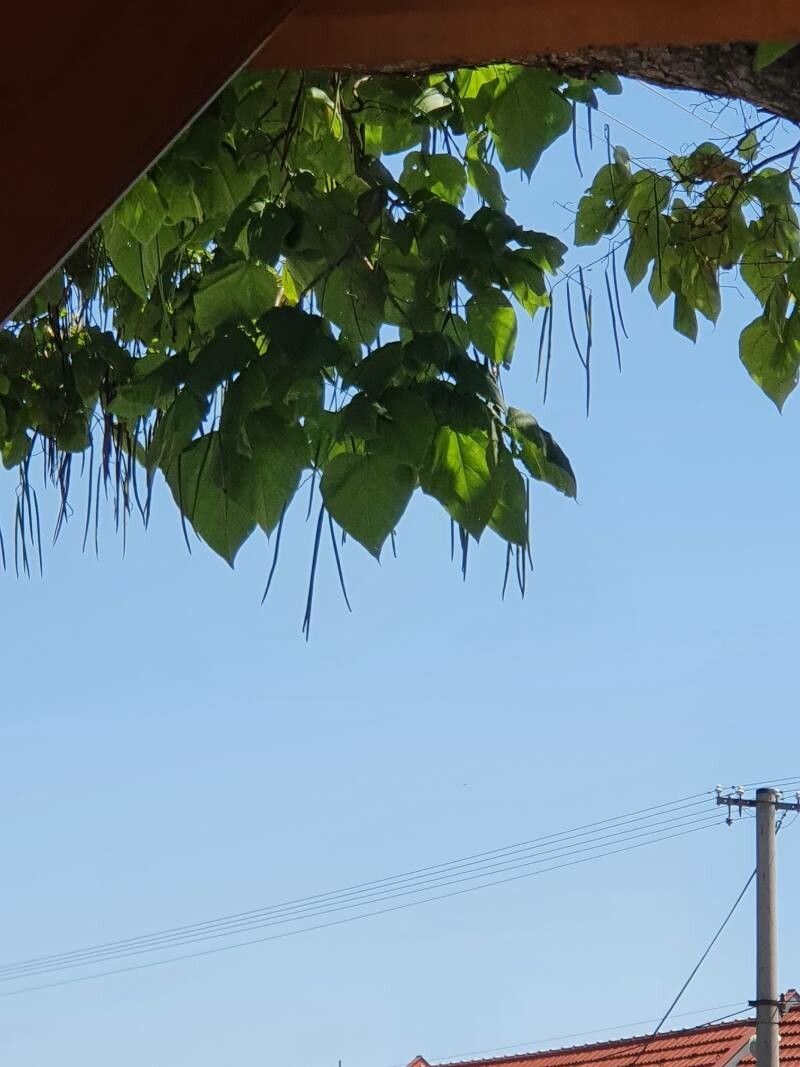
Oh, hello there! Come on in, grab a mug of your favorite warm drink. I’ve been looking forward to chatting with you about one of my favorite trees – the Catalpa. You know, the one with those magnificent, heart-shaped leaves and those showy, often fragrant, white flowers that smell a bit like vanilla? They’re just a delight in any garden. And the best part? They’re surprisingly easy to propagate. If you’re just dipping your toes into the world of plant multiplication, Catalpa brevipes is a wonderful plant to start with. You’ll get a real thrill from nurturing a brand new tree from a tiny piece of an established one.
The Best Time to Start
For the highest success rates, I always recommend working with your Catalpa during its active growing season. That means late spring into early summer is usually your sweet spot. You want to be taking cuttings from healthy, vigorous growth that’s not too woody. Think of it as capturing the tree’s youthful energy, if you will.
Supplies You’ll Need
Gathering your tools beforehand makes the whole process so much smoother. Here’s what I usually have on hand:
- Sharp pruning shears or a clean knife: For making precise cuts. We don’t want to tear the stems.
- Rooting hormone (optional but recommended): This can give your cuttings a significant boost. I like to use a powder or gel.
- Well-draining potting mix: A blend of perlite and peat moss works wonders. You could also use a good quality seed-starting mix.
- Small pots or trays: Clean containers are key to preventing any disease.
- A plastic bag or propagator: To create a humid environment.
- Water: For keeping things moist.
Propagation Methods
I’ve found two methods work exceptionally well for Catalpa brevipes.
Stem Cuttings
This is my go-to for Catalpas. It’s straightforward and yields great results.
- Take your cuttings: In late spring or early summer, look for healthy, non-flowering shoots from the current year’s growth. They should be about 6-8 inches long. Make a clean cut just below a leaf node (where a leaf attaches to the stem).
- Prepare the cuttings: Gently remove the lower leaves, leaving just a couple at the very top. This prevents them from rotting once you plant the cutting.
- Apply rooting hormone: Dip the cut end of the stem into your rooting hormone, tapping off any excess.
- Plant your cuttings: Fill your small pots with the prepared potting mix. Make a hole with your finger or a pencil, then insert the cutting, making sure the leaf nodes are below the soil surface. Gently firm the soil around the stem.
- Water gently: Water thoroughly to settle the soil.
- Create humidity: Cover the pot with a plastic bag or place it in a propagator. Make sure the bag or lid doesn’t touch the leaves too much.
Water Propagation
This is a simpler approach, and watching the roots grow is incredibly satisfying.
- Select your cuttings: Similar to stem cuttings, choose healthy, current-year shoots about 6-8 inches long. Remove the lower leaves.
- Place in water: Put the cuttings in a jar or glass of water. Make sure the water level is high enough to submerge the lower leaf nodes.
- Location is key: Place the jar in a bright spot, but out of direct sunlight.
- Change the water regularly: Refresh the water every few days to keep it clean and oxygenated.
The “Secret Sauce” (Pro Tips)
Here are a few little tricks I’ve picked up over the years that make all the difference:
- Don’t let those leaves touch the water! In water propagation, any submerged foliage is a fast track to rot. Trim them off diligently.
- Bottom heat is your friend. For stem cuttings, placing your pots on a heating mat specifically designed for plants can dramatically speed up root development. It mimics the warmth of the soil in summer.
- Be patient with your water cuttings. Sometimes it takes a few weeks for those little white roots to appear. Don’t give up if you don’t see immediate results.
Aftercare & Troubleshooting
Once you see roots forming (you can gently tug on the cutting to feel for resistance, or if using clear pots, you might see them), it’s time to transplant your stem cuttings into individual pots. Water them regularly, keeping the soil consistently moist but not waterlogged. For water-propagated cuttings, wait until those roots are at least an inch long before transplanting into potting mix.
The most common issue you’ll encounter is rot. If your cutting turns black and mushy, it’s a sign of too much moisture and not enough air circulation. Make sure your soil is draining well and that you’re not overwatering. Browning or wilting leaves can also indicate stress – often from too much direct sun too soon, or inconsistent watering. Just be gentle and observant.
A Encouraging Closing
So there you have it! Propagating Catalpa brevipes is a wonderfully rewarding journey. Remember to be patient; nature has its own timetable. Enjoy the process, appreciate the small signs of progress, and soon you’ll be admiring your very own new Catalpa trees. Happy gardening!
Resource:
https://identify.plantnet.org/k-world-flora/species/Catalpa%20brevipes%20Urb./data