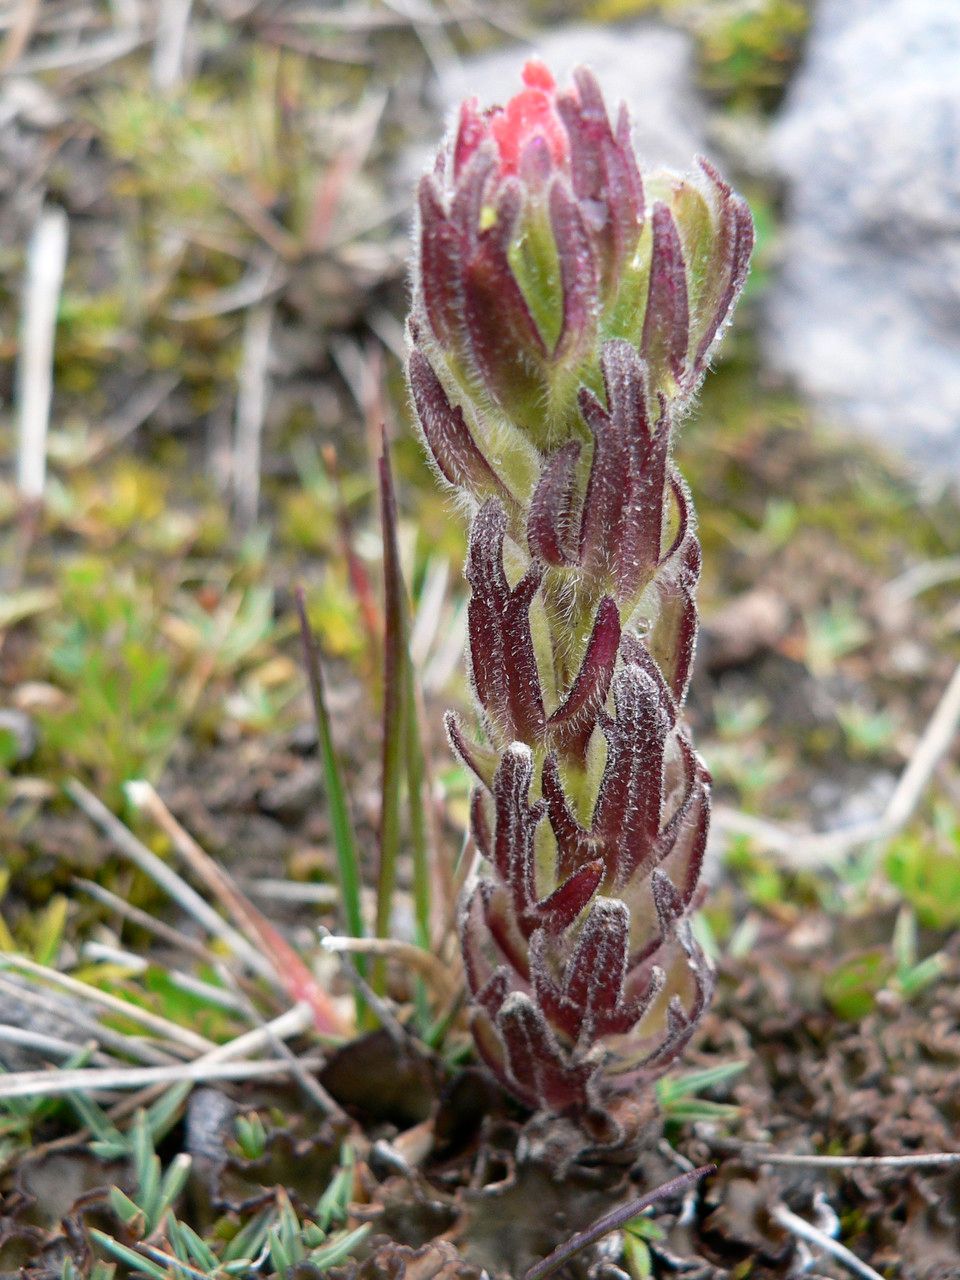
Oh, the joy of Castilleja nubigena! I’ve always been drawn to their vibrant, almost ethereal blooms, like little pops of sunshine peeking through the foliage. They have a way of bringing a touch of wild beauty to any garden setting. And let me tell you, successfully propagating these beauties is incredibly rewarding. You get to watch new life spring from a piece of a plant you already love. Now, to be perfectly honest, Castilleja nubigena can be a bit of a diva when it comes to propagation. It’s not the absolute easiest plant for a complete beginner, but with a little care and attention, I’m confident you can achieve wonderful results.
The Best Time to Start
For the highest chance of success with Castilleja nubigena, I find that late spring to early summer is the sweet spot. This is when the plant is actively growing, and the stems are fresh and vigorous. You want to work with plump, healthy material. Trying to propagate from a plant that’s stressed or has gone through a period of dormancy is much less likely to yield the results you’re hoping for.
Supplies You’ll Need
Gathering these essentials before you begin will make the whole process much smoother:
- Sharp, clean pruning shears or a sharp knife: For making clean cuts.
- Rooting hormone (optional but recommended): A powder or gel that encourages root development.
- Well-draining potting mix: A good blend is about 50% perlite or sharp sand and 50% peat moss or coco coir. Avoid heavy garden soil.
- Small pots or seed trays: Clean ones, of course!
- Plastic bags or a propagation dome: To maintain humidity.
- A shallow tray for bottom watering: Essential for keeping the roots moist without waterlogging the soil.
- Labels and a permanent marker: So you don’t forget what you planted and when!
Propagation Methods
While there are a few ways you might get Castilleja nubigena to take, I’ve found that stem cuttings offer the most reliable results for home gardeners.
Stem Cuttings:
- Select a healthy parent plant. Look for stems that are not flowering but have new, firm growth.
- Take your cuttings. Using your clean shears, make a cut just below a leaf node (where a leaf attaches to the stem). Aim for cuttings that are about 4-6 inches long. Remove any lower leaves, leaving just a few at the top.
- Prepare the cuttings. If you’re using rooting hormone, dip the cut end of each stem into the powder or gel. Gently tap off any excess.
- Plant your cuttings. Fill your pots or trays with your well-draining potting mix. Make a small hole in the center with a pencil or your finger. Insert the cut end of the stem into the hole, ensuring the leaf nodes are buried shallowly. Gently firm the soil around the stem.
- Water gently. Water the soil thoroughly but avoid blasting the cuttings.
- Create a humid environment. Cover the pots or trays with a plastic bag, securing it with a rubber band, or use a propagation dome. This little greenhouse effect is crucial for preventing the cuttings from drying out. Place them in a bright spot out of direct sunlight.
The “Secret Sauce” (Pro Tips)
Now, for a couple of things I’ve learned over the years that really make a difference:
- The “Barely Submerged” Rule: If you are tempted to try water propagation (which I’ve found less consistent for this plant, but some swear by it!), never, ever let the leaves touch the water. If they do, they’ll rot before roots can even form. Keep only the bare stem submerged.
- Gentle Bottom Heat is Your Friend: For stem cuttings, giving them a little warmth from below can significantly speed up root development. A seedling heat mat set on a low setting is perfect for this. Just place your tray of pots on top. You’ll feel the warmth when you touch the soil.
- Don’t Rush the Mist: While humidity is key, over-misting when the soil is already quite moist can actually encourage fungal issues. A good watering when you first plant, then relying on the covering to trap moisture, is often enough. You might touch the soil to see if it feels dry before you even consider misting.
Aftercare & Troubleshooting
Once you start to see signs of new growth, you’re on the right track! You might see tiny new leaves emerge from the top nodes. This is a fantastic sign that roots are forming.
- Gradually Acclimate: Once roots are well-established (you can test this by gently tugging on a cutting – if it resists, it has roots), slowly begin to harden them off. This means gradually exposing them to less humid conditions and eventually to outdoor light. Remove the plastic bag for a few hours each day, gradually increasing the time.
- Repotting: When the new plants are a decent size and have a good root system, you can pot them up into slightly larger containers with fresh, well-draining soil.
- Watch for Rot: The biggest enemy of cuttings is rot, often caused by too much moisture and poor drainage. If you see stems turning black or mushy, it’s usually a sign of rot. Unfortunately, these are often beyond saving. Make sure your soil is draining freely and avoid overwatering.
- Soggy Soil = Sad Cuttings: If the soil stays completely waterlogged, you’re inviting this to happen. Good drainage is paramount!
A Little Patience Goes a Long Way
Propagating plants, especially those with a bit of personality like Castilleja nubigena, is a journey. There might be a few tries before you get it perfect, and that’s completely okay. Celebrate every little success, learn from any setbacks, and most importantly, enjoy the process of nurturing new life. Happy gardening!
Resource:
https://identify.plantnet.org/k-world-flora/species/Castilleja%20nubigena%20Kunth/data