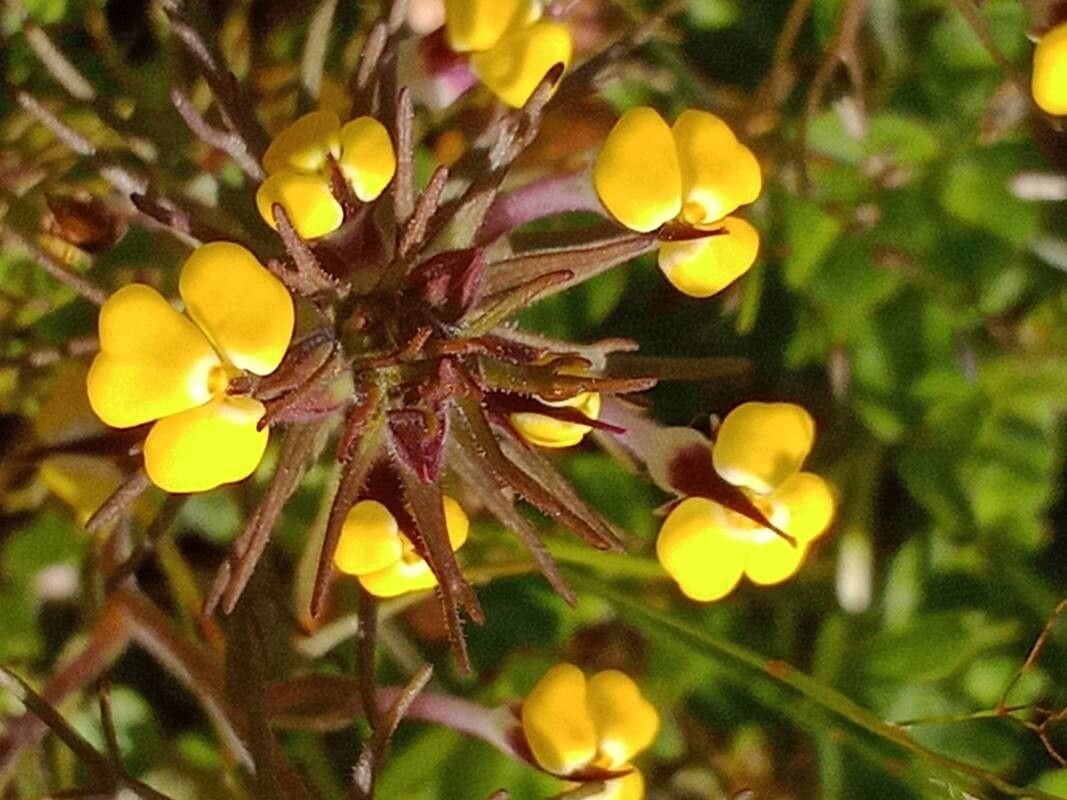
Hello there, fellow plant enthusiasts! Today, we’re diving into the world of Castilleja campestris, also known as the Common Paintbrush. Isn’t it just a showstopper with those vibrant, brush-like flowers? I’ve always been captivated by its wild charm and the way it brings a splash of fiery color to any garden. Propagating these beauties felt like a little bit of magic the first time I did it – and it’s a wonderfully rewarding process that lets you share that magic. Now, I’ll be upfront: Castilleja campestris isn’t usually considered a beginner-friendly plant to propagate. It has a few quirks, but with a little patience and understanding, you absolutely can succeed!
The Best Time to Start
For the happiest, most viable new plants, I’ve found that spring is absolutely the prime time to get started with propagating Castilleja campestris. Aim for when the plant is actively growing but before it gets too hot. This gives your new cuttings or divisions the best chance to establish themselves before the summer heat sets in.
Supplies You’ll Need
Before we get our hands dirty, let’s gather our essentials:
- Sharp, clean pruning shears or a sharp knife: For making clean cuts.
- Rooting hormone powder or gel: This is a helpful booster, though not always strictly necessary for every method.
- Small pots or seed trays: With good drainage holes.
- Well-draining potting mix: I like a blend of equal parts perlite and peat moss or coco coir. A little compost mixed in can also be beneficial.
- Watering can or spray bottle: For gentle watering.
- Clear plastic bags or a propagator lid: To maintain humidity.
Propagation Methods
While Castilleja campestris can be a little tricky, I’ve had the most consistent success with a couple of methods.
1. Stem Cuttings (My Preferred Method for this Plant):
This is where we try to encourage new roots to form on a piece of stem.
- Select your parent plant: Look for healthy, non-flowering stems that are about 4-6 inches long. Gently snap or cut a piece just below a leaf node (the spot where a leaf attaches to the stem).
- Prepare the cutting: Gently remove the lower leaves from the cutting, leaving only 2-3 at the top. This prevents them from rotting in the soil and encourages energy to go towards root development.
- Dip in rooting hormone: If you’re using rooting hormone, dip the cut end into the powder or gel. Tap off any excess.
- Plant your cutting: Insert the treated end into your prepared potting mix, making a small hole with your finger or a pencil first so you don’t rub off the hormone. Gently firm the soil around the cutting.
- Water gently: Water thoroughly until water drains from the bottom of the pot.
- Create humidity: Cover the pot with a clear plastic bag or place it under a propagator lid. Make sure the leaves don’t touch the plastic if possible. This traps moisture, creating a humid environment that new cuttings love.
2. Division (Best for Established Plants):
If you have a mature, clump-forming Castilleja campestris, division can be a good way to get a few new plants.
- Gently unpot the plant: Water the plant a day or two beforehand to make it easier to work with. Carefully lift the entire plant from its pot.
- Examine the root ball: Look for distinct sections of the plant where the roots are naturally divided.
- Divide carefully: Using your hands or a clean, sharp trowel, gently pull or cut the root ball apart into smaller sections. Each section should have a good amount of roots and some healthy foliage.
- Replant immediately: Pot up each division into its own container with fresh, well-draining soil.
- Water and provide initial care: Water them well and treat them like newly transplanted, slightly stressed plants.
The “Secret Sauce” (Pro Tips)
Here are a couple of things I’ve learned that really seem to make a difference:
- Patience is key with cuttings: Castilleja campestris can be a bit slow to root. Don’t be tempted to pull them up too early to check for roots. Wait at least 4-6 weeks before you even think about gently tugging on a cutting. You’ll feel resistance when roots have formed.
- Bottom heat helps a lot: If you have a seedling heat mat, placing your pots on one can significantly speed up root formation, especially for stem cuttings. It provides gentle warmth to the roots, encouraging them to grow. Just make sure the soil doesn’t dry out too quickly!
Aftercare & Troubleshooting
Once your cuttings have rooted (you’ll feel that satisfying tug when they’ve started to grow!), it’s time to transition them to more regular care.
- Gradually acclimate: If you’ve been using a plastic bag, slowly start to remove it over a few days to let the new plant get used to the drier air.
- Watering: Continue to keep the soil consistently moist but not waterlogged. Allow the top inch of soil to dry out slightly between waterings.
- Light: Place your new plants in a bright location with indirect sunlight. Avoid scorching hot direct sun while they are still establishing.
- Common problems: The biggest culprit for failure with cuttings is rot. This usually happens from overwatering or poor drainage. If you see your cutting turning mushy and black, it’s likely rotted. Discard it and try again, ensuring better drainage and less moisture. If your cuttings just seem to wilt and never recover, they might not have rooted.
A Encouraging Closing
Starting new plants is always a journey, and with Castilleja campestris, it’s a particularly rewarding one. Don’t be discouraged if your first attempt isn’t a roaring success. Learn from it, adjust your approach, and try again. The magic of coaxing new life from a simple stem or division is truly special. So, go ahead, get your hands in the soil, and enjoy the process! Happy propagating!
Resource: