Oh, hello there! It’s wonderful to connect with you. I’ve spent two decades with my hands in the soil, and I can tell you, there’s a special kind of joy in coaxing new life from a beloved plant. Today, we’re going to talk about something truly special: Castanea henryi, also known as Henry’s chestnut.
Bringing Henry’s Chestnut Home – Why Propagate?
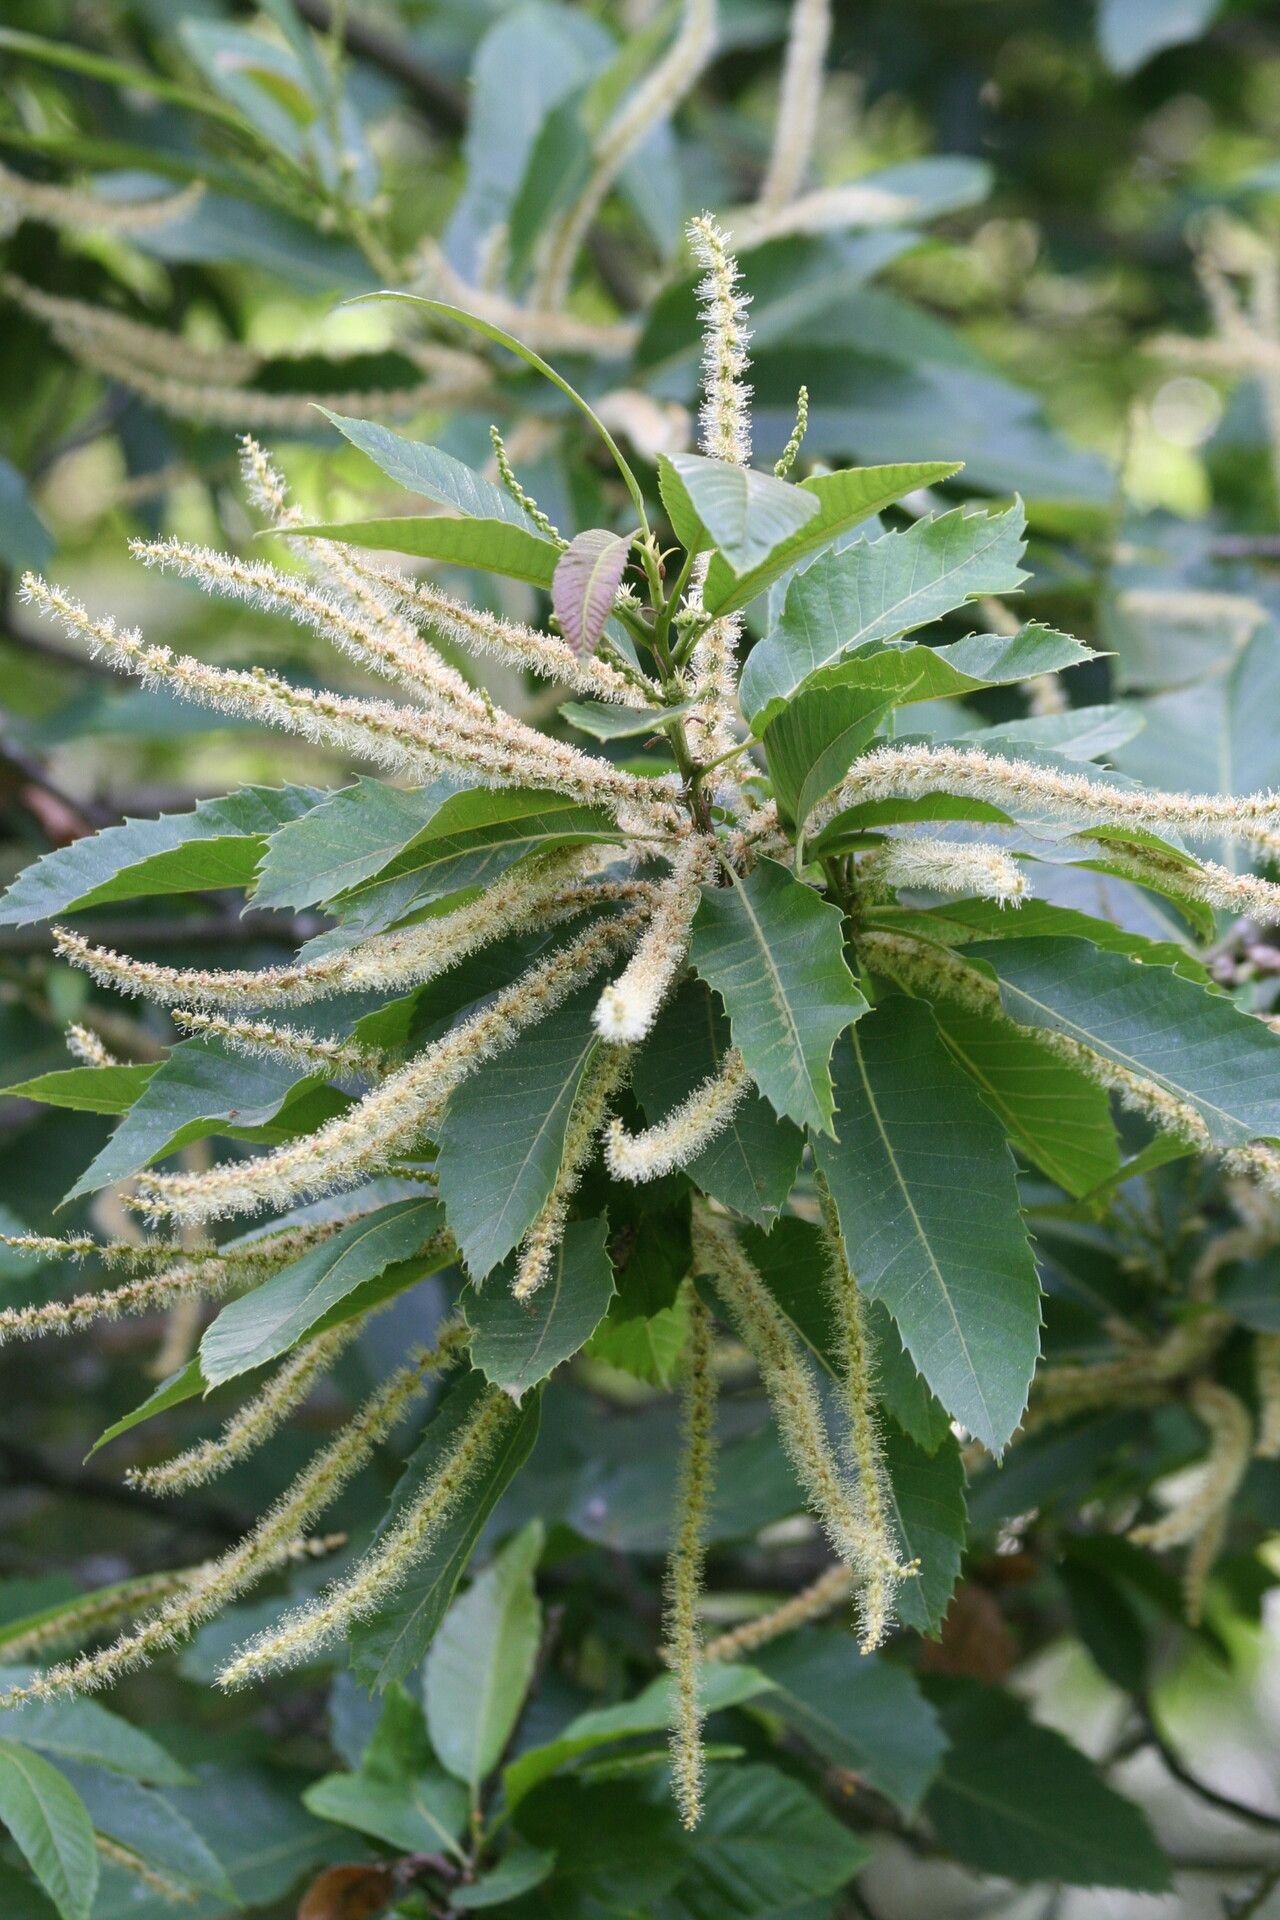
Castanea henryi is such a charming tree. Its graceful habit and attractive foliage make it a wonderful addition to larger gardens. And honestly, the thought of growing my own chestnut tree from a cutting? That’s pure magic to me! It’s a fantastic way to share the joy of this plant with friends or simply expand your own collection without breaking the bank. Now, will this be a walk in the park for a complete novice? I’d say it’s moderately challenging, but with a little patience and these tips, you’ll be well on your way to success.
When’s the Best Time to Get Started?
For stem cuttings of Castanea henryi, I find that the late spring or early summer is your sweet spot. You want to take cuttings from young, semi-hardwood growth. This means the stem is starting to firm up but still has a bit of flexibility to it. Avoid taking cuttings when the plant is in active flowering or fruiting, as it diverts energy.
What You’ll Need for Your Propagation Station
Gathering your supplies beforehand makes the whole process smoother. Here’s what I always have on hand:
- Sharp, clean pruning shears or a sharp knife: Essential for making clean cuts.
- Rooting hormone powder or gel: This really gives your cuttings a boost.
- A well-draining potting mix: A good blend of perlite, peat moss, and a little coarse sand works wonders. You can also find specialized propagation mixes.
- Small pots or trays: Clean containers are a must.
- A plastic bag or clear plastic dome: To create a humid environment.
- Perlite or coarse sand: For the bottom of your pots to improve drainage.
- Watering can with a fine rose: For gentle watering.
Nurturing New Life: Stem Cuttings
This is the most reliable method for Castanea henryi for home gardeners.
- Take Your Cuttings: Using your clean shears, snip pieces of stem that are about 6-8 inches long. Make the cut just below a leaf node (where a leaf attaches to the stem).
- Prepare the Cuttings: Gently remove the lower leaves, leaving just a few at the top. This prevents them from rotting in the soil. If your cuttings are very large, you can even trim the top leaves in half to reduce water loss through transpiration.
- Apply Rooting Hormone: Dip the cut end of each stem into your rooting hormone, tapping off any excess.
- Plant Your Cuttings: Fill your pots with your moistened potting mix. Make a hole with a pencil or your finger, and carefully insert the cutting. Firm the soil gently around the base. You can place several cuttings in one pot, but make sure they aren’t touching each other.
- Create Humidity: Water the soil gently. Then, cover the pot with a plastic bag or place it in a larger clear plastic tub to create a mini greenhouse effect. Make sure the leaves do not touch the plastic. You can prop up the bag with stakes if needed.
- Provide the Right Environment: Place your pots in a bright spot, but out of direct sunlight.
The “Secret Sauce” from My Garden
Here’s a couple of things I’ve learned over the years that make a real difference:
- Bottom Heat is Your Friend: I always place my propagation trays on a gentle underfloor heating mat. This consistent warmth from below encourages root development like nothing else. It’s a game-changer, especially for trickier plants.
- Don’t Be Afraid to Mist (but not too much!): While you want to maintain humidity, you also don’t want to create a swamp. Lightly misting the foliage every few days (if it’s not covered by a bag) or just ensuring the soil stays consistently moist will keep things happy.
Aftercare and What to Watch For
Once you start seeing signs of root development – usually after 4-8 weeks, but sometimes longer – it’s time for a little extra care.
- Check for Roots: Gently tug on a cutting. If you feel resistance, roots have formed. You can also look for new leaf growth.
- Acclimate Slowly: Once roots are established, gradually introduce your new plants to normal room conditions by removing the plastic cover for longer periods each day.
- Watering: Keep the soil consistently moist but not waterlogged. Overwatering is the quickest way to invite root rot, which is usually signaled by wilting leaves and a mushy stem base. If you see this, it’s often too late, but prevention is key! Fungal diseases can also be an issue in overly damp conditions.
Keep Growing, My Friend!
Propagating plants is a journey, and like any good journey, it requires patience. Don’t get discouraged if not every cutting takes. Each attempt is a learning experience! Enjoy the process of nurturing these little beginnings, and before you know it, you’ll have your very own Henry’s chestnut trees to admire and share. Happy gardening!
Resource: