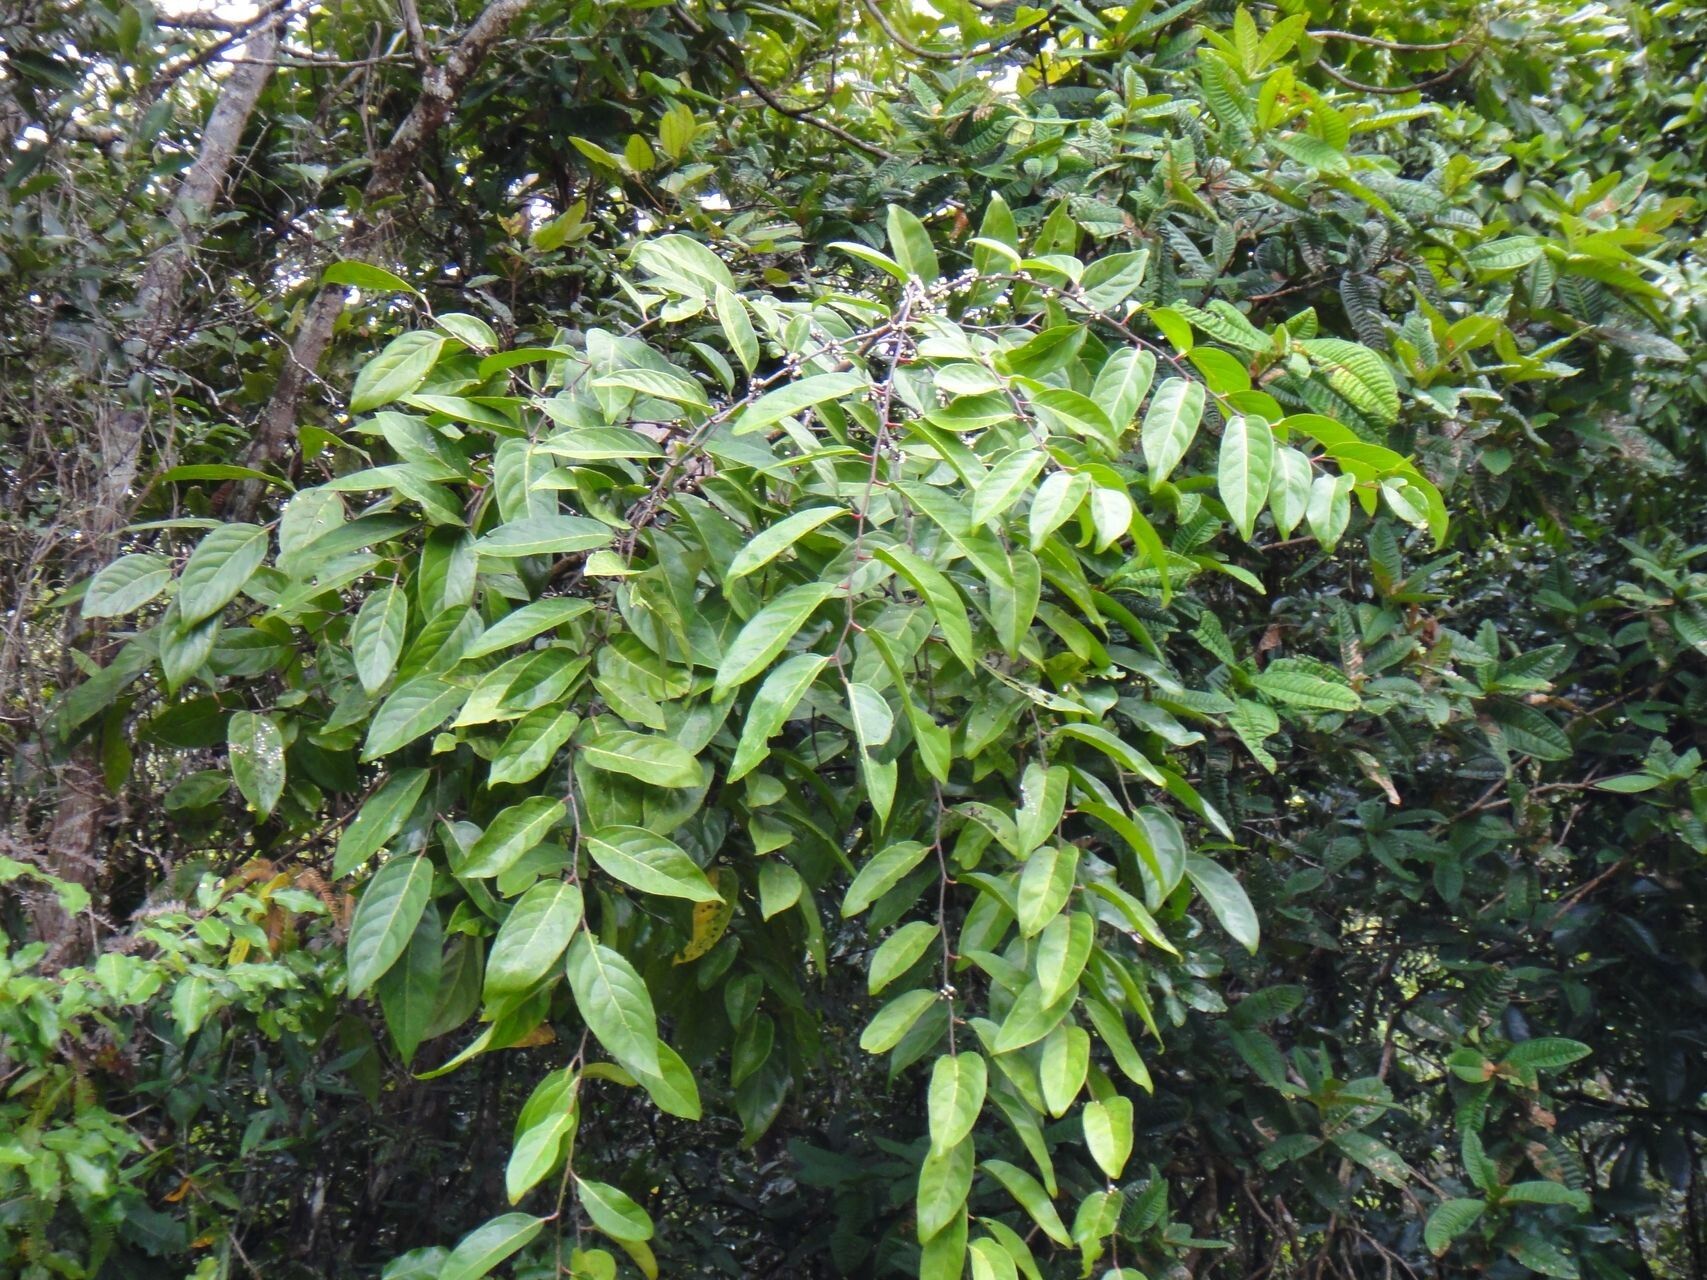
Oh, hello there! So glad you’re interested in Casearia puberula. This lovely plant, with its delicate foliage and subtle charm, has a special place in my garden. It’s not one you see everywhere, and sharing its beauty by propagating it yourself? That’s truly satisfying. Now, is it a walk in the park for absolute beginners? I’d say it’s moderately easy, leaning towards easy once you get the hang of it. A little bit of patience goes a long way!
The Best Time to Start
For Casearia puberula, the sweet spot is definitely late spring to early summer. Think of it as when the plant is really hitting its stride, full of vigor and ready to grow. This is when cuttings will have the best chance of developing strong roots. Avoid trying to propagate when the plant is stressed, perhaps from extreme heat or cold.
Supplies You’ll Need
Gathering your tools beforehand makes the whole process much smoother. Here’s what I always have on hand:
- Sharp Pruning Shears or a Knife: A clean cut is crucial to prevent disease.
- Potting Mix: A well-draining mix is key. I often use a blend of peat moss, perlite, and a little compost. For Casearia, I’d lean towards something a bit on the lighter side.
- Small Pots or Seedling Trays: Ensure they have drainage holes!
- Rooting Hormone (Optional but Recommended): This can give your cuttings a significant boost.
- Plastic Bags or a Small Greenhouse: To create a humid environment for your cuttings.
- Watering Can with a Fine Rose: For gentle watering.
- Labels and a Marker: To keep track of what you’ve propagated and when.
Propagation Methods
I find stem cuttings to be the most reliable method for Casearia puberula. It’s straightforward once you know the drill.
- Take Your Cuttings: On a healthy stem, look for new growth that’s slightly firm but not woody. These are often called “semi-hardwood” cuttings. Using your sharp shears, take cuttings that are about 4-6 inches long. Make sure to cut just below a leaf node (where a leaf attaches to the stem).
- Prepare the Cuttings: Gently remove the lower leaves from your cuttings, leaving just a few at the top. This prevents them from rotting when you plant them.
- Apply Rooting Hormone (If Using): Dip the cut end of each stem into your rooting hormone powder, tapping off any excess.
- Plant Your Cuttings: Fill your pots or trays with your prepared potting mix. Make a small hole in the center of the mix with your finger or a pencil. Carefully insert the cut end of each cutting into the hole, firming the mix gently around it.
- Water Gently: Water the soil thoroughly but gently. You don’t want to dislodge the cuttings.
- Create Humidity: Cover the pots loosely with a plastic bag or place them in a small propagator. This humidity dome is essential for keeping the cuttings from drying out before they root. Make sure the leaves don’t touch the plastic if possible.
(Note: Water propagation for Casearia puberula isn’t as successful for me as stem cuttings, so I tend to stick with the soil method.)
The “Secret Sauce” (Pro Tips)
These little tricks have made all the difference for me over the years:
- Sterilize Everything: Before you start, wipe down your shears and pots with rubbing alcohol. This really helps prevent any nasty fungal infections from taking hold.
- Bottom Heat is Magic: If you have an old seedling heat mat, pop your pots on it. Gentle bottom heat encourages root development like nothing else. Just make sure it’s not too hot – “warm to the touch” is the goal.
- Don’t Be Impatient: Roots can take their sweet time. Resist the urge to constantly tug on your cuttings to see if they’re rooted. Wait until you see some new leaf growth – that’s a good sign they’re establishing!
Aftercare & Troubleshooting
Once you see new leaves emerging, that’s your cue that roots have formed! You can gently transplant your successful cuttings into individual pots. Continue to keep them in a bright spot, out of direct sun, and maintain that humidity for a week or two before slowly acclimatizing them to normal room conditions.
The most common issue you might encounter is rot. If your cutting turns mushy and black, it’s usually a sign of too much moisture and not enough air circulation. Don’t despair! Just remove the affected cutting and re-evaluate your watering and humidity levels. It’s all part of the learning curve.
A Encouraging Closing
Propagating plants is such a rewarding journey, and Casearia puberula is a lovely one to master. Celebrate every little success, learn from any setbacks, and most importantly, enjoy the process of creating new life from your cherished plants. Happy gardening!
Resource:
https://identify.plantnet.org/k-world-flora/species/Casearia%20puberula%20Guillaumin/data