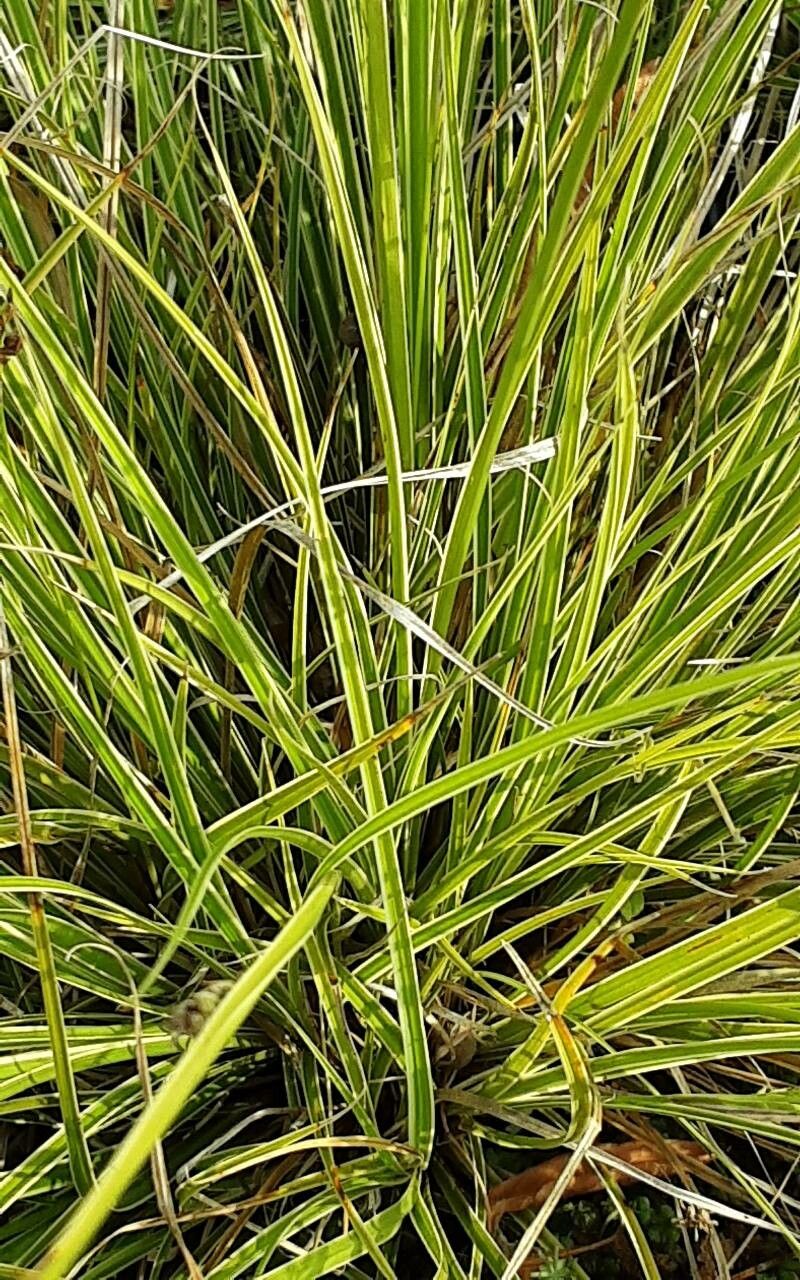
Hello there, fellow garden enthusiasts! I’m so excited to chat with you today about a little gem I’ve grown to adore: Carex brunnescens, often called Brown Sedge. If you’re looking for a plant that brings subtle beauty and a whisper of wilderness to your garden, this is it. Its graceful, arching foliage in shades of warm green to bronzey-brown adds wonderful texture, especially in shady corners or along water features.
Now, if you’re a beginner and wondering if this is a good plant to start propagating, I’d say it’s quite approachable. It’s not fussy, and with a little attention, you’ll be rewarded with more of these lovely sedges before you know it. There’s a special kind of joy in creating new life from an existing plant, don’t you think? It’s like sharing a secret with nature.
The Best Time to Start
For Carex brunnescens, the sweet spot for propagation is generally in late spring to early summer. This is when the plant is actively growing and has the energy to put towards root development. You’re looking for new growth that’s still somewhat soft but has started to firm up. Avoid trying this when the plant is stressed, like during a heatwave or a very dry period.
Supplies You’ll Need
- Sharp pruning shears or a clean knife: For making clean cuts on your cuttings or dividing the plant.
- Well-draining potting mix: I like a mix of equal parts peat moss (or coco coir), perlite, and a little compost. This ensures good aeration and prevents waterlogging.
- Small pots or trays: Containers that allow for good drainage, with holes at the bottom.
- Plastic bags or a propagation dome: To create a humid environment for cuttings.
- Optional: Rooting hormone: While not always essential for sedges, it can give an extra boost, especially if you’re working with slightly older material. A powder or gel will do.
- Water: For moistening the soil and misting.
Propagation Methods
The most straightforward ways to multiply your Carex brunnescens are through division and stem cuttings.
Division: The Easiest Route
This is my go-to method for sedges, especially for new propagators. It’s like giving your plant a healthy haircut and getting bonus plants in return!
- Gently dig up the whole plant. Loosen the soil around the base and lift the entire clump out of its pot or the ground.
- Inspect the root ball. You’ll see how the plant naturally grows in sections.
- Separate the sections. You can often do this by hand, carefully pulling the root ball apart. If it’s a bit stubborn, use your clean knife or the tip of your trowel to cut through the roots and crown. Aim for divisions that have both healthy roots and a few shoots.
- Pot up your divisions. Plant each section in its own pot filled with your well-draining potting mix. Water thoroughly.
Stem Cuttings: For More Plants
This method can yield more plants from a single mature specimen.
- Take cuttings. In late spring or early summer, use your sharp shears to take cuttings from healthy, new growth. Aim for pieces about 4-6 inches long. Make a clean cut just below a leaf node (where a leaf attaches to the stem).
- Prepare the cuttings. Gently remove the lower leaves from the stem, leaving just a few at the top.
- Apply rooting hormone (optional). If you’re using it, dip the cut end into the rooting hormone, tapping off any excess.
- Plant the cuttings. Fill your small pots with moistened potting mix. Make a hole with your finger or a pencil and insert the cut end of the stem, ensuring the node is buried. Gently firm the soil around it.
- Create humidity. Place the pots inside a clear plastic bag or cover with a propagation dome. Make sure the leaves don’t touch the plastic. You can prop up the bag with stakes if needed.
The “Secret Sauce” (Pro Tips)
Here are a couple of things I’ve learned that really help:
- Don’t overwater division splits. While they need consistent moisture, sodden soil is the enemy. Make sure your pots drain well, and err on the side of slightly damp rather than soaking wet, especially immediately after potting.
- Bottom heat is a game-changer for cuttings. If you’re serious about cuttings, a gentle warming mat placed underneath your trays can significantly speed up root development. It mimics the warmth of spring soil and encourages those roots to get going.
Aftercare & Troubleshooting
Once your divisions are potted or your cuttings have rooted (you can test by giving a gentle tug – if there’s resistance, roots have formed!), they need consistent care.
- Keep them consistently moist but not waterlogged. This is the most crucial part. Check the soil regularly with your finger.
- Provide bright, indirect light. Avoid direct, scorching sun, which can scorch delicate new growth.
- Gradually acclimate them. Once roots are well-established and plants are showing new growth, slowly introduce them to drier air by opening the plastic bags or dome a little more each day over a week or two.
- Watch for rot. The most common sign of failure is mushy, black stems or leaves, which indicates too much moisture and poor air circulation. If you see this, you might need to discard the affected part or, in severe cases, the whole plant. Cleanliness is key here – always use clean tools and pots.
A Little Patience Goes a Long Way
Propagating Carex brunnescens is a rewarding journey. Don’t be discouraged if your first attempt isn’t instantly miraculous. Gardening is all about observation, experimentation, and a good dose of patience. Enjoy the process of nurturing these new plants, and soon you’ll have a delightful collection of these charming sedges to adorn your garden. Happy propagating!
Resource:
https://identify.plantnet.org/k-world-flora/species/Carex%20brunnescens%20(Pers.)%20Poir./data