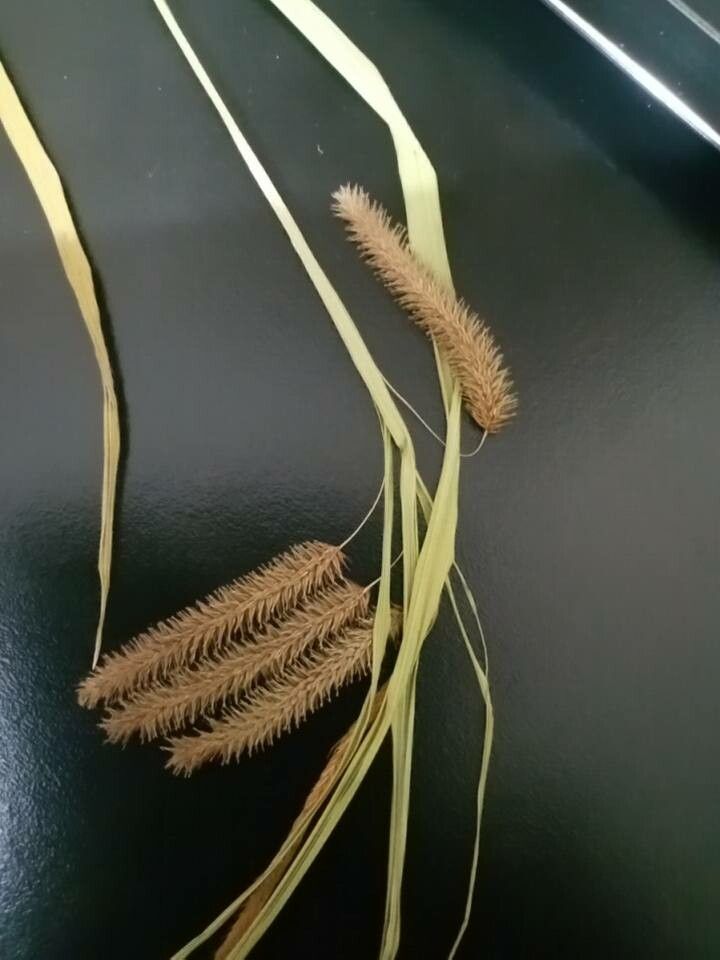
Hey there, fellow plant enthusiasts! I’m so excited to chat with you about a truly special grass: Carex brasiliensis. This beauty, with its graceful, arching foliage, can really elevate any shady corner or bring a touch of elegance to a woodland garden. It’s one of those plants that just feels right. And the best part? It’s surprisingly rewarding to propagate! If you’re looking to expand your collection or share some green goodness with friends, you’re in the right place. For beginners, I’d say Carex brasiliensis is moderately easy to propagate, especially with a little guidance.
The Best Time to Start
For the highest success rate, I always aim to propagate Carex brasiliensis in late spring or early summer. This is when the plant is actively growing and has plenty of energy to put into forming new roots. You’ll see new shoots emerging, and that’s your cue! Alternatively, if you’re looking to divide established clumps, early spring as the growth is just starting is also a fantastic time.
Supplies You’ll Need
Before we dive in, let’s get our toolkit ready. Here’s what you’ll want to have on hand:
- Clean, sharp pruning shears or a knife: Essential for making clean cuts and reducing the risk of disease.
- Well-draining potting mix: A good blend of peat moss, perlite, and a bit of compost works wonders. For divisions, garden soil mixed with some grit is often fine.
- Small pots or containers: For cuttings, choose pots with drainage holes. For divisions, you might use larger pots or replant directly into the ground.
- Rooting hormone (optional but helpful): This can give your cuttings a real boost.
- Watering can or spray bottle: For gentle watering.
- Labels and a marker: To keep track of your projects!
Propagation Methods
There are a couple of reliable ways to multiply your Carex brasiliensis. Let’s break them down.
Division: The Classic Approach
This is often the most straightforward method for established clumps of Carex brasiliensis.
- Gently excavate: Carefully dig up your Carex brasiliensis clump. You can use a spade or a trowel to loosen the soil around the plant.
- Clean the roots: Gently brush away excess soil from the roots. This helps you see where the rhizomes (underground stems) naturally divide.
- Separate the sections: You can often gently pull apart the clump with your hands. If it’s a bit stubborn, use your knife or pruners to cut through tougher sections, ensuring each piece has some roots and a few leafy shoots.
- Replant immediately: Pot up your new divisions in your well-draining potting mix, or plant them directly into their new garden spots. Water them thoroughly.
Stem Cuttings (Leafy Shoots): For the Patient Gardener
This method takes a bit more care, but it’s very satisfying.
- Take your cuttings: In late spring or early summer, select healthy, non-flowering shoots. Using your sharp pruners, cut a section about 4-6 inches long, making the cut just below a leaf node (where a leaf attaches to the stem).
- Prepare the cutting: Remove the lower leaves from the cutting, leaving just a few at the top. If the leaves are very large, you can even cut them in half horizontally to reduce water loss.
- Apply rooting hormone (optional): Dip the cut end of the stem into rooting hormone, tapping off any excess.
- Plant the cuttings: Fill small pots with your well-draining mix. Make a hole with a pencil or your finger and insert the cutting, ensuring the leaf nodes are buried in the soil. Firm the soil gently around the stem.
- Water and cover: Water gently. To create a humid environment, you can cover the pot with a clear plastic bag or place it in a propagator. Make sure the leaves don’t touch the plastic.
The “Secret Sauce” (Pro Tips)
Here are a few little tricks I’ve learned over the years that can make all the difference:
- Don’t overwater divisions initially. While they need moisture, soggy soil is the enemy of newly divided plants. Let the soil surface dry slightly between waterings.
- Bottom heat is your friend for cuttings. If you’re doing stem cuttings and have access to a heat mat, place your pots on it. This encourages root development from below, giving you a significant edge.
- Consider a light misting. For cuttings, a light misting of the leaves every so often (especially if not covered) helps prevent them from drying out while they’re working on establishing roots.
Aftercare & Troubleshooting
Once your Carex brasiliensis has started to establish, give yourself a pat on the back!
- For divisions: Keep them consistently moist but not waterlogged. As they begin to show new growth, you can ease up on the watering, treating them like any mature plant of the same species.
- For cuttings: You’ll know roots are forming when you see new leaf growth emerge and perhaps feel a gentle tug when you lightly pull on the cutting. Once rooted, transplant them into individual pots and water as you would any young plant.
The most common issue you might encounter is rot, especially with stem cuttings if the soil stays too wet or the humidity is too high without enough air circulation. If you see yellowing leaves and a mushy stem, it’s likely rot. Unfortunately, that cutting or division is probably lost. The best defense is good drainage and careful watering.
A Encouraging Closing
Propagating plants is a journey, and there will be successes and maybe a few learning curves. Be patient with your Carex brasiliensis, give it some love, and enjoy the magic of watching new life emerge. Happy gardening!
Resource:
https://identify.plantnet.org/k-world-flora/species/Carex%20brasiliensis%20A.St.-Hil./data