Hello there, fellow plant enthusiasts! I’m so glad you’ve stopped by for a chat about one of my favorite subjects: bringing new life into our gardens. Today, we’re diving into the wonderful world of propagating Carduus collinus.
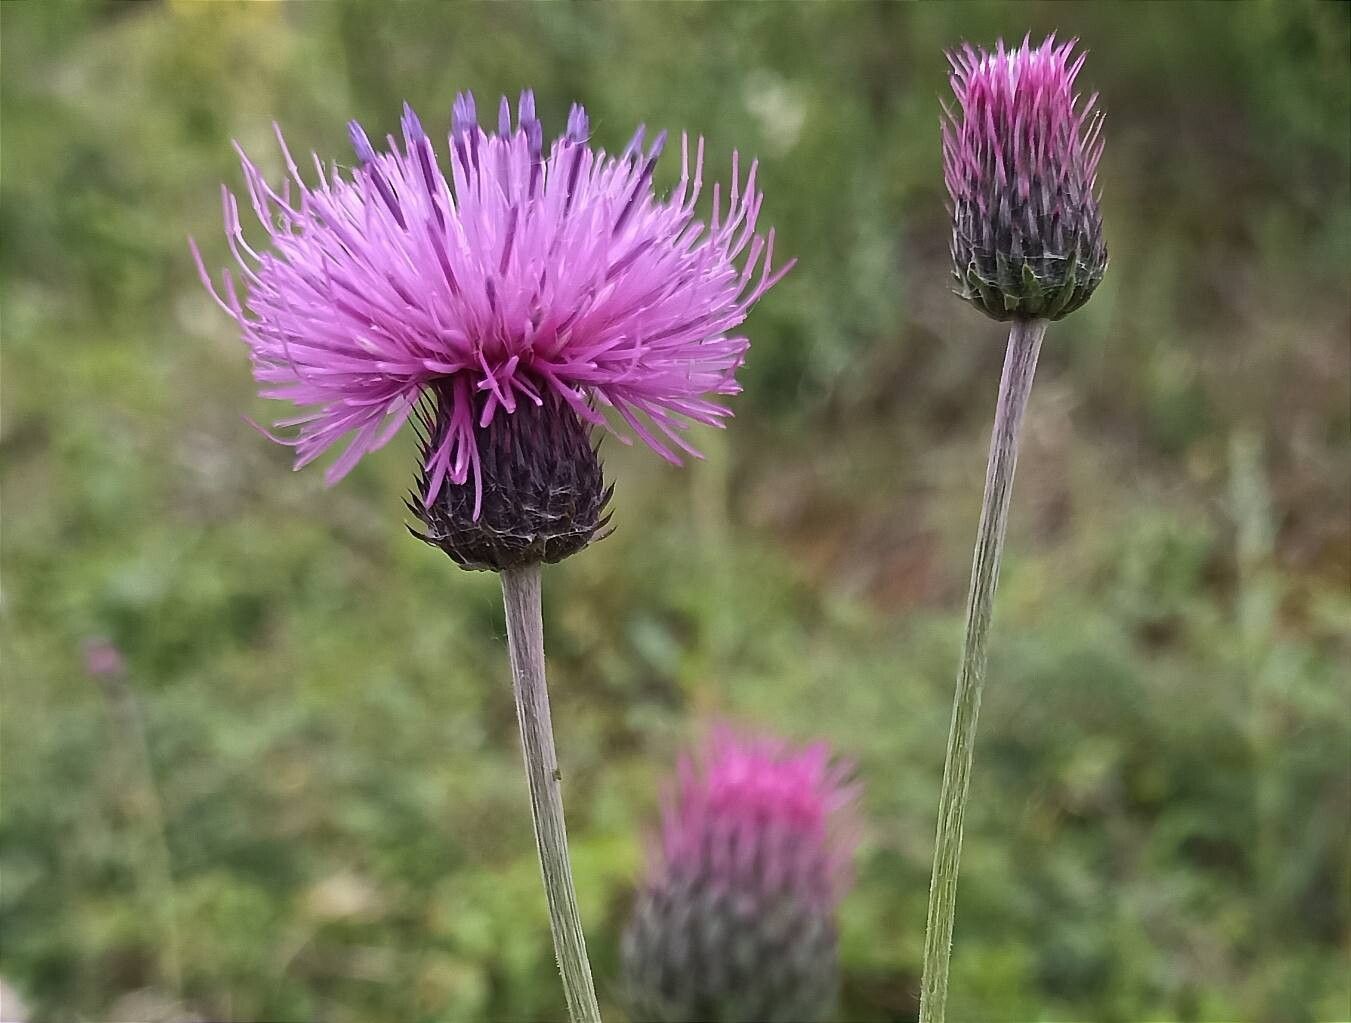
These thistles might not have the delicate bloom of a rose, but they possess a rugged, architectural beauty that I personally adore. Their spiky, silvery foliage and striking purple flower heads add such a unique texture and color to any border. And the sheer satisfaction of coaxing a new plant from a piece of an old one? It’s truly magical! Now, you might be wondering if Carduus collinus is an easy plant for beginners to propagate. I’d say it’s moderately easy. With a few key steps and a bit of patience, you’ll be well on your way to success.
The Best Time to Start
For Carduus collinus, the prime time to get your propagation on is late spring to early summer. You’re looking for healthy, new growth that’s started to firm up a bit but hasn’t gotten woody yet. Think of it as that sweet spot – not too floppy, not too tough. This is when the plant has good energy reserves to put into developing new roots.
Supplies You’ll Need
To make this process as smooth as possible, gather these items:
- Sharp pruning shears or a clean, sharp knife: Essential for making clean cuts.
- Rooting hormone (optional but recommended): This is a powder or gel that encourages root development.
- A well-draining potting mix: I like a blend of equal parts peat moss or coir, perlite, and a little bit of sand. This will prevent waterlogging.
- Small pots or trays: Clean, small containers are perfect for starting out.
- A spray bottle: For misting your cuttings.
- A plastic bag or propagation dome: To create a humid environment.
Propagation Methods
The most reliable way to propagate Carduus collinus is through stem cuttings. It’s straightforward and gives you a great success rate.
Stem Cuttings:
- Take your cuttings: With your clean shears or knife, take cuttings from healthy, non-flowering stems. Aim for cuttings that are about 4-6 inches long. Make your cut just below a leaf node (where a leaf attaches to the stem). This is where root growth is most likely to occur.
- Prepare the cuttings: Gently remove the lower leaves from the cutting, leaving just a few at the top. If your cuttings are very long, you can pinch off the very tip of the top leaves to reduce water loss.
- Apply rooting hormone (optional): Dip the cut end of the stem into your rooting hormone, tapping off any excess.
- Plant your cuttings: Make a small hole in your prepared potting mix with a pencil or your finger. Insert the cut end of the stem into the hole and gently firm the soil around it.
- Water gently: Water the soil lightly to ensure good contact between the stem and the potting mix.
- Create humidity: Cover the pot or tray with a plastic bag or a propagation dome. This will keep the humidity high, which is crucial for cuttings to root. You can secure the bag around the pot with a rubber band.
The “Secret Sauce” (Pro Tips)
Here are a couple of things I’ve learned over the years that really make a difference:
- Don’t let the leaves touch the water (if you were to try water propagation): While Carduus collinus isn’t the best candidate for water propagation, if you were to attempt it with other plants, keeping leaves out of the water prevents rot. For stem cuttings in soil, this isn’t as critical, but it’s a good general principle to remember for plant health.
- Bottom heat is your friend: If you have a propagation mat or can place your pot in a warm spot (like on top of a refrigerator), this subtle warmth from below can significantly speed up root development. It mimics the warmth of springtime soil.
- A gentle misting is better than a soak: Overwatering your cuttings is a fast track to rot. A light misting from your spray bottle every day or two, just enough to keep the leaves and soil surface slightly moist, is perfect.
Aftercare & Troubleshooting
Once your cuttings have roots – usually after 3-6 weeks, but sometimes longer – they’re ready for a little more independence!
- Acclimatization: Gradually remove the plastic bag or propagation dome over a week. Start by removing it for an hour or two each day, then increase the time until the plant is used to ambient humidity.
- Watering: Water when the top inch of soil feels dry to the touch.
- Light: Place your new plants in a bright spot, but out of direct, scorching sunlight for the first few weeks.
- Signs of trouble: The most common problem is rot, which looks like a black, mushy stem. This is usually a sign of overwatering or poor drainage. If you see this, it’s often best to discard the affected cutting and start fresh. Yellowing leaves can sometimes indicate too little light or a nutrient deficiency, but start with ensuring proper watering and light first.
A Little Patience Goes a Long Way
Propagating plants is a journey, not a race. There will be times when things don’t work out as planned, and that’s perfectly okay! Each attempt is a learning experience. So, take a deep breath, enjoy the process of nurturing these tiny new lives, and celebrate every success. Happy propagating, my friends!
Resource:
https://identify.plantnet.org/k-world-flora/species/Carduus%20collinus%20Waldst.%20&%20Kit./data