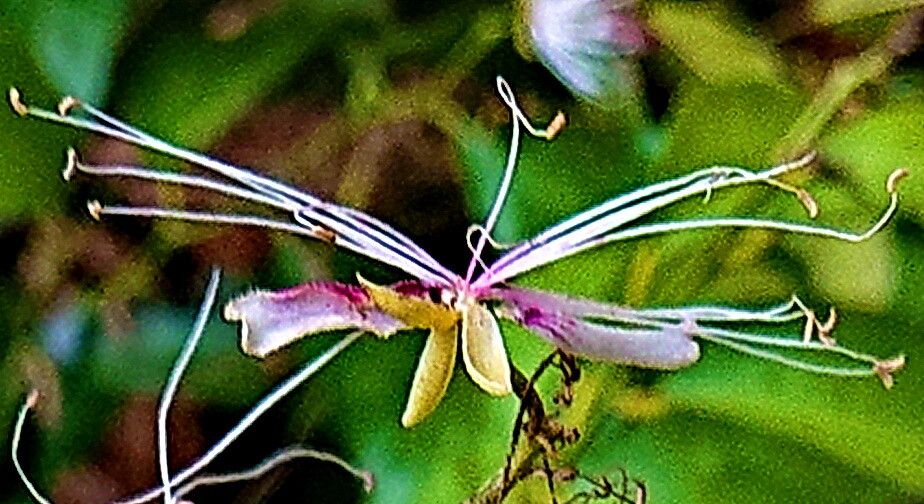
Hey there, fellow plant lovers! I’m so excited to talk to you today about a plant that’s really captured my heart: Capparis micracantha. Maybe you’ve seen its delicate, intriguing flowers or its glossy, deep green leaves and wondered, “Could I grow that?” The answer is a resounding yes! And even better, you can learn to propagate it yourself. It’s incredibly rewarding to nurture a tiny cutting into a thriving new plant. Now, for the honest truth: Capparis micracantha can be a bit of a diva, so it’s not always the easiest for absolute beginners, but don’t let that discourage you! With a little patience and the right approach, you’ll be well on your way.
The Best Time to Start
Timing is everything when it comes to giving your new plant babies the best shot at life. For Capparis micracantha, I’ve found the absolute sweet spot is late spring or early summer. This is when the plant is actively growing, meaning it has plenty of energy reserves to put into developing new roots. Look for stems that are semi-hardwood – not brand new, floppy growth, and not overly woody either. They should snap cleanly when bent, not just bend.
Supplies You’ll Need
Before we dive in, let’s gather our tools. Having everything ready will make the process so much smoother.
- Sharp, clean pruning shears or a sharp knife: Essential for making clean cuts that heal well.
- Rooting hormone (optional but recommended): A little powdered magic can really boost your success rate.
- Well-draining potting mix: I like a blend of 50% perlite and 50% good quality potting soil. You can also use a succulent or cactus mix.
- Small pots or seed trays: Clean ones, please! Old yogurt cups with drainage holes poked in the bottom work in a pinch.
- A clear plastic bag or propagator: To create a humid environment for your cuttings.
- Watering can with a fine rose or a spray bottle: For gentle watering.
- Labels and a marker: To keep track of what you’ve planted.
Propagation Methods
I’ve had the most success with stem cuttings for Capparis micracantha. It’s a straightforward process once you get the hang of it.
Stem Cuttings:
- Take your cuttings: Using your clean shears, snip off healthy stems from your parent plant, about 4-6 inches long. Make the cut just below a leaf node (where a leaf attaches to the stem).
- Prepare the cuttings: Gently remove the lower leaves, leaving just two or three at the top. If the leaves are very large, you can cut them in half to reduce water loss.
- Apply rooting hormone: Dip the cut end into your rooting hormone, tapping off any excess.
- Plant your cuttings: Make a hole in your potting mix with a pencil or your finger. Insert the cutting, ensuring the leaf nodes that were below the soil line are covered. Gently firm the soil around the base.
- Water gently: Water thoroughly until the soil is moist but not soggy.
- Create humidity: Cover the pot with a plastic bag or place it in a propagator. Make sure the leaves don’t touch the sides of the bag, as this can encourage rot. You can prop up the bag with small sticks or wire.
The “Secret Sauce” (Pro Tips)
Here are a few things I’ve learned over the years that make a real difference.
- Bottom heat is your friend: If you have a heat mat, placing your pots on it can dramatically speed up root development. They love a warm soil temperature.
- Don’t overwater, ever: This is the golden rule for almost all cuttings. They need consistent moisture, yes, but soggy soil is a fast track to rot. Let the top inch of soil dry out slightly between waterings.
- Air circulation is key: While we want to create humidity, it’s also important to give them a little fresh air now and then. Open the plastic bag for about 15-30 minutes each day to prevent fungal issues.
Aftercare & Troubleshooting
Once your cuttings have developed roots – you can gently tug on them to feel resistance, or if they’re in clear pots, you might see them – it’s time to start treating them like small plants.
Continue to keep them in a bright spot with indirect light and maintain that consistent, but not soggy, moisture. As they grow stronger, you can gradually introduce them to slightly more light and start watering a little less frequently, allowing the soil to dry out more between waterings.
The most common problem you’ll encounter is rot. If a cutting turns black and mushy, or wilts dramatically without explanation, it’s usually a sign of too much moisture and poor air circulation. Sadly, once rot sets in, it’s very difficult to save a cutting. The best thing to do is remove it from the pot and the soil to prevent it from spreading to other cuttings.
A Encouraging Closing
Propagating any plant is a journey, and Capparis micracantha is no exception. There might be a few hiccups along the way, but each attempt teaches you something new. Be patient, celebrate the small victories (like seeing a tiny new leaf emerge!), and most importantly, enjoy the wonderful process of growing your own green treasures. Happy propagating!
Resource:
https://identify.plantnet.org/k-world-flora/species/Capparis%20micracantha%20DC./data