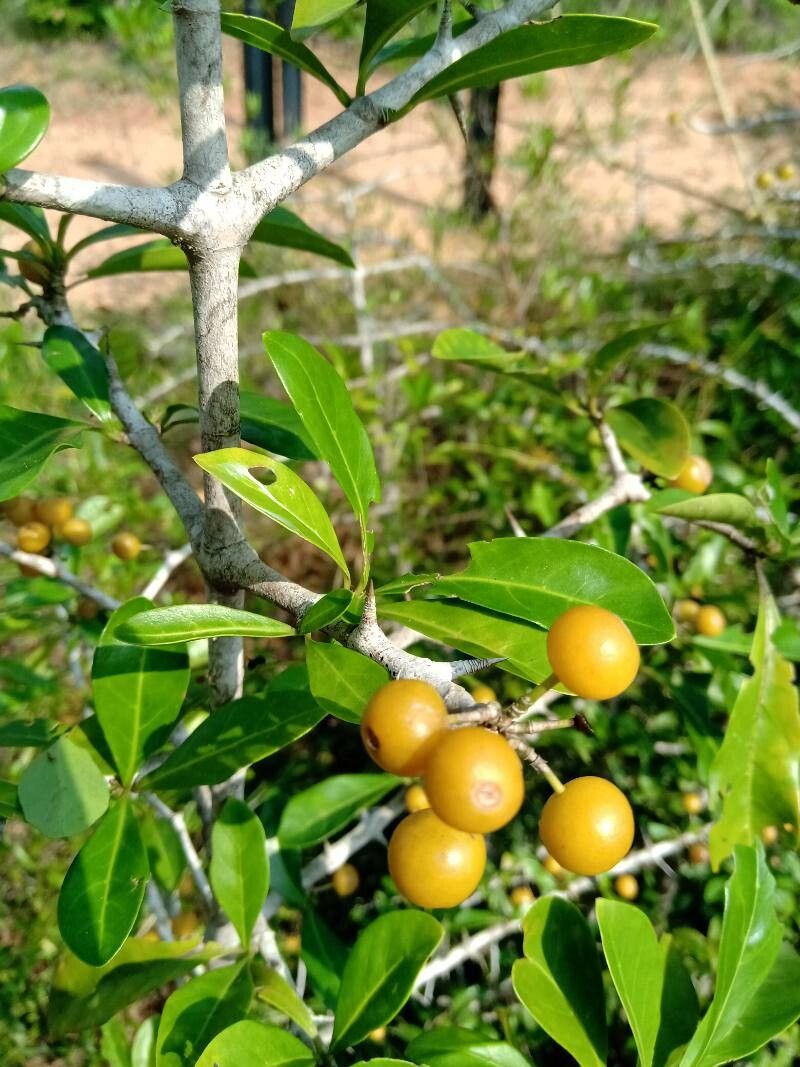
Hey there, fellow garden enthusiasts! It’s so wonderful to have you join me today. I’m excited to chat about a plant that’s really caught my eye lately: Canthium coromandelicum. If you’re looking for a touch of tropical charm that’s also surprisingly robust, this is your plant. Its glossy, dark green leaves are just gorgeous, and it can even produce lovely little star-shaped flowers. The best part? Propagating it is incredibly rewarding, and while it might seem a little daunting at first, I promise you, it’s not as tricky as you might think! I’d say it’s a solid beginner to intermediate project.
The Best Time to Start
Timing is everything in gardening, isn’t it? For Canthium coromandelicum, you’ll have the highest success rates when you propagate during its active growing season. This usually means late spring through early summer. You want the plant to be full of energy, ready to put forth new growth and heal quickly from any cuttings.
Supplies You’ll Need
Gathering your tools before you begin makes the whole process so much smoother. Here’s what I like to have on hand:
- Clean, sharp pruning shears or a knife: For making clean cuts.
- Rooting hormone (optional, but recommended): This can give your cuttings a helpful boost. I prefer a powder form.
- Well-draining potting mix: A good blend of peat moss, perlite, and a bit of compost works wonders. Or, you can buy a commercial seedling or cactus mix.
- Small pots or seed trays: Make sure they have drainage holes!
- Watering can with a fine rose or a spray bottle: For gentle watering.
- Plastic bags or a propagation box/tray: To create a humid environment.
- Labels: So you don’t forget what you’ve planted!
Propagation Methods
Let’s get our hands dirty! Canthium coromandelicum is quite adaptable, and I find stem cuttings to be the most straightforward and effective method.
Stem Cuttings:
- Select Your Cuttings: Look for healthy, non-flowering stems that are about 4-6 inches long. They should be relatively firm but not woody. Think of them as new growth that’s just starting to firm up.
- Make the Cut: Using your clean pruning shears or knife, make a clean cut just below a leaf node (the spot where a leaf attaches to the stem). This is where the magic of new roots often begins.
- Prepare the Cutting: Gently remove the lower leaves from the cutting, leaving just a few at the top. This prevents them from rotting when buried in the soil or submerged in water.
- Apply Rooting Hormone (Optional): If you’re using rooting hormone, dip the cut end into the powder, tapping off any excess.
- Plant Your Cuttings:
- In Soil: Fill your small pots with your well-draining potting mix. Make a small hole with your finger or a pencil, and carefully insert the cutting. Gently firm the soil around the base of the stem.
- In Water: If you prefer, you can also place the cuttings in a jar of clean water. Make sure no leaves are submerged – this is crucial to prevent rot! Just the cut end should be in the water.
The “Secret Sauce” (Pro Tips)
Alright, let’s dive into a few little tricks I’ve picked up over the years that can really make a difference.
- Don’t Underestimate Bottom Heat: If you’re using the soil method, placing your pots on a heat mat can significantly speed up root development. It mimics the warmth of spring soil and gives those root cells a real kick-start.
- Mist, Don’t Drench: When you’re aiming for humidity with your plastic bag or propagation box, mist the cuttings lightly every few days. You want the air to be moist, but not waterlogged. Soggy conditions are a fast track to fungal issues.
- Patience is a Virtue (and a Necessity): I know it’s tempting to constantly check for roots, but try to resist the urge to pull your cuttings up too soon. It can damage the delicate new growth. Give them a good 4-8 weeks, and you should start to see progress.
Aftercare & Troubleshooting
Once you see roots forming – hooray! This is where continued care is important.
- For Soil Cuttings: Once you’ve noticed significant root development (you might see new leaf growth or feel some resistance when you gently tug), gradually reduce the humidity. Remove the plastic bag for a few hours each day, then longer, until the plant is accustomed to normal room humidity. Water sparingly, allowing the top inch of soil to dry out between waterings.
- For Water Cuttings: When the roots are about an inch long, it’s time to transplant them into a well-draining potting mix. Treat them just like you would a newly planted soil cutting.
- Troubleshooting: The most common issue you might encounter is rot. If a cutting turns black or mushy, it’s usually a sign of too much moisture and not enough air circulation. Unfortunately, rotten cuttings are a loss, but don’t get discouraged! Just try again with proper drainage and less water. Yellowing leaves on a cutting that hasn’t rooted yet can sometimes mean it’s not getting enough light, or it’s just struggling.
Keep Growing!
There you have it – a guide to multiplying your beautiful Canthium coromandelicum. Remember, every gardener has had experiments that didn’t quite pan out, but that’s part of the learning curve. Enjoy the process, celebrate the successes, and don’t be afraid to get your hands dirty. Happy propagating!
Resource: