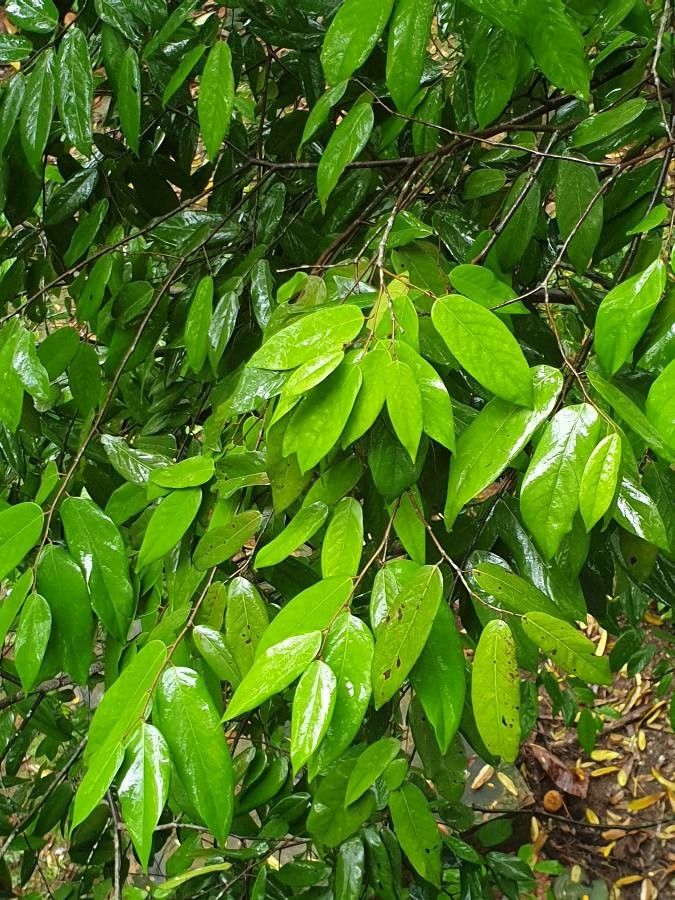
Hello, fellow plant lovers! Today, we’re diving into the wonderful world of Canarium sumatranum. If you’ve ever admired its glossy leaves and unique, almost tropical vibe, you’re in for a treat, because learning to propagate it is incredibly rewarding. It’s a plant that brings a touch of the exotic to our homes, and sharing that magic by creating new plants is just pure joy. Now, is it a breeze for absolute beginners? Honestly, it can be a tad finicky, but with a little guidance, you’ll be well on your way. Don’t let that deter you – think of it as a delightful challenge!
The Best Time to Start
When should you begin thinking about making new Canariums? The absolute sweetest spot is during its active growing season. For most of us, this means late spring through summer. You’ll want to select healthy, vigorous stems that are actively producing new leaves. This energy surge is what gives your cuttings the best shot at rooting. Avoid taking cuttings from plants that are stressed, dormant, or have just finished flowering.
Supplies You’ll Need
Before we get our hands dirty, let’s gather our trusty tools:
- Sharp, clean pruning shears or a sharp knife: Essential for making clean cuts.
- Rooting hormone powder or gel: Not strictly required, but it can significantly boost your success rates.
- Well-draining potting mix: A good blend of perlite, peat moss, and perlite is ideal. Or, a cactus/succulent mix works well too.
- Small pots or seedling trays: Make sure they have drainage holes!
- A clear plastic bag or propagation dome: To create a humid environment.
- Labels: So you don’t forget what you planted!
- (Optional) A heat mat: For consistent warmth.
Propagation Methods: Let’s Make Some New Friends!
Canarium sumatranum is generally best propagated from stem cuttings. This is your most reliable route to success, and it’s quite straightforward once you get the hang of it.
- Select Your Cutting: Look for a healthy stem. You want a piece that’s about 4-6 inches long. Make sure it has at least two sets of leaves.
- Make the Cut: Using your clean shears or knife, make a clean cut just below a leaf node (where a leaf attaches to the stem). This is where the magic happens, as roots are most likely to form.
- Prepare the Cutting: Gently remove the leaves from the bottom half of your cutting. You don’t want any leaves submerged in soil once you plant it. If your cutting has very large leaves, you can even cut them in half to reduce water loss.
- Apply Rooting Hormone (Optional but Recommended): Dip the cut end of the stem into your rooting hormone, tapping off any excess. This helps to stimulate root development.
- Plant Your Cutting: Fill your pot with your well-draining potting mix. Make a small hole in the center and insert the cut end of your stem. Gently firm the soil around it.
- Create a Humid Environment: Water the soil lightly. Then, cover the pot with a clear plastic bag or place it under a propagation dome. This traps moisture and creates the humid microclimate your cutting needs. If you’re using a bag, you might need to prop it up with a small stake so it doesn’t touch the leaves.
- Find a Bright Spot: Place your potted cutting in a location with bright, indirect light. Avoid direct sunlight, which can scorch the new plant.
- Patience is Key: Now, you wait!
The “Secret Sauce” (Pro Tips)
Ah, the little tricks that make all the difference! I’ve learned a few things over the years that I’m happy to share:
- The “Heal Over” Trick: After making your cutting, I often let the cut end air dry for a few hours before dipping it in rooting hormone and potting it up. This allows the cut end to callous over a bit, which I find can help prevent rot. It’s like giving it a little protective scab!
- Bottom Heat is Your Friend: If you can manage it, placing your potted cuttings on a gentle heat mat can dramatically speed up the rooting process. It mimics the warmth of the soil that you’d find in tropical climates, and your Canariums will thank you for it. Just keep the temperature consistently around 70-75°F (21-24°C).
- Don’t Overwater, But Don’t Let It Dry Out Completely: This is a delicate balance. The soil should remain consistently moist but never soggy. Feel the soil regularly. Too much water will lead to rot, while too little will cause the cutting to dry up. Think of it as a gently damp sponge.
Aftercare & Troubleshooting
Once you start seeing new growth – little leaves unfurling or tiny roots poking out the drainage holes – you’re on the right track!
- Gradual Acclimation: As your new plant develops roots, gradually increase ventilation. If you’re using a plastic bag, start opening it for an hour or two each day, slowly increasing the time until you can remove it entirely.
- Care Like the Parent: Once your cutting is well-rooted and has clearly adjusted, you can start caring for it much like you would your mature Canarium. They appreciate bright, indirect light and consistent moisture.
- Watch for Rot: The most common problem is stem rot. If your cutting looks mushy, dark, or starts to fall apart, it’s likely rot. This is usually caused by overwatering or poor drainage. Unfortunately, once that happens, it’s hard to save. Prevention is key!
- Wilting Woes: If your cutting is wilting before roots form, it might be too dry, or the humidity isn’t high enough. Double-check your watering and make sure your humidity dome or bag is sealed well.
Keep Growing!
Propagating plants is such a rewarding journey. It teaches us patience, observation, and the sheer wonder of life. Each new cutting is a little miracle, a testament to the resilience of nature. So, don’t be discouraged if your first attempt isn’t perfect. Keep trying, keep learning, and most importantly, enjoy the process of nurturing new life. Happy propagating!
Resource: