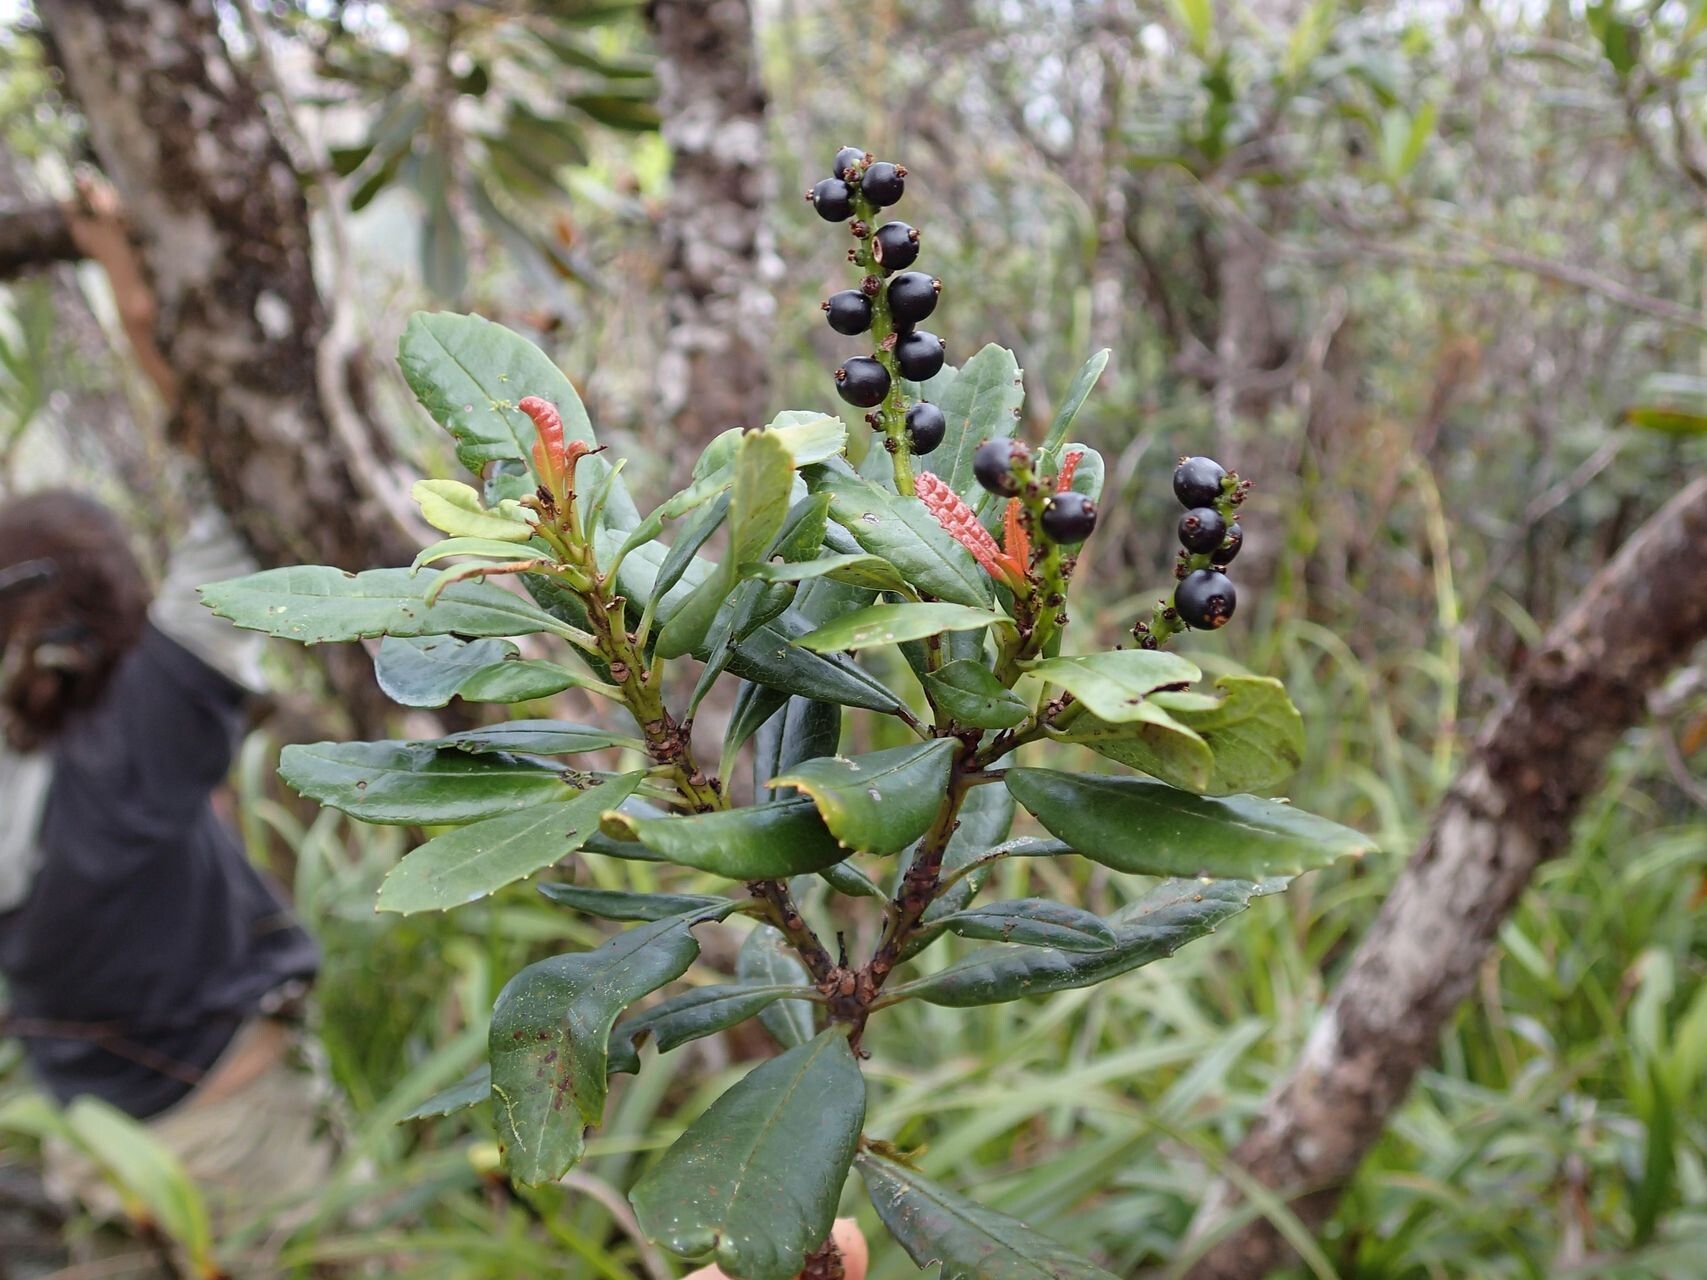
Oh, hello there! It’s so lovely to have you join me. Today, we’re diving into the wonderfully rewarding world of multiplying those stunning Canacomyrica monticola. You know, the ones with those gorgeous, almost architectural leaves and that subtle, calming scent? They really are a treat for the senses, and sharing that beauty by propagating them yourself is just pure garden magic.
Now, if you’re a beginner gardener, I’ll be honest, Canacomyrica monticola aren’t the absolute easiest plants to propagate. They can be a tad particular. But stick with me, and we’ll get there together! The sense of accomplishment when you see those first tiny roots emerge is just incredible.
The Best Time to Start
My favorite time to get my hands dirty with Canacomyrica monticola propagation is during the active growth period. For most climates, this means late spring through early summer. The plant is buzzing with energy then, and it’s much more inclined to put that energy into making new roots rather than just stressing out. You want to take cuttings from healthy, vigorous growth – not from new, floppy shoots or old, woody stems.
Supplies You’ll Need
Here’s a quick rundown of what you’ll want to have on hand:
- Sharp, clean pruning shears or a sharp knife: Crucial for clean cuts that heal well.
- Rooting hormone (optional but recommended): A good quality rooting powder or gel can significantly boost your success rate.
- A well-draining potting mix: I like to use a blend of perlite, coco coir, and a bit of peat moss. Something airy is key! You can also find specialized succulent or cactus mixes that work nicely.
- Small pots or trays: Clean containers are a must to prevent disease.
- Plastic bags or a propagation dome: To create a humid environment for your cuttings.
- Water: For watering and, if you choose, water propagation.
- Labels: So you don’t forget what you’ve planted!
Propagation Methods
Let’s get down to business with how we can coax new life from your Canacomyrica monticola.
1. Stem Cuttings
This is my go-to method for these beauties.
- Select a healthy stem: Look for a piece of stem that’s mature but not woody. Aim for a cutting about 4-6 inches long.
- Make a clean cut: Just below a leaf node (where a leaf attaches to the stem). This is where the magic happens, where roots are most likely to form. Remove any lower leaves that would end up below the soil line.
- Apply rooting hormone: Dip the cut end into your rooting hormone, tapping off any excess. This step is optional, but it really does help.
- Plant the cutting: Fill your small pot with your well-draining mix and make a small hole with your finger or a pencil. Gently insert the cutting into the hole, ensuring the leaf nodes are below the surface. Firm the soil gently around the stem.
- Water lightly: Give the soil a gentle watering. Don’t drench it; you want it moist, not soggy.
- Create humidity: Cover the pot with a plastic bag or a clear propagation dome. This traps moisture and creates that essential humid environment. Stick your label in!
2. Water Propagation
This method can be quite satisfying to watch.
- Take your cutting: Same as step 1 for stem cuttings.
- Remove lower leaves: Make sure no leaves will be submerged in the water.
- Place in water: Pop your cutting into a clean glass or jar filled with fresh water.
- Location, location, location: Place the container in bright, indirect light.
- Change the water regularly: Every few days, refresh the water to keep it clean and oxygenated.
The “Secret Sauce” (Pro Tips)
After years of whispering sweet nothings to my plants, I’ve learned a couple of tricks that seem to make a world of difference:
- Bottom Heat is Your Friend: A seedling heat mat placed underneath your pots can significantly speed up root formation. It mimics the warmth of spring soil and gives those little root initials a gentle nudge. You don’t need it blasting; just a gentle warmth is perfect.
- Don’t Be Afraid to Let it Callus: For stem cuttings, especially if they feel a bit sappy, I sometimes let the cut end air dry for a day or two in a shady spot before dipping in rooting hormone and planting. This allows a protective callus to form, which can help prevent rot. It feels counterintuitive, but it works wonders for some plants!
Aftercare & Troubleshooting
Once you have roots (hooray!), it’s time for a little extra TLC.
- For Water Cuttings: Once your cuttings have developed roots that are about an inch long, it’s time to transfer them to soil. Treat them gently, just like any young seedling. Follow the soil planting steps above.
- For Soil Cuttings: If you’ve potted them directly, wait until you see signs of new growth above the soil. This is a good indicator that the roots have taken hold. You can also give the pot a gentle tug; if there’s resistance, you’ve got roots! Slowly begin to acclimate the plant by removing the plastic bag or dome for increasing periods each day.
- Watering: Continue to water sparingly, allowing the soil to dry out slightly between waterings. Overwatering is the quickest way to invite root rot.
- Troubleshooting: The most common culprit is rot. If your cutting turns mushy and brown or black, it’s likely succumbed to rot. This usually means too much moisture and not enough air circulation. Don’t despair; just clean your pot and start again with a fresh cutting, ensuring better drainage and perhaps less frequent watering. Yellowing leaves on a stem cutting can also indicate issues, often with too much water or not enough light.
A Warm Encouraging Closing
So, there you have it! Propagating Canacomyrica monticola might take a little patience and a watchful eye, but the rewards are so worth it. Don’t get discouraged if your first few attempts aren’t perfect. Every gardener has a few casualties along the way – it’s all part of the learning curve! Just enjoy the process, celebrate every little success, and soon you’ll be surrounded by even more of these gorgeous plants. Happy propagating!
Resource:
https://identify.plantnet.org/k-world-flora/species/Canacomyrica%20monticola%20Guillaumin/data