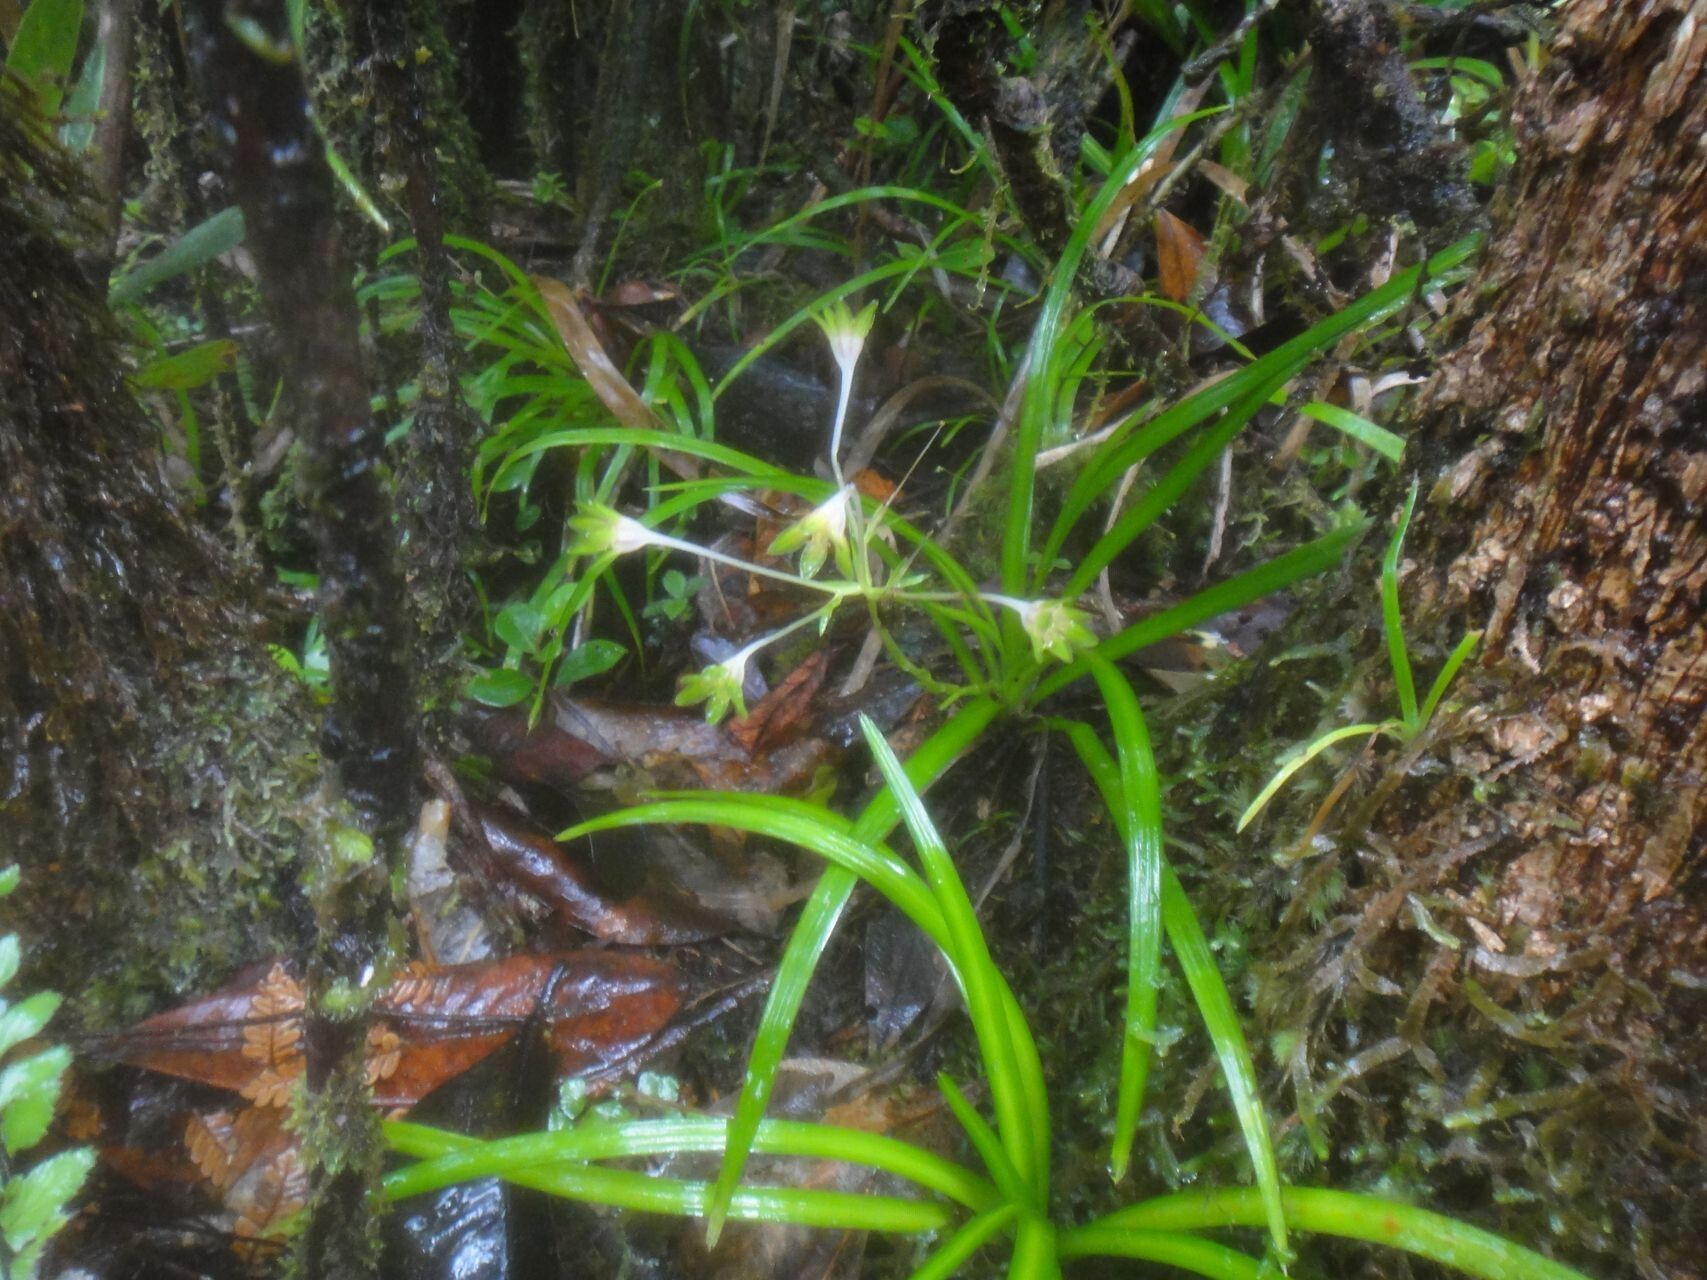
Oh, hello there! Come on in, grab a mug. Today, we’re diving into a truly special plant: Campynemanthe viridiflora. I’ve been fascinated by these beauties for years. Their delicate, almost ethereal green flowers are unlike anything else, and they bring such a unique elegance to any garden. Propagating them isn’t as common as, say, a hydrangea, but the reward of coaxing a new life from an existing plant? Pure magic. I’ll be honest, it’s not the absolute easiest plant to start from scratch, but with a little care and attention, it’s absolutely achievable, even for those of you who are just dipping your toes into the wonderful world of propagation.
The Best Time to Start
For Campynemanthe viridiflora, spring is definitely your golden ticket. You want to catch the plant when it’s really waking up and full of vigor. Think after the last frost, when the days are getting longer and the temperatures are warming up nicely. This active growth phase means the plant has more energy to dedicate to forming new roots. Starting too late in the season, when things are starting to wind down, can make it harder for the new cuttings to establish themselves before winter.
Supplies You’ll Need
Gathering your supplies beforehand makes the whole process so much smoother. Here’s what I usually have on hand:
- Sharp, clean pruning shears or a sharp knife: Crucial for clean cuts that heal well.
- A well-draining potting mix: I like a blend of good quality potting soil, perlite, and a bit of orchid bark. This gives excellent aeration.
- Small pots or trays: Clean and preferably with drainage holes!
- Rooting hormone (optional but recommended for this one): A powder or gel can give your cuttings a helpful nudge.
- A spray bottle: For gentle misting.
- Clear plastic bags or propagation domes: To create a humid environment.
- Labels: So you don’t forget what’s what!
Propagation Methods
Campynemanthe viridiflora can be a bit particular, but I find stem cuttings to be the most reliable method. Division can work, but it’s best done when the plant is quite mature and you’re repotting it anyway.
Stem Cuttings:
- Select your cutting: Look for a healthy, non-flowering stem that’s about 4-6 inches long. You want a stem that’s somewhat firm but not woody – think of it as having just passed its soft, floppy stage.
- Make the cut: Using your sharp shears, make a clean cut just below a leaf node. A leaf node is where a leaf attaches to the stem; this is where roots are most likely to form.
- Prepare the cutting: Gently remove the lower leaves from the bottom inch or two of the stem. If the cutting has any flower buds, pinch those off too. They take energy away from root development.
- Apply rooting hormone (if using): Dip the cut end into the rooting hormone, tapping off any excess.
- Plant your cutting: Fill your small pot with your prepared, moistened potting mix. Make a small hole with your finger or a pencil. Gently insert the cutting into the hole, pressing the soil gently around the stem to ensure good contact.
- Create humidity: Water the pot lightly to settle the soil. Then, cover the pot with a clear plastic bag, a propagation dome, or even place it inside a larger ziplock bag, ensuring the leaves don’t touch the plastic. This traps moisture, creating that crucial humid environment.
- Find a good spot: Place the pot in a location that receives bright, indirect light. Avoid direct sun, which can scorch the delicate cutting.
The “Secret Sauce” (Pro Tips)
Here are a couple of things I’ve learned that seem to make a real difference with plants like Campynemanthe:
- Keep those leaves dry! When you mist your cuttings, aim for the soil and the stem. Getting water sitting on the leaves for too long can encourage fungal diseases. A gentle misting in the morning is usually enough to keep them happy once they’re under cover.
- A touch of warmth goes a long way. While not strictly essential, placing your pots on a gentle heating mat designed for propagation can significantly speed up root development. It mimics the warmth of spring soil and gives those nascent roots a gentle push. Just make sure it’s not too hot.
Aftercare & Troubleshooting
Once your cuttings are planted, the waiting game begins! Keep the soil consistently moist but not waterlogged. Feel the surface of the soil; if it’s starting to dry out, give it a gentle mist or a light watering. You’ll want to lift the plastic cover for a few minutes each day to allow for air circulation and prevent rot.
How do you know it’s working? After a few weeks, you should see new leaf growth emerging from the tip or leaf axils. This is a fantastic sign! You can also give the cutting a very gentle tug; if you feel resistance, roots are forming.
The main thing to watch out for is rot. If the stem turns black and mushy, or if the leaves start to yellow and drop rapidly, it’s usually a sign of too much moisture and poor air circulation. In this case, you might need to start over, ensuring better drainage and more frequent airing.
A Encouraging Closing
So there you have it! Propagating Campynemanthe viridiflora is a journey, not a race. Be patient, observe your cuttings, and don’t be discouraged if your first attempt isn’t perfect. Each time you try, you learn a little more. Enjoy the process, and I can’t wait to hear about your successes! Happy gardening!
Resource:
https://identify.plantnet.org/k-world-flora/species/Campynemanthe%20viridiflora%20Baill./data