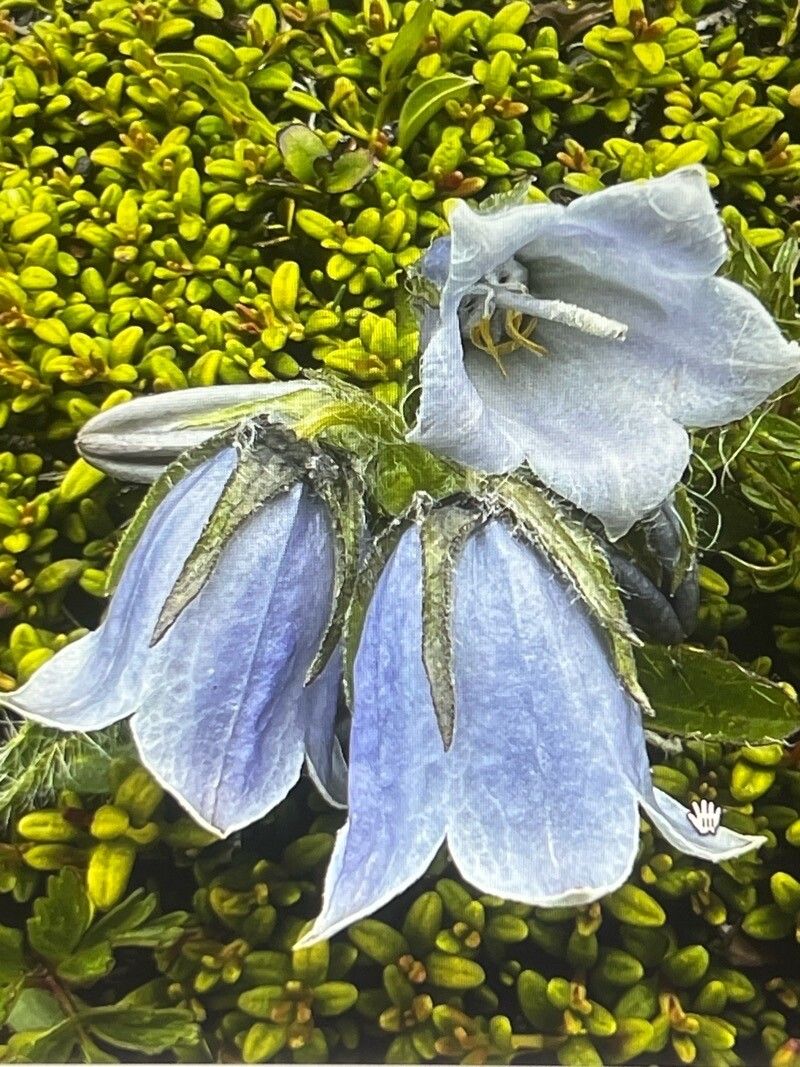
Oh hello there, fellow plant lover! I’m so excited to chat with you today about one of my absolute favorite little treasures: Campanula alpina, or the Alpine Bellflower. If you’ve ever seen these charming little plants with their delicate, bell-shaped flowers carpeting a rock garden or spilling over a pot, you know exactly why they steal our hearts. They bring such a splash of vibrant color and a gentle, nodding presence to any space. And the best part? You can easily grow more of your own!
Propagating Campanula alpina is a wonderfully rewarding experience. Watching those tiny roots emerge and transform into new plants feels like a little bit of garden magic. For a beginner? I’d say it’s moderately easy. With a few key practices, you’ll be well on your way to a whole troop of these beauties.
The Best Time to Start
When it comes to getting the highest success rate with Campanula alpina, I find that heading into late spring or early summer is your sweet spot. This is when the plant is actively growing, often after its main bloom or during a flush of new growth. Look for healthy, non-flowering shoots to take.
Supplies You’ll Need
Gathering your tools beforehand makes the whole process much smoother. Here’s what I always have on hand:
- Sharp pruning shears or a clean, sharp knife: For making clean cuts.
- Small pots or seed trays: With drainage holes, of course!
- A good quality potting mix: I like a light, well-draining mix, often a blend of equal parts potting soil, perlite, and a bit of coarse sand. You can also find specialized propagation mixes.
- Rooting hormone (optional but helpful): A powder or gel form can give your cuttings a little boost.
- A spray bottle: For gentle misting.
- Clear plastic bags or a propagator lid: To create a humid environment.
Propagation Methods
The most reliable way I’ve found to multiply Campanula alpina is through stem cuttings. It’s straightforward and yields great results.
Stem Cuttings:
- Select your stems: Choose healthy, vigorous stems from your established plant. Ideally, look for shoots that are about 3-4 inches long and are developing new growth, but haven’t yet flowered.
- Make the cut: Using your clean shears or knife, make a clean cut just below a leaf node. This is the point where a leaf joins the stem, and it’s where roots are most likely to form.
- Prepare the cutting: Gently remove the lower leaves from the cutting, leaving just a few at the top. This prevents them from rotting in the soil and also reduces moisture loss. If your cuttings are a bit floppy, you can even trim off half of the remaining leaves to help them along.
- Apply rooting hormone (optional): If you’re using it, dip the cut end of the stem into the rooting hormone, tapping off any excess.
- Plant the cuttings: Fill your small pots or trays with your prepared potting mix. Make a small hole with your finger or a pencil, and insert the cut end of the stem. Gently firm the soil around it to ensure good contact.
- Water and cover: Water the soil gently from the top or by setting the pots in a shallow tray of water until the soil is moist. Then, cover the pots with a clear plastic bag or a propagator lid to create a humid microclimate. This is crucial for preventing the cuttings from drying out.
Division (for established clumps):
If you have a larger, established clump of Campanula alpina that’s looking a bit crowded or has lost its vigor, division is a great option. This is best done in early spring as new growth begins.
- Gently lift the plant: Carefully dig up the entire clump from its pot or garden bed.
- Separate the roots: Loosen the soil and gently pull the clump apart. You want each section to have a good portion of roots and at least one or two healthy shoots. You can use your fingers, or if it’s particularly tough, a clean trowel or knife can help.
- Replant immediately: Pot up each division into its own container with fresh potting mix, or replant them directly into the garden. Water them in well.
The “Secret Sauce” (Pro Tips)
Here are a few little tricks up my sleeve that often make a difference:
- Don’t let the leaves touch the edges of the plastic bag. If they do, they’re more likely to rot. Make sure the leaves have space to breathe and are above the soil line.
- Bottom heat is your friend. While not strictly essential for Campanula alpina, placing your pots on a heat mat specifically designed for propagation can significantly speed up root development. It mimics the warmth of spring soil. Just remember to keep the moisture levels right; bottom heat can dry things out quicker.
- Patience is key with water propagation if you choose that route for very soft growth. While I prefer cuttings in soil for Campanula alpina, if you do try sticking a few non-flowering shoots in a glass of water (making sure no leaves are submerged!), change the water every couple of days and try to keep them out of direct sunlight. You might see roots emerge, but they are often weaker and transplant less successfully than soil-grown cuttings.
Aftercare & Troubleshooting
Once your cuttings have been in their humid environment for a few weeks, you’ll start to see nice, plump little leaves. The real sign of success is when you feel a gentle tug when you lightly pull on a stem. This means roots have formed!
Now it’s time to transition them. Gradually remove the plastic cover over a few days to an week, letting them acclimatize to normal room humidity. Continue to keep the soil consistently moist but not waterlogged. Once they have a good root system and are growing well, you can pot them up into slightly larger individual pots.
The most common problem you might encounter is rot. This usually happens if the cuttings are kept too wet, or if there isn’t enough air circulation. If you see stems turning black and mushy, sadly, that cutting is likely lost. Don’t be discouraged! Just remove it and make sure your remaining cuttings have good drainage and aren’t too soggy. Sometimes, overwatering is the culprit for a cutting failing to root.
A Little Encouragement
See? It’s not too daunting, is it? Take your time, be gentle with your little plants, and celebrate every tiny success. Propagating Campanula alpina is a wonderful way to expand your garden and share these charming blooms with friends. Trust your instincts, enjoy the process, and happy growing!
Resource:
https://identify.plantnet.org/k-world-flora/species/Campanula%20alpina%20Jacq./data