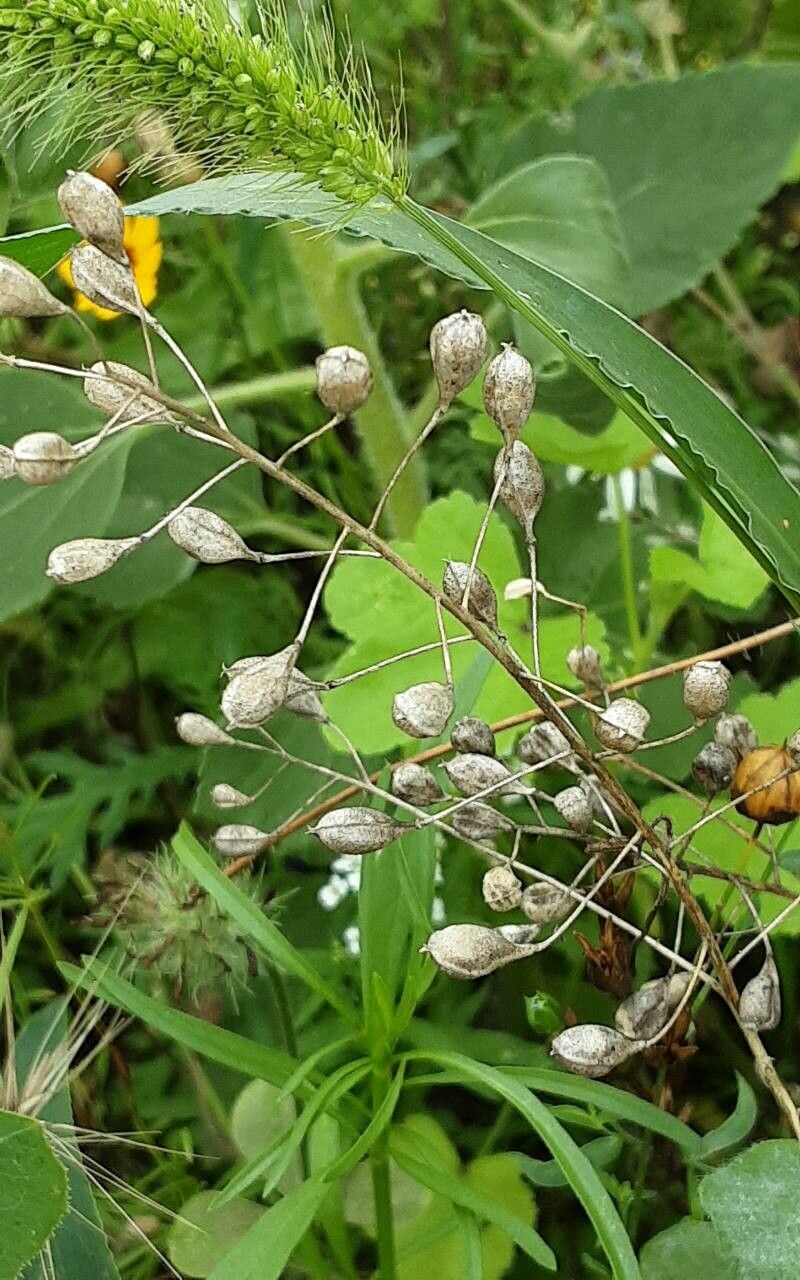
Oh, Camelina! If you’re looking for a plant that’s a bit different, a little bit charming, and surprisingly useful, then you’ve found a winner. Often called the “false flax” or “gold-of-pleasure,” Camelina sativa is a gorgeous annual with delicate, pretty yellow flowers that will bring a lovely splash of color to any garden. And the best part? It’s incredibly rewarding to grow your own from scratch.
Now, for my beginner gardeners out there, I have some good news: propagating Camelina is remarkably easy. You don’t need a horticulture degree or a fancy greenhouse. With a little care and patience, you’ll be marveling at your own little Camelina starts in no time. It’s a fantastic plant to practice your propagation skills on.
The Best Time to Start
When I’m looking to get new Camelina plants going, I always aim for late spring or early summer. This gives the cuttings plenty of time to establish roots while the days are long and warm, but before the intense heat of mid-summer sets in. You can also try taking cuttings in the early autumn, especially if you have a protected spot or plan to grow them on indoors over winter. The key is actively growing plants with good energy to put into new roots.
Supplies You’ll Need
Gathering your supplies beforehand makes the whole process smoother. Think of it as setting up your little propagation station!
- Sharp Pruning Shears or a Craft Knife: For making clean cuts.
- Rooting Hormone (Optional but Recommended): This stuff really gives your cuttings a boost.
- Small Pots or Seedling Trays: About 3-4 inches deep are perfect.
- Well-Draining Potting Mix: I like a good quality seed-starting mix, or a blend of equal parts peat moss, perlite, and a little compost. The goal is to keep moisture in but also allow for good air circulation.
- Watering Can with a Fine Rose: To water gently without disturbing things.
- Plastic Bags or a Propagation Dome: To keep humidity high around your cuttings.
Propagation Methods
For Camelina, I find the stem cutting method to be the most reliable and straightforward. It’s how I’ve had the most success over the years.
- Take Your Cuttings: On a bright morning, find a healthy, non-flowering stem on your established Camelina plant. Using your clean shears or knife, take a cutting that’s about 4-6 inches long. Make the cut just below a leaf node (where the leaves attach to the stem). These nodes are where the magic happens and roots are most likely to form.
- Prepare the Cuttings: Gently remove the lower leaves, leaving just a couple of sets at the top. This prevents them from rotting in the soil and concentrates the plant’s energy on root development. If you’re using rooting hormone, dip the cut end of the stem into the powder, tapping off any excess.
- Plant Your Cuttings: Fill your pots or trays with your prepared potting mix. Make a small hole with your finger or a pencil. Insert the cut end of the stem into the hole, making sure at least one leaf node is buried in the soil. Gently firm the soil around the base of the cutting.
- Water and Cover: Water the soil thoroughly but gently. You want the soil to be moist, not soggy. Now, cover the pot or tray with a plastic bag or a propagation dome. This creates a mini-greenhouse effect, keeping the humidity high, which is crucial for cuttings to root. If you’re using a plastic bag, you can support it with a skewer or two so it doesn’t touch the leaves.
The “Secret Sauce” (Pro Tips)
Here are a few little tricks I’ve learned that go a long way:
- Don’t let the leaves touch the water. If you’re water propagating (though I find cuttings in soil work best for Camelina), this is key. Leaves submerged will just rot and invite disease. For soil cuttings, if your bag is touching the leaves, it’s a sign your humidity is probably good, but keep an eye out.
- Bottom heat is your friend. If you have a heating mat designed for seedlings, placing your pots on it can significantly speed up the rooting process. Camelina loves a little warmth getting to its roots.
- Take more than you think you need. Not every cutting will make it, and that’s perfectly normal. I always take at least twice as many cuttings as I hope to end up with. It’s better to have a few extra plant babies than not enough!
Aftercare & Troubleshooting
Once you see new growth or feel a gentle tug when you lightly pull on a cutting (indicating root formation – usually after 2-4 weeks), it’s time to start acclimating your new plants. Gradually remove the plastic cover over a few days. Continue to keep the soil consistently moist.
The biggest enemy of cuttings is rot. If you notice your cuttings turning mushy, blackening, or just generally looking dismal and watery, it’s usually a sign of overwatering or poor air circulation. Make sure your soil is indeed well-draining. If you’ve been keeping them too wet, let the soil dry out a bit more between waterings. It’s a delicate balance, but you’ll get the hang of it.
Don’t get discouraged if a few don’t take. Gardening is all about learning and observing. Each attempt teaches you something new. Just keep at it, enjoy the process of nurturing these little plant starts, and soon you’ll have a lovely collection of your very own Camelina plants to admire! Happy propagating!
Resource:
https://identify.plantnet.org/k-world-flora/species/Camelina%20sativa%20(L.)%20Crantz/data