Hello, fellow garden lovers!
Today, we’re diving into a plant that frankly, holds a special place in my heart: Calycanthus chinensis, or Chinese Wax Plum. If you’ve ever admired its delicate, often fragrant, bell-shaped flowers and glossy green leaves, you know what a gem it is. And the best part? You can multiply this beauty yourself! Propagating Calycanthus chinensis isn’t just about getting more plants; it’s about understanding its lifecycle and nurturing new life. It can be a little fussy compared to, say, a succulent, but with a bit of guidance, I promise, it’s wonderfully achievable.
The Best Time to Start
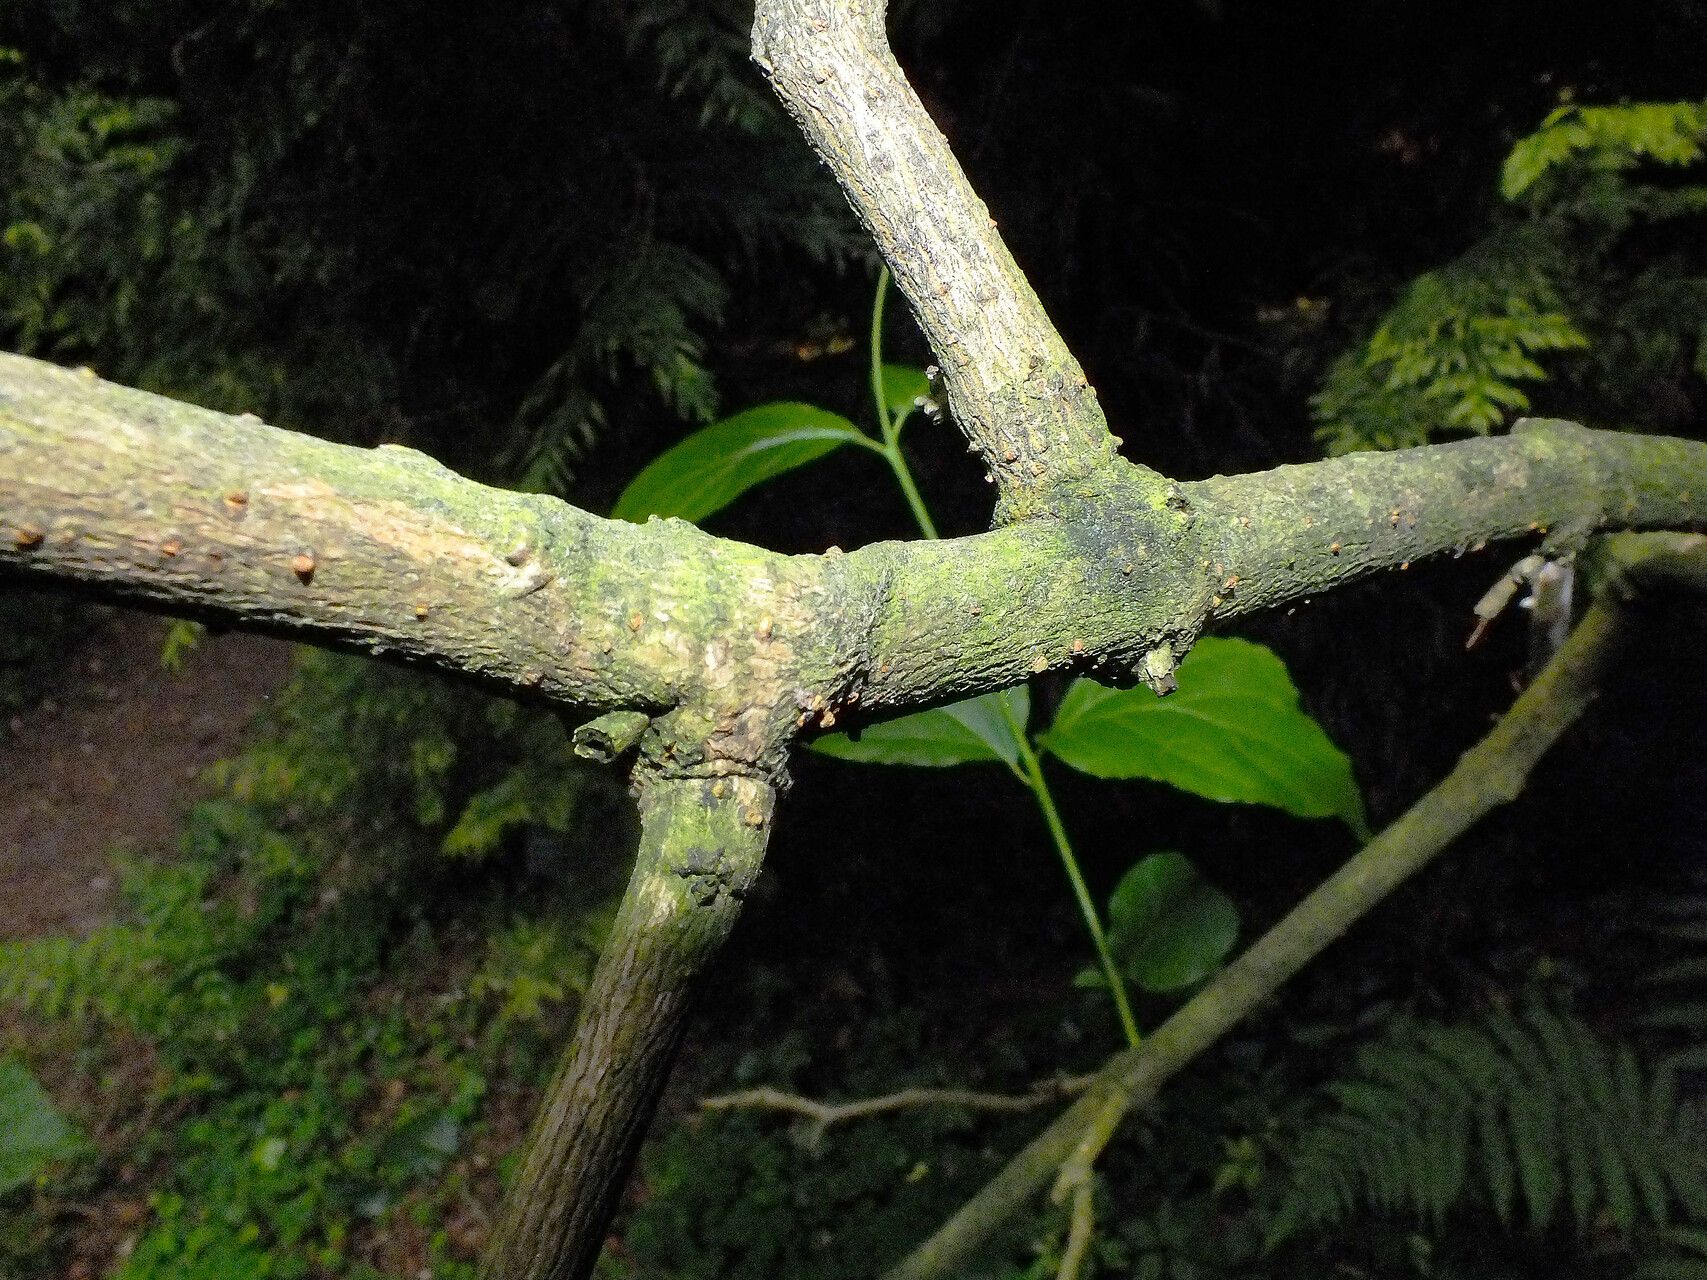
For the highest success rates with Calycanthus chinensis, I’ve found that late spring to early summer is your sweet spot. This is when the plant is actively growing, and the new, semi-hardwood stems are just starting to mature. You’re looking for stems that are flexible but not too soft and floppy. They should snap cleanly when bent, rather than bending without breaking. Avoid taking cuttings from old, woody growth or the very youngest, tender shoots.
Supplies You’ll Need
Getting your tools and materials ready beforehand makes the whole process so much smoother. Here’s what I always have on hand:
- Sharp, clean pruning shears or a sharp knife: For making clean cuts to avoid damaging the stem.
- Rooting hormone: A powder or gel specifically for woody cuttings. I usually opt for a medium-strength rooting hormone.
- Sturdy pots or trays: With drainage holes! This is crucial.
- A well-draining potting mix: A good blend is equal parts peat moss or coco coir, perlite, and coarse sand. This trio provides moisture retention while ensuring excellent aeration.
- A misting bottle: For keeping the cuttings hydrated.
- Plastic bags or propagation domes: To create a humid environment.
- Labels and a marker: To keep track of your cuttings and the date.
Propagation Methods
While you can sometimes divide these plants, my go-to method for Calycanthus chinensis is definitely stem cuttings.
Here’s how I do it:
- Select Your Cuttings: On a bright but not scorching day, select healthy, vigorous stems from a mature plant. Look for those semi-hardwood stems I mentioned, about 4-6 inches long.
- Make the Cut: Using your clean shears or knife, make a clean cut just below a leaf node. A leaf node is where a leaf attaches to the stem; this is where roots are most likely to form.
- Prepare the Cutting: Gently remove the lower leaves, leaving just a few at the top. If any leaves are very large, I’ll often cut them in half horizontally to reduce water loss through transpiration. You don’t want the leaves touching the soil or overcrowding the pot.
- Apply Rooting Hormone: Dip the cut end of the stem into your rooting hormone, ensuring it’s coated up to the point where you removed the lower leaves. Tap off any excess.
- Plant Your Cuttings: Fill your pots or trays with your prepared potting mix. Make a hole in the center with a pencil or your finger and insert the rooted end of the cutting about 1-2 inches deep. Gently firm the soil around it.
- Water and Cover: Water the cuttings thoroughly but gently. The goal is to moisten the soil without waterlogging it. Then, cover the pots with a plastic bag or a propagation dome. This creates that essential humid microclimate.
The “Secret Sauce” (Pro Tips)
After years of gardening, you learn a few tricks! Here are my top tips for Calycanthus chinensis:
- Bottom Heat is Your Friend: If you have the option, place your pots on a gentle seedling heat mat. Calycanthus roots love a bit of warmth, and this can significantly speed up the rooting process. Don’t let it get too hot, though – think subtly warm, not toasty.
- Don’t Be Afraid to Mist: These cuttings love humidity. I’ll check them every couple of days and give them a good misting if the leaves look a little dry or the soil surface appears pale. Remove the plastic cover for a few minutes while misting to allow for some air circulation, then reseal.
- Sterilization is Key: I cannot stress this enough. Always use clean tools and pots. Any lingering bacteria or fungi can quickly spell doom for your delicate cuttings. A quick soak in a diluted bleach solution or rubbing alcohol can do wonders.
Aftercare & Troubleshooting
Once your cuttings have started to root – you’ll see new leaf growth appearing, or you can gently tug on a cutting and feel resistance – it’s time for a little change. Gradually acclimate your new plants to open air by removing the plastic cover for longer periods over a week or two. Continue to keep the soil consistently moist but not soggy.
The most common sign of failure with cuttings is rot. If your cutting turns black and mushy, or the leaves shrivel up and die despite being in a humid environment, it’s likely succumbed to rot. This usually means the environment was too wet and not well-ventilated, or there was a fungal issue. Don’t get discouraged! Just clean out your pot and try again. Sometimes, the rooting hormone just doesn’t “take,” or perhaps the cutting wasn’t quite ready.
A Little Patience Goes a Long Way
There you have it! Propagating Calycanthus chinensis might require a bit more attention than some other plants, but the reward of seeing those tiny roots emerge and eventually growing a new plant from your very own efforts is incredibly satisfying. Be patient, observe your cuttings, and enjoy the wonderful journey of bringing more beauty into your garden. Happy propagating!
Resource: